Last month I had shared how we were doing a bit of Front Yard Landscape Planning now that spring had finally arrived. Our front yard is nice and large but I felt like the area around the front walkway need a boost in the curb appeal department and new flower beds could achieve that! 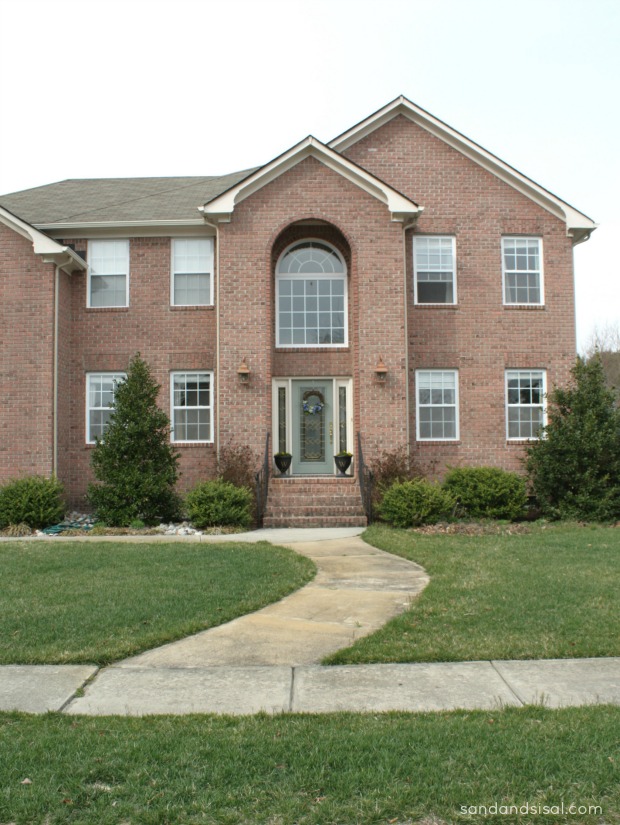
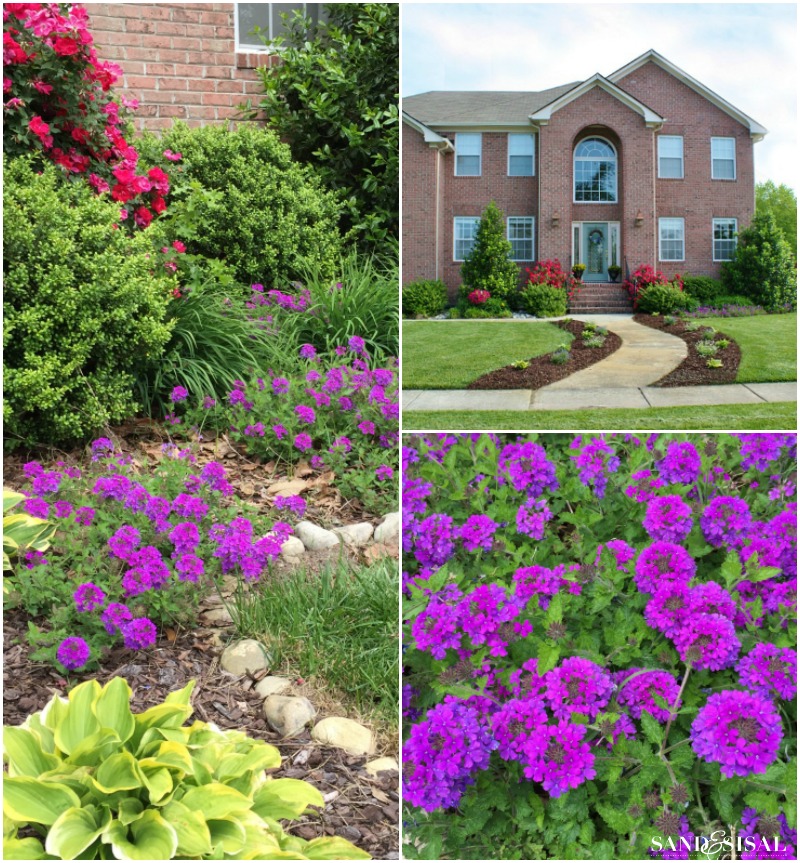
I had originally planned on two flower beds right at the base of the yard, but after my hubs saw this picture below of these beautiful hostas lining a walkway, the plans completely changed. He was inspired and by it and suggested we should create a scaled down version of that amazing flower bed. 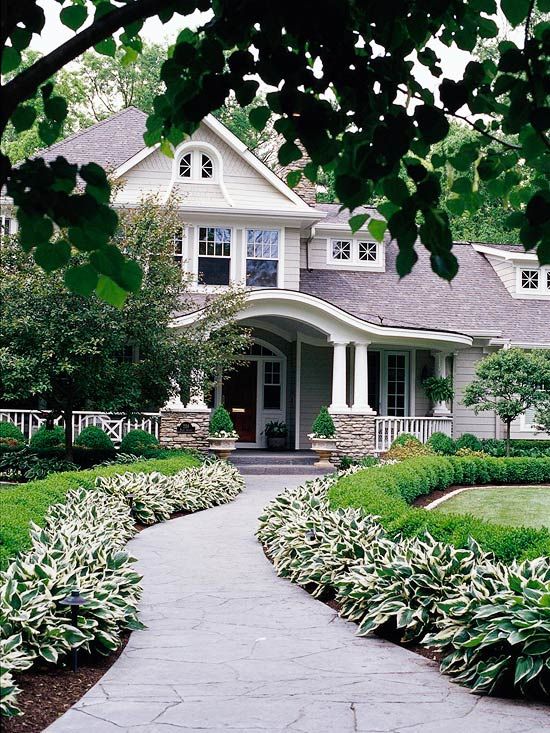
I want to share some helpful tips for preparing a new flower bed that I’ve learn over the years.
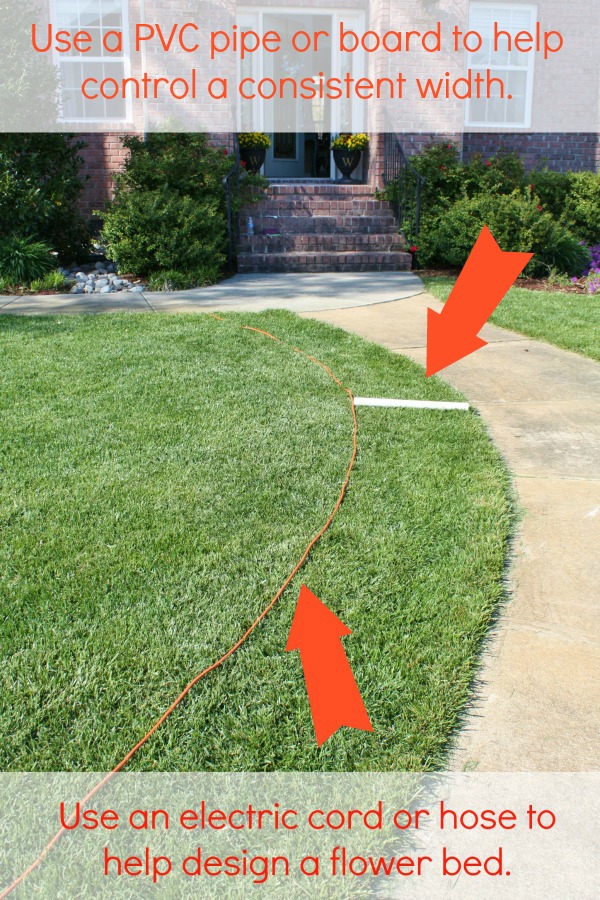
Tip # 1: Use a long garden hose or a heavy duty outdoor extension cord to design your new flower bed’s perimeter. This helps give you a visual perspective of how your new bed will look.
Tip # 2: If you are wanting to create a new flower bed that maintains a specific width, then I have found that a cut piece of PVC pipe or lumber is an easy measuring tool. Simply cut the piece of PVC to your desired length and slide it along, adjusting your perimeter markers (hose or cord) to the desired flower bed width.
Tip # 4) When you are completely pleased with your design and layout, then go ahead and spray paint a line along the edge of your hose or cord. This will outline the area of your new flower bed. I usually use any spray primer I have on hand. 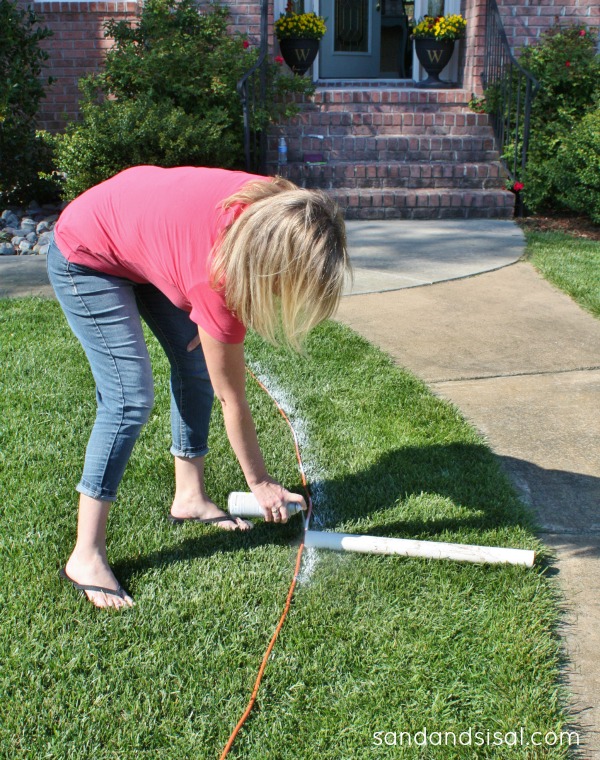
Tip #5: Use Spectracide Weed & Grass Killer to kill any existing grass or vegetation. I recommend using Spectracide because it is rain-fast in just 15 minutes, it will kill weeds and grass down to the roots, and you can start seeing results in as little as 3 hours. The product also has no soil activity, meaning it will not effect the soil or nearby untreated plants. 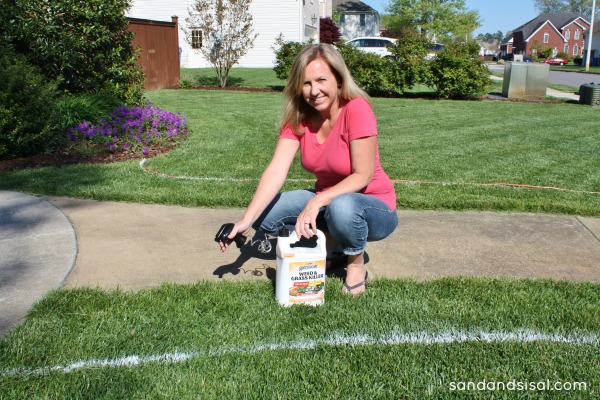
Spray the Spectracide Weed & Grass Killer in a close and consistent manner over the grass. Avoid applying it on windy days and shield any areas that you do not wanted effected or could accidentally get sprayed, with a piece of cardboard. 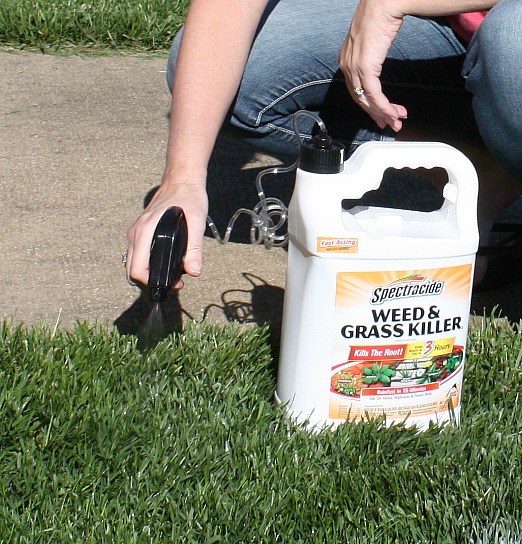
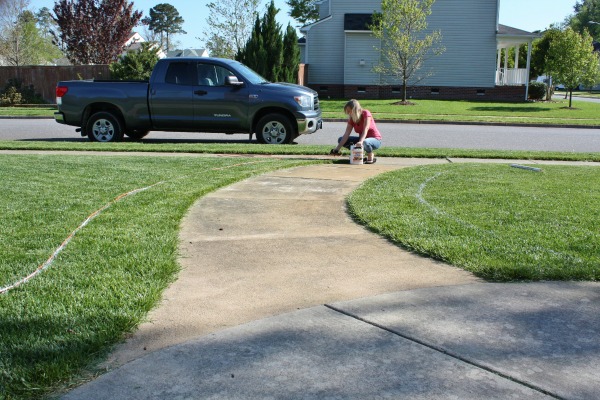
We sprayed the grass where the new flower beds would be located, really well and also took care other nasty weeds in our yard. After a few days, this is what your grass in your new flower beds will look like…. dead! 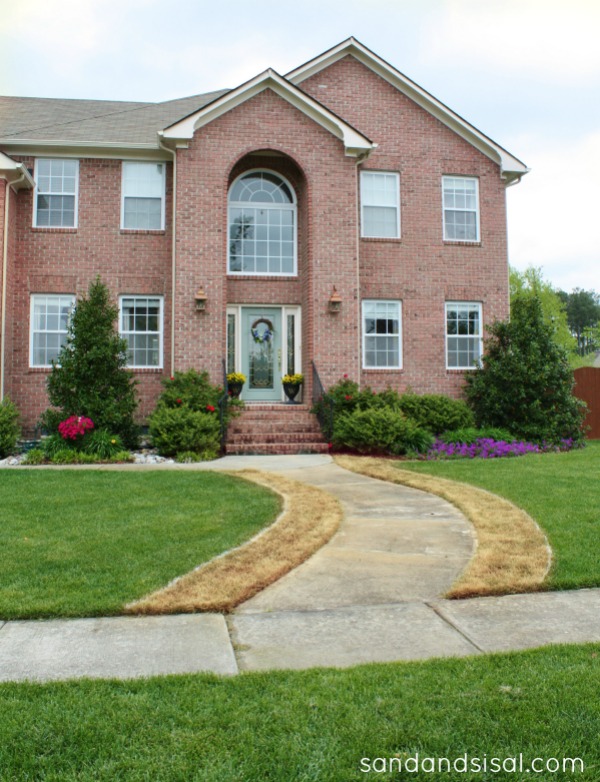
And now the fun part begins! We will be shopping for compost, garden soil, and hostas this weekend! I’m excited to share with you how it all turns out very soon! I hope you find those few tips for preparing a new flower bed helpful!
UPDATE: CLICK HERE TO READ THE NEXT POST SHOWING THE FINISHED FLOWER BEDS!
Happy Gardening!
KIM
This is a sponsored conversation written by me on behalf of Spectracide. The opinions and text are all mine.
[…] you missed it, you can click to see all my Tips for Preparing a New Flower Bed. We killed the grass with Spectracide’s Weed & Grass Killer, waited for the grass to die […]