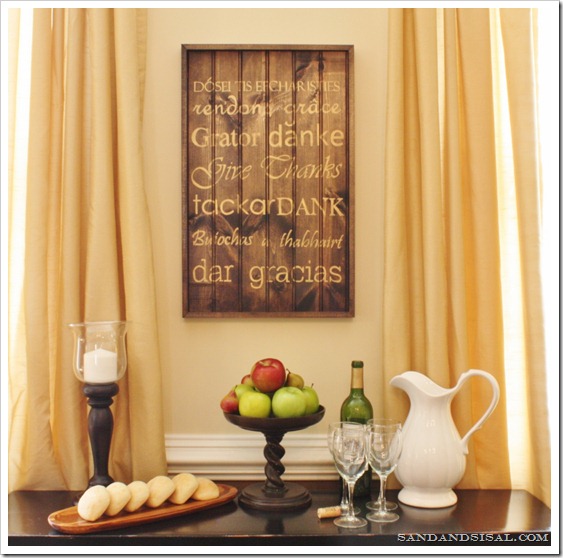
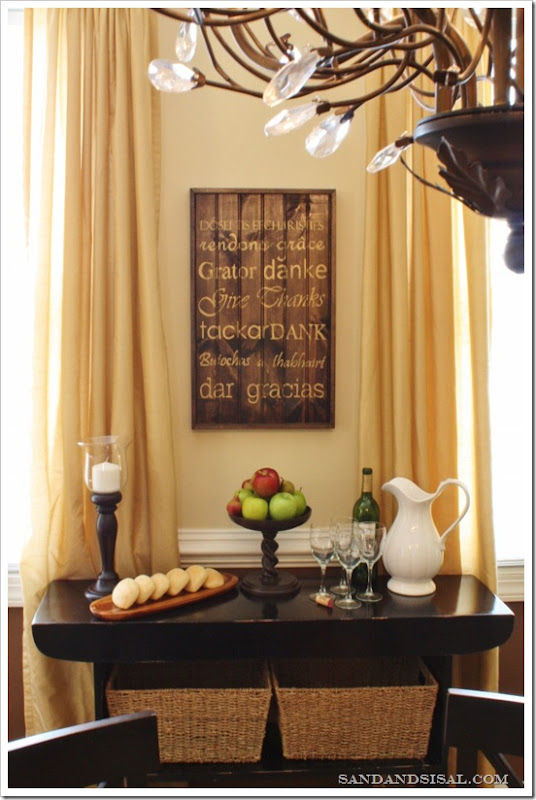
The subway art trend continues to maintain a strong presence in home décor. The strong graphic typography of most subway art is a bit too contemporary for my home but I’ve wanted to incorporate it somehow, with my style. Not only did I decide to create my own subway art, but made the painted words meaningful for my family. As Thanksgiving approaches what better message could we deliver but to remind ourselves to give thanks in every situation? The Thanksgiving subway art sign says “Give Thanks” in nine different languages.
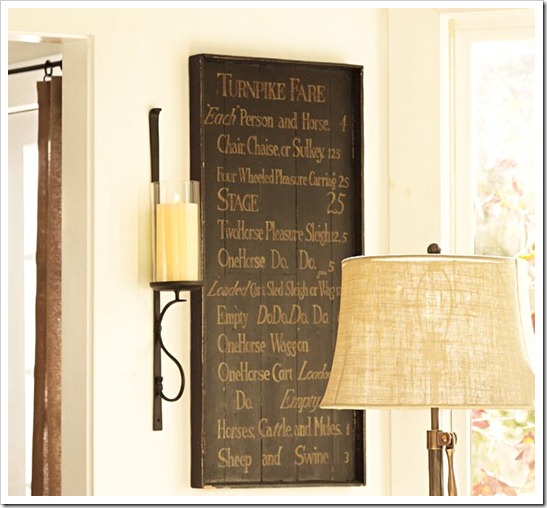
My inspiration came from this Pottery Barn sign. It is silkscreened words on pine boards. I knew I wasn’t going to attempt to silk screen my lettering and I don’t have a Silhouette cutter to make nifty custom stencils, (But I’ve asked Santa for one!). So I knew I had to do a throwback to my art school days and hand draw the typography! Uhg.
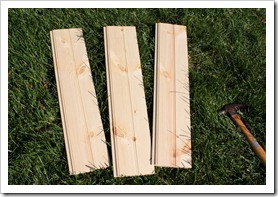
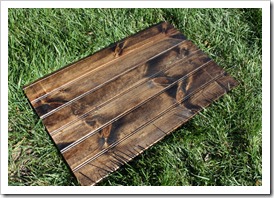
I took a trip to Home Depot and picked up one 8ft long tongue and groove pine plank. I chose a board that had lots of knots and color variation to it. Normally you wouldn’t want that in a piece of wood, but I knew that the stain would bring out all the colors and give it a rustic look. The board was cut into 4 pieces, but I decided to only use 3 of them. I hammered together the tongue and groove planks and then stained them.
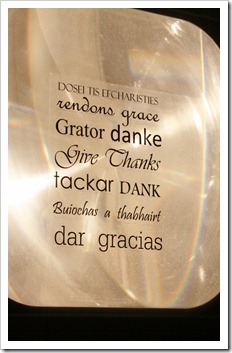
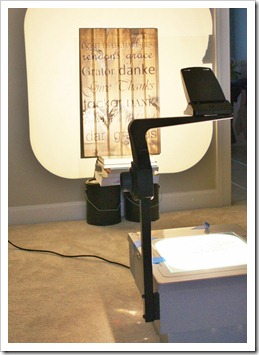
Next I looked up how to say “Give Thanks” in different languages on my iPhone translator app. Don’t you just love technology!? In Microsoft Word, I typed the words and chose varying fonts for them. I printed the words out, cut each word out individually, and then arranged the words on a separate piece of paper, gluing to secure. Then the glued word sheet was photocopied onto a transparency. I took out my super-duper-high-tech over head projector! You remember these things from school right? My kids don’t! My son asked, “What’s THAT?!”. They haven’t seen projectors since Smart Boards and laptops took over… lucky kids. I found projectors super useful for painting wall murals. I love it!
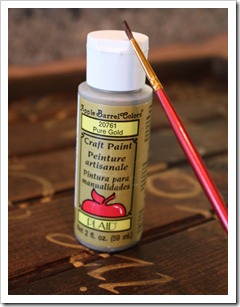
Once the words were projected onto the board, I traced each letter’s image with a pencil. Next, each letter was hand painted with a fine tip brush and gold paint. I won’t lie. This took FOR-EV-ER!!!! I called up my friend, Susie Harris, the queen of hand painted signs to see if there was an easier way to do this, without a Silhouette. She laughed, and then said, “Nope”. Thanks Susie. I think I have carpel tunnel syndrome now!
Even though it took hours and hours to complete, I was pleased with the results. There’s just something unique in hand painted artwork, don’t you think? “Give Thanks” is painted in Greek, French, Latin, German, English, Swedish, Dutch, Irish, and Spanish.
The Thanksgiving Subway Sign sits in my dining room where we will always be reminded to give thanks whether it’s Thanksgiving or not.
“In all things, give thanks.”
Kim
Join the conversation on FACEBOOK for the latest updates on recipes, crafts and tutorials like this one!
Linking up to:
 |
 |
 |
 |
 |
 |
That is beautiful!
Love it, the gold is perfect!
Debbie
Kim, that is such a thoughtful subway sign. I like it better than the PB one which I am sure cost a fortune.
Great twist on the usual subway art! I like yours better than the PB one!
That is fantastic!
What a great job. Looks better than Pottery Barns.
Oh, wow. Your sign is gorgeous and so perfect for the time of year though I would want this up all year.
And how funny about your son not recognizing the projector. Times do change quickly.
Erika
It’s a Wrap Link Party at Artful Rising
Your subway art looks amazing! It literally looks like it came straight out of the Pottery Barn catalog. Love it!!
This is so pretty! I love it. I’m a new follower. I hope you’ll follow me back but no pressure!
It looks so great!!! How did you do the little frame piece for it?
I loveeeeeeee it! And the project brings back happy memories for me too hahaha great pieces
Pamela @ pbjstories.com
Love it! Very nice job!
Shannon
http://www.akadesign.ca
This sign is gorgeous Kim! I’m just bummed that I saw it now and today is Thanksgiving, lol – I’ll be sure to keep it for next year. But honestly, it’s something that could be displayed all year long. Have a wonderful day with your family and Happy Thanksgiving!
Jenna, SAS Interiors
WOW Kim I just saw this featured over at Amaze Me Monday and LOVED IT!! Great job, Martina
I just saw you on featured on Amaze me Monday and had to pop over. This turned out wonderful! I love it…and I am drooling over your wooden pedestal! This is much more meaningful then the Pottery Barn one.
All the best,
Rachel~
I was just wondering what the stain was that you used for this? Love the color and the board came out fantastic!!
Thank you Kathleen! I used a tiny little pot of Olympic oil-based wood stain in Dark Walnut.
wow it is a fantastic creation!! looks like great and better than PB!!
I couldn´t imagine that you use a projector for this DYC.
All the best,
newlymami
Sorry DIY
Just curious….why did you cut and paste the letters as opposed to just printing from word to the transparent sheet? Im so excited to do this, thank you!
Hi Lee,
To be honest I really don’t remember why I did that. It was back in 2011. I’m guessing it was because I probably didn’t know how to use MS Word very well back then, and this method was just faster and I could visually play around with the arrangement. 😉
Thanks!
KIM