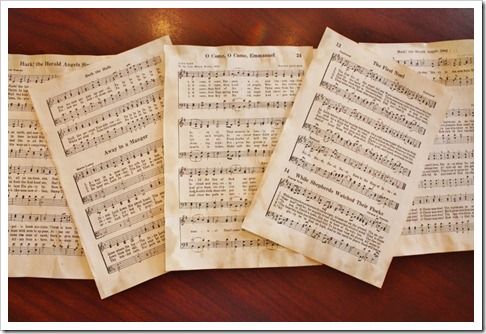
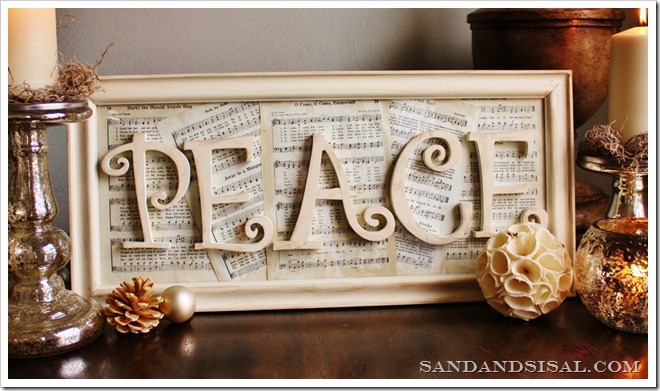
Shuffling through dusty piles of sheet music from my childhood, I came across a vintage book of Christmas Carols for Children. The pages were yellowed and brittle, but the words and notes written still ring true today in the 21st century. These precious words of Christmas joy needed to emerge from their dusty chamber of the cardboard box and proclaim themselves in a new form…as Christmas Sheet Music Art!!
The wonderful people at Aleen’s sent me a few great adhesives to try out. Talk about product satisfaction, these adhesives rock!! No more messy hot glue strings lingering along your crafts! No burnt fingers!!
How to Make Sheet Music Art
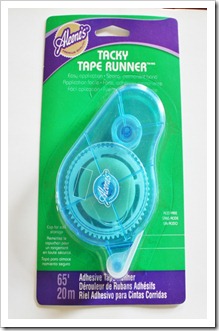
To make the Sheet Music Art, I removed a picture from an old frame I already owned and cut a piece of white cardstock to fit the frame. Up cycle! The first adhesive I tried was the Aleene’s Tacky Tape Runner. It’s like most tape runners for the exception that it’s “tape” is like ultra-thin sheets of flexible glue!
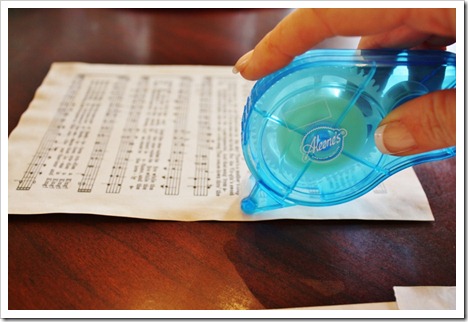
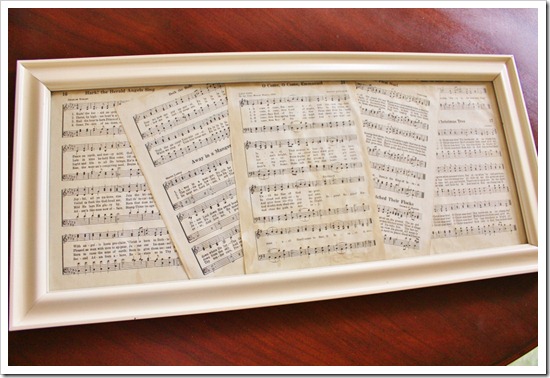
I tore out (gasp!) a few pages from my vintage Christmas Carol book and ran the Tacky Tape Runner along the edges. It’s acid free, which means SAFE for this old sheet music. The tape is so thin, it’s almost invisible! It was fast and very easy to apply.
I taped down all my Christmas carol sheet music to white paper cut to the old artwork size. Then any overlapping was trimmed off with scissors.
After trimming, the music sheets were re-inserted into the frame along with the original glass.
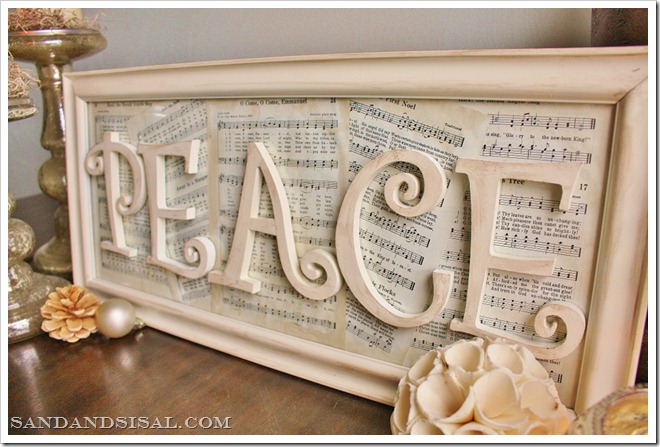
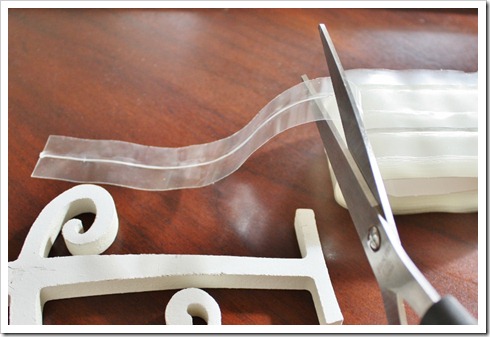
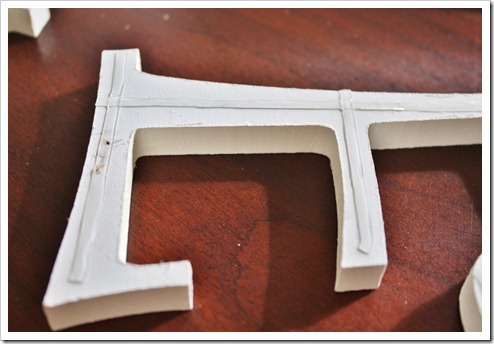
I then took MDF letters that spelled the word PEACE and painted them with Heirloom White paint and rubbed the edges with a bit of brown glaze. With the Aleen’s Tacky Line Roll, I applied strips of glue to the letters.
To use the Tacky Line Roll, cut your desired length, apply to item, press, and remove plastic sheeting. It is oh-so-easy! This line roll is like perfect lines of hot glue without the ooze or mess!
Here is a close up of the line glue. How neat is that?
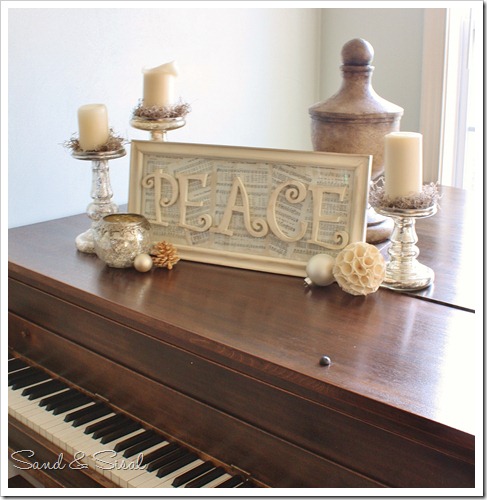
The tacky line rolled letters were then pressed gently against the front glass and were ready for display! What I really like about this product is that I can remove the letters with NO MESS on the glass! They come off clean yet hold strong when applied.
I love the quiet color scheme and meaningful words of the Christmas Carols. No longer are they hidden in a dusty old box but their message can now be displayed in a beautiful form.
Aleene’s adhesives come in many varieties for a multitude of uses to make your crafting or gift wrapping cleaner, convenient, and faster! They can be found at Michaels or Ilovetocreate.com Amongst the hustle and bustle of this hectic season, this Christmas Carol Sheet Music Art is a nice reminder to seek PEACE instead.
Kim
Join the conversation @Sand & Sisal on Facebook today!
Linking up to:
 |
 |
 |
Disclosure: I received product and compensation- all opinions are my own.

i love sheet music art!! i have a TON of it that i have used for projects in the past and in some gift wrapping this year. there is something so sentimental about it!
also – that tacky line roll stuff is AMAZING. i will need to find me some of that pdq!! 🙂
I believe I have the most craft ideas/projects bookmarked from your site! This is s great idea.
Thank you
Deb
Such understated elegance, and the products made it easy. Really love it!
love this and I love the tape!
debbie
What a GREAT affordable, yet amazing gift idea!! My SIL is a piano teacher & this would be right up her alley. I love that you can make is seasonal or something they can use all year long. You keep outdoing yourself!!
I love the font of the letters you used.
This turned out so elegant! You did a fab job and this would make such a nice gift!!! Thanks so much for playing with our Tacky Adhesives…your end result turned out amazing!!!
This is so adorable! Great job! I love the cream with the sheet music! 🙂
I LOVE this! I have tons of sheet music from my grandmother that I know I’ll never use, so now I have a great way to use them. I’m getting lost in your blog, btw, I think I’ve now been browsing for 45 minutes and I’m not done 🙂 Love your projects and your writing style.
THIS IS ONE OF THE MOST BEAUTIFUL CRAFTS I’VE EVER SEEN!!! I CAN’T WAIT TO MAKE ONE FOR CHRISTMAS!!!! AND I HAVE SOME SHEET MUSIC ALREADY!
Thank you Cheryl! What a nice comment! Have a fabulous week! ~KIM
Thank you Kim for the wonderful idea and the way to show how to use tacky role however I think personally a darker colored letters would have made them come out better. Here they get lost in the background.