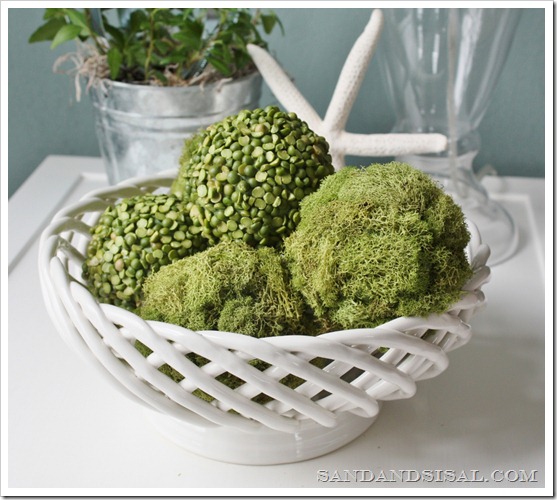
Warmer temperatures and newly sprouting bulbs announce the arrival of spring! I wanted to add a touch of that fresh spring green color to my décor with a simple display of split pea and moss balls. Decorative balls can be quite pricey, but you can make your own for a fraction of retail prices.
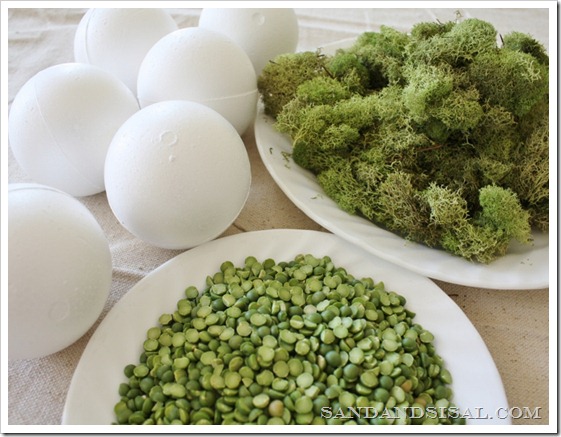
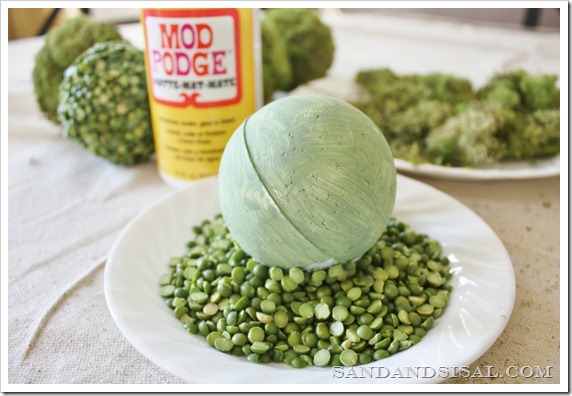
To make the pea and moss balls, all you need is Mod Podge in matte, green acrylic paint, one package of six smooth foam balls, a bag of green moss, and a bag of dried split peas.
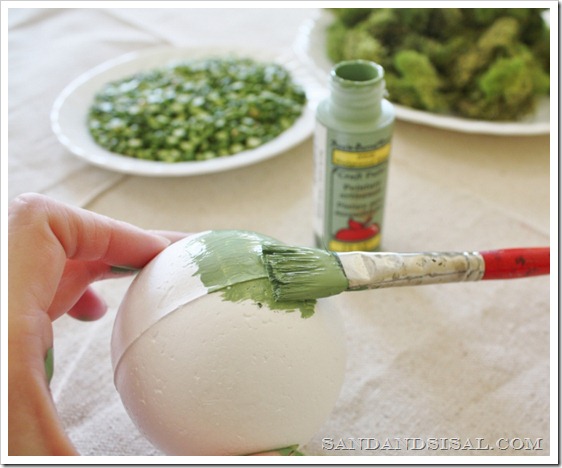
The first thing you’ll want to do is to paint your palls with acrylic paint. I used a leaf green color. Painting all six foam balls took me less than 5 minutes. Set them aside to dry after painting.
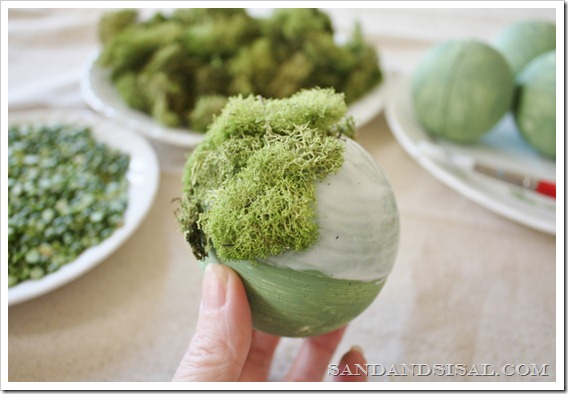
After the paint is dry, take a paint brush and paint Mod Podge onto one half of the foam ball. Press pieces of moss onto the Mod Podge and allow to dry. Repeat with the second half of the ball until the entire ball is covered with moss.
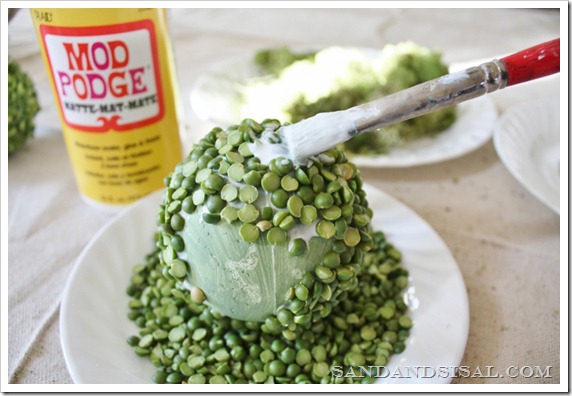
For the pea balls, you will want to work in smaller sections. Apply a thick layer of Mod Podge to a small part of the foam ball and then set the ball down into a container of the split peas. Let it stay there for 5 minutes then rotate the ball and start working on another area of the ball. Do this until the entire ball is covered.
To fill in any gaps, paint some Mod Podge over the top of the peas, making sure it reaches into the nooks and crannies, then sprinkle with more split peas and gently press. The Mod Podge will dry clear and will not be noticeable, but will lock in all the peas into place. This is an important step because it will help the peas retain their color.
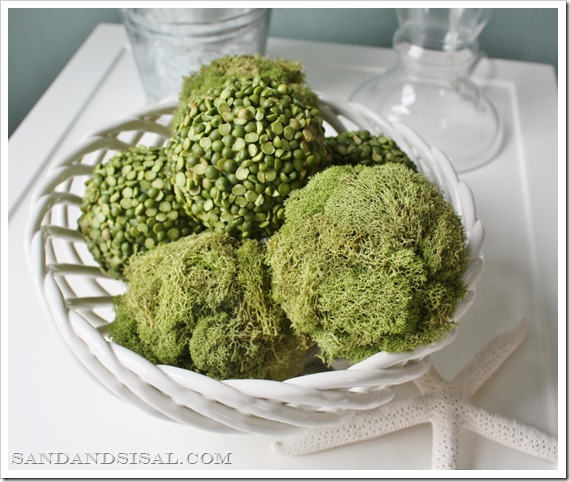
Arrange the decorative pea and moss balls in a pretty bowl, basket or vase. I love the fuzzy and soft texture of the moss paired with the different shades of the green peas.
They are sweet, simple, and oh so springy! Try making your own decorative pea and moss balls.
Kim
Join me on FACEBOOK, TWITTER, PINTEREST, G+ or SUBSCRIBE.
Linking up to:
 |
![TipMeTuesdayButton1[5] TipMeTuesdayButton1[5]](https://lh5.ggpht.com/-5k4TwQ5eLcQ/T0xK2nc6wgI/AAAAAAAAHw8/E4aKhojXGzQ/TipMeTuesdayButton15%25255B1%25255D.png?imgmax=800) |
Oo, I’ve done the moss balls, but not the split pea balls — aren’t they cute? Thanks for sharing!
Thank you so much for stopping by!
Oo, I’ve done the moss balls, but not the split pea balls — aren’t they cute? Thanks for sharing!
I only do easy crafts – and this fits the bill – thanks!
Kelly
Haha! Glad to help Kelly! Thanks!
I am doing this next week and will display them in my white milk glass pedastal bowl! So pretty and fresh!
Perfect! Thanks!
Great idea, thanks!
Thanks Lacey!
I absolutely LOVE these! thank you so much for sharing!!! i am going to create some of these myself and guess what…i have everything i need! : ) thank you and wishing you the absolute best!!! hugs…
Aren’t you the sweetest?! Thank you so much! ~ KIM
I love these. They are so simple but is GORGEOUS!
Love for you to share this at my Wednesday’s “Made by ME” linky party here:
http://www.jaqsstudio.com/2012/02/made-by-me-20-linky-party.html
Do you find that over time the moss turns brown? Are these a seasonal item that you would remake next year, or do these last?
Hi Elizabeth, this moss stays very green. I think it is color treated because you can purchase it in 2 different shades at Michaels crafts stores and the color is very consistent among all the packages. I use mine year round also. 😉
Another great project! Simple and springy…just perfect.
Karah
Hi Kim,
I featured these in a PINsperation post I do. Hope you happy with the post. I LOVE your blog and all the doable projects! Thanks,
Kandi
http://wovenhome.blogspot.com/2012/05/pinsperation-diy-moss-and-split-pea.html
Yay! I’m featuring these tomorrow because they are so great. 😀
Thank AMY!!
Cute 🙂
Super cute! Love adding moss and natural greenery-they look great in your white bowl-thanks for the inspiration!
Nice tutor. ^^
can u tell me where to buy the moss?
i’m from indonesia and i cant find it.
sorry for my english 😀
Great craft! This is absolutely awesome! Anyway, thanks so much for sharing the tips in making this great creation. I love this!
I love these. Just what I need for my hallway. I know I’m thinking ahead but, I’d like to try this for Christmas trees also on cone shapes. Thanks for sharing.
Jan