Add organic elements to your home décor whenever possible.
Natural items bring a bit of the outdoors inside and create a calming environment.
I love live topiaries, green and lush, but today I want to show you how to create simple cone topiaries out of items from nature.
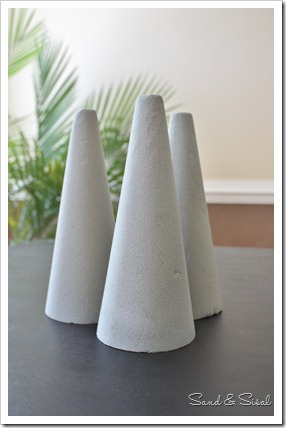
Start with a few floral foam or styrofoam cones.
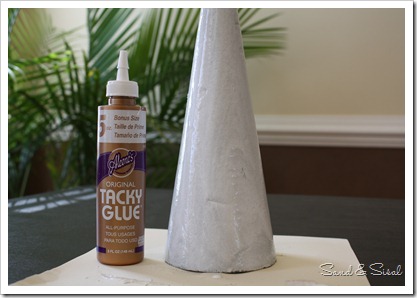
Coat each cone, one at a time, in a generous coat of Tacky Glue.
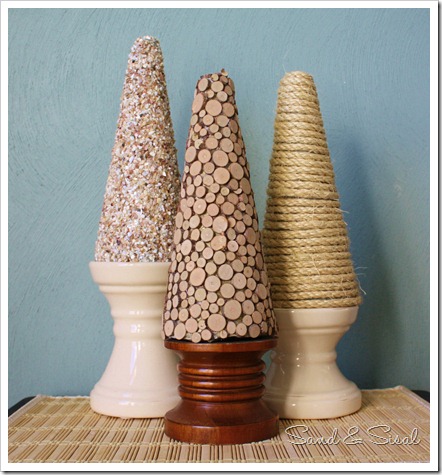
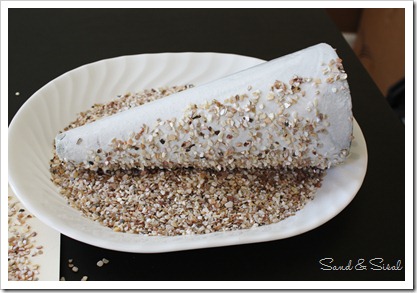
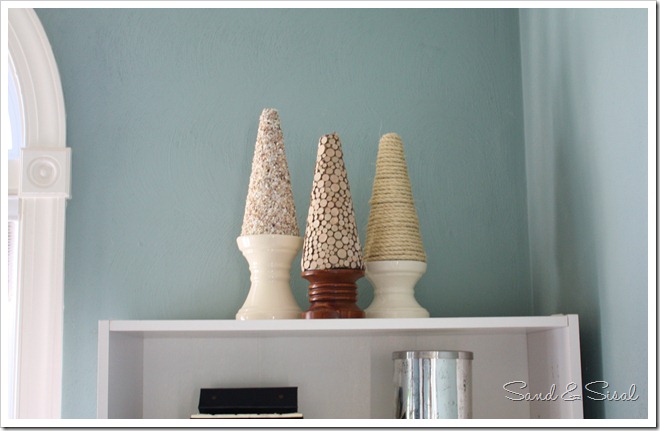
The first cone was rolled in crushed sea shells. I love the iridescence of the shells.
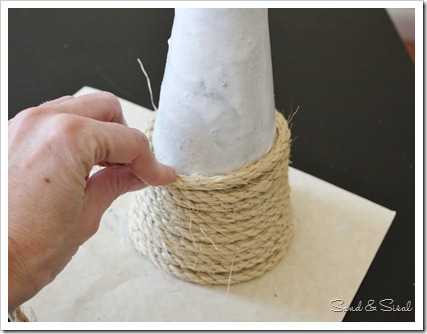
The second cone was wrapped in sisal (I love sisal).
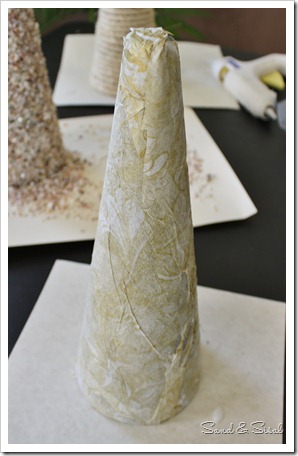
The 3rd cone was first wrapped first in tissue paper to give it a more substantial base to glue upon.
Then I hot glued slices of sticks onto it. Yes, I have numerous hot glue gun burns today. It’s all good!
Natural texture! Love it! I might add a sand covered cone or maybe a wood shaving cone.
The possibilities are endless!
Kim
Linking up to:
 |
 |
![TT_Button_new_thumb[1] TT_Button_new_thumb[1]](https://lh4.ggpht.com/_TeXtWuNGnEE/TWZgkvPHugI/AAAAAAAABsg/2NtIyYY10uU/TT_Button_new_thumb%5B1%5D%5B11%5D.jpg?imgmax=800) |
 |
I love these Kim!! Where did you get the slices of sticks? Love them and I have an idea to do something with them. 🙂
Wow! This is really beautiful! Good job! Where did you get the bases? I totally want to copy you! Great job!
xoxo
Thanks ladies. Myra- the stick slices and crushed shells I found today (next to eachother) in the home decor/vase section of Wal-Mart. And Vicky the cream candle bases are from Target, they still carry them.
These are beautiful…I love using natural elements…I’m going to check out Walmart for some of these things soon!
Great tip on Walmart! I’ve been looking for stick slices to cover a foam ball. These are cute!
These are so beautiful, Kim. I never thought of using items from nature before. Love the idea of using candle bases.
Thanks for sharing,
Tracy http://allthumbscrafts.blogspot.com
I am totally stopping by Wal-Mart tonight, and I Love the idea of using sand. Thanks for sharing!
Hi Kim,
I love the textured look of these.I wonder if one could use small river rock ( sold in the craft stores)or would these be too heavy?
oh i love these! right up my alley on style, i try to incorporate natural elements in my work all the time..i just love these! thank you for such an awesome idea 🙂 happy weekend!
That is a great project! You have a great theme going but I do think the possibilities are endless.
Wow! What a great idea! I have so many boxes of shells that my family has collected over the past few years. I’ve been neglecting doing anything with them…until now! Thanks for sharing!
What a neat idea 🙂 I saw awhile ago on a blog (for the life of me I can’t remember which one, sorry!) where they took an ordinary smooth plastic trash can & hot glued sisal all the way around it for their bathroom. Like your cones, it turned an ugly boring object into something unique & BEAUTIFUL! Your inspiration is CONEtagious…ha ha Kim
I saw bags of the sliced tree pieces at my local Tuesday Morning store this past week! I may have to go back and get them! These are so cute!
E’ un’idea geniale, complimenti immagino a Natale quante decorazioni si potrebbero fare……!!!!
Molto molto bello!!!!! Ciao
Giò
Anima Shabby
After seeing several of your projects, have yet to feel any of them wouldn’t be something I’d want to make. Don’t know when I’ll get any sleep I’ll be so durned busy, lol. The cones are so great, love they can be used all year, not just Summery. Well, have to go, lots more of your posts to look at. Happy days