Window treatments help determine the visual mood of a room.
Whimsical, dramatic, casual, or formal looks can all be achieved with the type of treatment you choose.
Window treatments don’t have to be sewn, expensive, or tailor made to look fabulous!
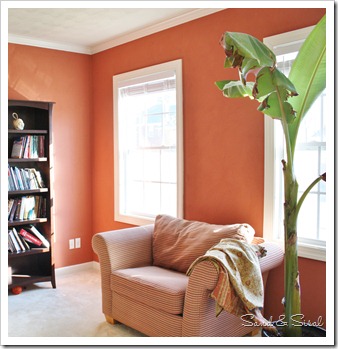
Below is a view of my music room which I’ve neglected to decorate for 3 years.
A beautiful 100 year old baby grand sits just to the left of this picture, along with 3 book cases,
two architectural columns scribbled with blue Sharpie (my preschooler, the artist),
one big banana plant, no pictures and no window treatments.
Did I mention this is the first room you see when you walk in the front door?
**Sigh**
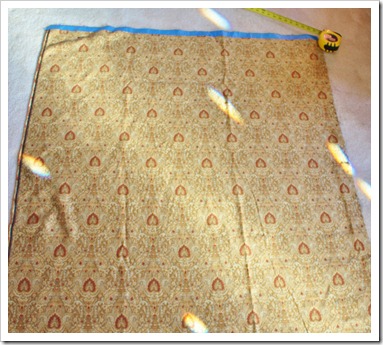
Oh yes, do you see that fabric sitting on the armchair? It has sat there for TWO years. Yes TWO.
Time to make some window treatments!!!!
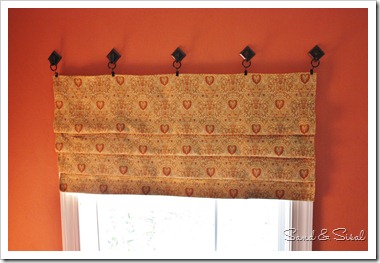
Even though I know how to sew, I wanted to try to make a treatment that looked like a Roman Shade without sewing.
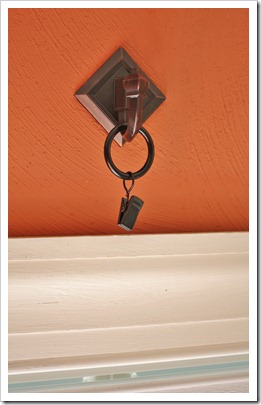
Home Depot had these self adhesive hooks by 3M for around $2 and Target had simple curtain ring clips.
I measured the width of the window and added 2 inches for seam allowance, then cut the fabric to that width.
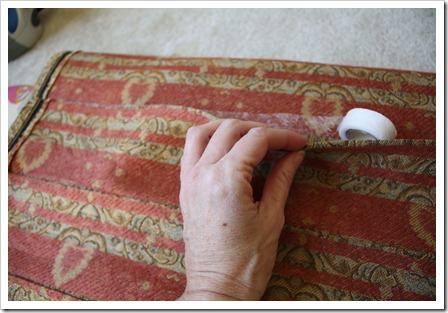
I folded each edge and made seams with Stitch Witchery. Click here to learn how to use Stitch Witchery.
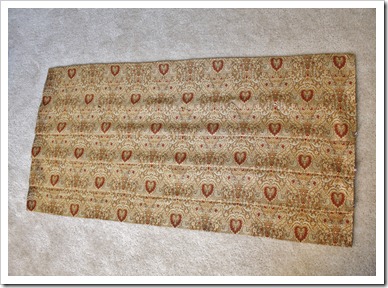
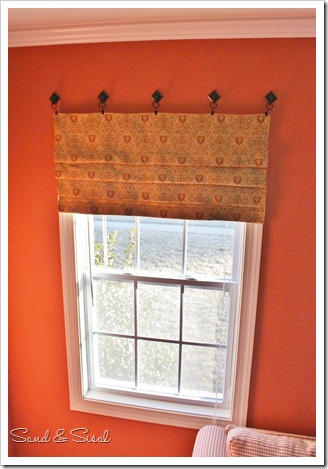
Next the fabric was evenly folded to make 3 pleats. It’s looking rather Romany already!
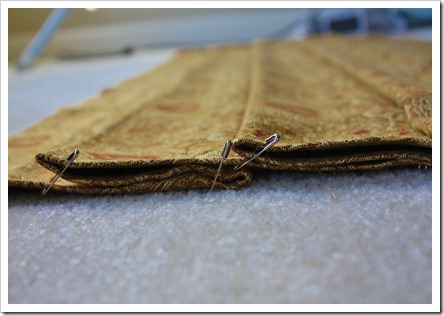
Once I had all the pleats “just so”, I pinned it all over to hold the pleats in place,
then placed it up to the window to make sure I liked it.
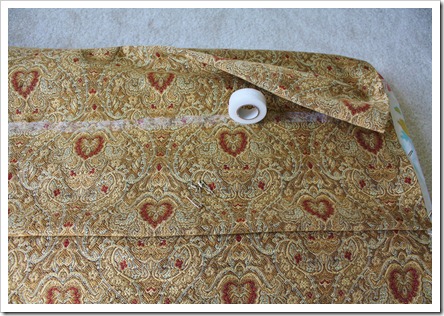
Carefully I removed some pins, folded back each pleat, and laid a strip of Stitch Witchery along the crease of the pleat.
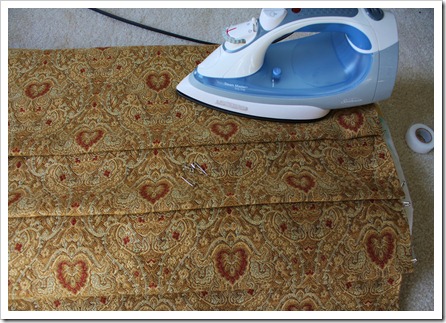
Then after folding the pleat back down it was pressed to adhere the Stitch Witchery.
After adhering each pleat, the fabric was flipped over and each flap was again lined with the Witchery and pressed.
All that was left was to clip the shade to the curtain hooks and my makeshift, no-sew faux Roman Shade was finito!
Kim
Linking up to:


Ingenious my dear! And beautiful. Love the shade. Thanks for sharing.
Brittany
http://www.prettyhandygirl.com
3M Hooks—A must have! Love your blinds!
Debbie
This looks beautiful. I love how you used the hooks at the top with ring clips…great idea!
WOW what a great idea I love the look and that tape is a great idea….
You make this sound so easy. I must try this in my bathroom, my window looks so plain and blah
Beautiful job, Kim! I might give this a try for my bedroom. I love the fabric, too!
XO,
Jane
Kim, that looks great and such a great no sew tutorial. Thanks for joining the party this week.
I love the fabric you chose. Looks great!
well that looks super easy and it looks awesome! I may have to give it a try!
That is AMAZING!! I am sooo inspired to do that over my kitchen windows 🙂 Funny thing is your fabric matches my coach to a “T”, good thing I’m on the other coast or your windows might end up missing some shades..ha ha GREAT job as always! Kim B.
Ha! You are right, we were on the same wavelength. Your colors are so fun!
-Rene
First of all, I love the wall color. The roman shade fabric matches well. And the hooks you used look great. So much cooler than a curtain rod.
I am so happy that I found this post on Pinterest! I am doing a budget makeover to my office/guestroom and didn’t want to spend a fortune on window treatments. This is exactly what I wanted for the window box seat!
Thanks! So glad to hear it helped you! Have a great weekend!
I made it and it’s up! I’m going to make them for every room!
Hello Kim,
Thank you! I have a question about where to place to hooks above the window frame. Our frame is approximately 2 inches deep from the wall. Any tips or advise is so very appreciated!
Thanks again.
Hi Kristi!
Oh wow, 2 inches is pretty thick. To be honest, I don’t think these hooks would work well for window casings that thick. I’m sorry.:(