Any day that involves pressing a trigger is a fun day in my book! I love my nail gun! It makes most DIY projects 1000 times faster and easier, especially if you want to accomplish a project in just a weekend. And if you are anything like me, you have about 10+ projects that need to be done, like yesterday.
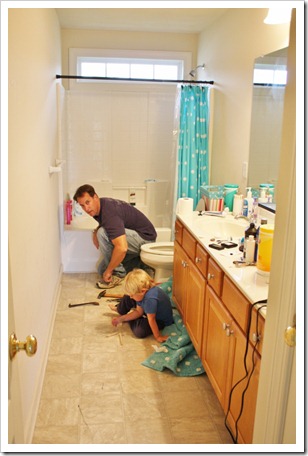
Our daughters share a bathroom and after living in this home for three years, we still had never decorated it. Now this bathroom is long! 18 stinkin’ feet long! Walking to the bathtub felt like walking down a long, boring hospital hallway. It was such a vast space that we were unsure of just what could be done with the wall. Don’t get me wrong, it’s great to have that much space, but it’s almost too big! The girls suggested bead board to dress it up, like we had at our last home.
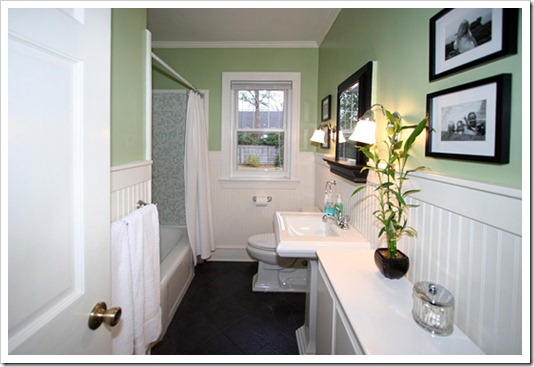
We did a total bathroom renovation in our old 1949 Cape Cod home, where we added bead board and loved the look and charm of it. You can read all about our 1949 Bathroom Renovation by clicking the link to see the crazy before and after pics.
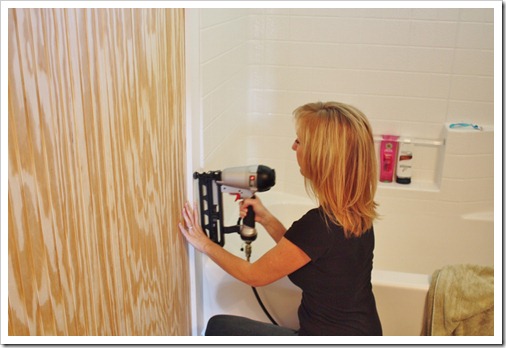
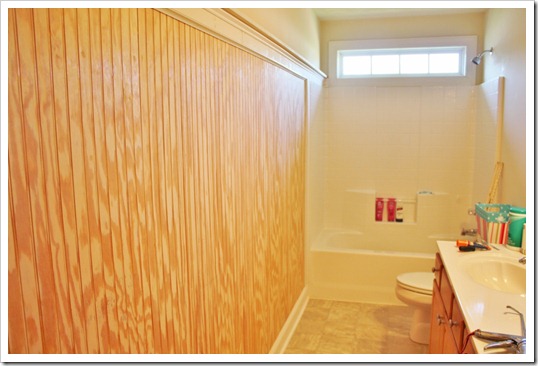
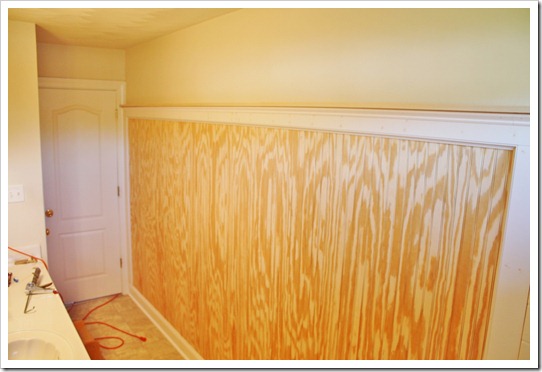
To start this project in the girl’s bathroom, we first removed the existing base boards. Then we attached full 4 x 8’ sheets of bead board paneling to the long wall with some Liquid Nails squirted across the backside. We took turns pressing the paneling to the walls and nailing it with the nail gun. Because there was little to no cutting involved, this part went fast!
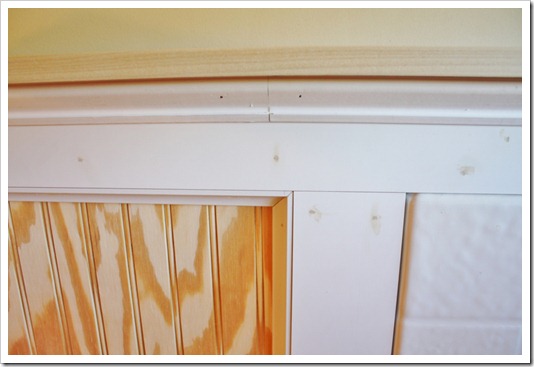
New, beefier, pre-primed baseboard was laid. Pre-primed 1” x 4” boards framed the top & sides of the paneling and then a board was nailed into the top to make a ledge. Additional trim was added under the shelf and cove molding was added under the frame to dress it up. There were hardly any angle cuts to make so this trim process went quickly also.
Here’s the wall assembled and caulked. The next step was priming and painting. I know what you’re thinking… yes, it still looks like a crazy LONG wall. But stay with me! I’ve got plans on how to break up the space!
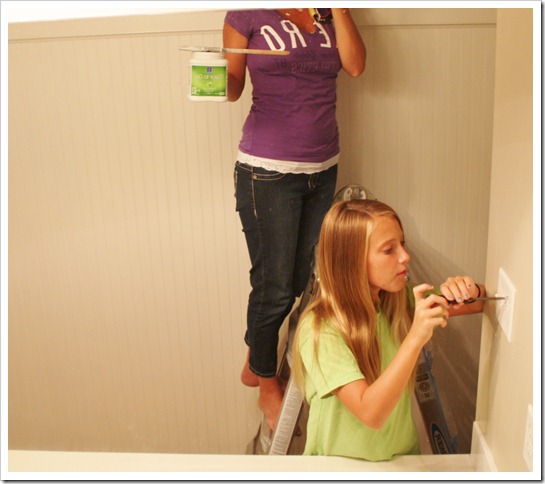
You can see a little sneak peek in the mirror of how the bead board turned out! I was even able to get the girls involved with prepping and painting! It you have teens then you know what an accomplishment THAT was!
Next will be new color on the walls (above the bead board), new hardware, shower curtain, mirror frame, and all new accessories. Ok, I’m exhausted just thinking about everything that still needs to be done! Scratch #10 off the to-do list….only 9 more projects to go! Stay tuned for future posts, because I hope to have it done soon!
Kim
Join the conversation on Facebook!
Kim again you have inspired me – this time I really, really need that nail gun. Move that to #1 on my list of treats. Love that beadboard.
Looks great Kim! I LOVE beadboard and have it in 2 of our bathrooms. Can’t wait to see it all finished! Martina
Thanks Martina & Jaime! The nail gun was a 40th Birthday gift this year! I’m telling you, it was the best gift ever! It makes the, what I thought IMPOSSIBLE, POSSIBLE!
It looks great so far & I love the direction it’s heading in. Can’t wait to see it finished!
What an amazing transformation the beadboard makes! So glad the girls got involved. Hey, I thought it was just teenage boys 😉
What an amazing transformation the beadboard makes! So glad the girls got involved. Hey, I thought it was just teenage boys 😉
Looks GREAT! Can’t wait to see what you do next 🙂
I just found your blog. I have the same issue with my son/guest bathroom. I am inspired! What color did you paint above the beadboard? It looks like a warm beige. I’ve been having trouble finding a beige that doesn’t have a green/grey in it.
Thanks Leslie! We painted Urban Putty by Sherwin Williams above the bead board. 😉
Kim, I kept this post bookmarked…it was my inspiration. You can see the result here:
http://susan-daysgoby.blogspot.com/2013/05/the-blue-gray.html
We didn’t DIY though we bought all lumber and paint. Our beadboard looked a bit rougher than yours The painters sanded of course, but I hope we used the right thing. In any case, thank you so much!! I love it.
How high is the ceiling? It looks higher than a “normal” height- especially if you are doing 4 X 8 beadboard. I’m jealous if you have high ceilings. I have normal height ones and wondered if I did the full height of the board if it would look weird, or should I cut it?
Hi Lisa!
It’s an optical illusion. The bead board and ledge actually draws the eye upward and making the wall look taller than it is. The ceiling is only 8 ft tall. We cut the bead board down to 6 ft. 😉
Oh wow, I would never know, but it’s what I want to do in my bathroom. My never project is putting it up as backsplash in my kitchen- is it doable?