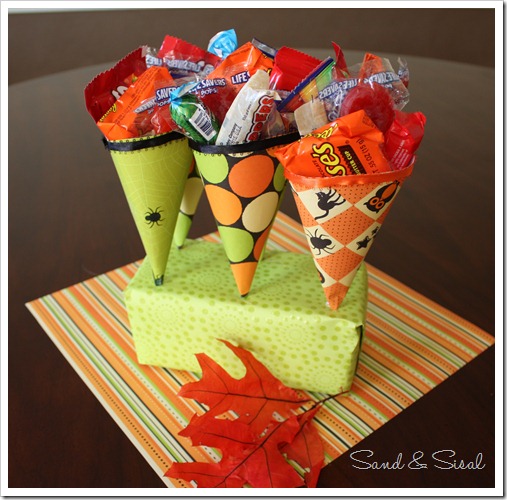
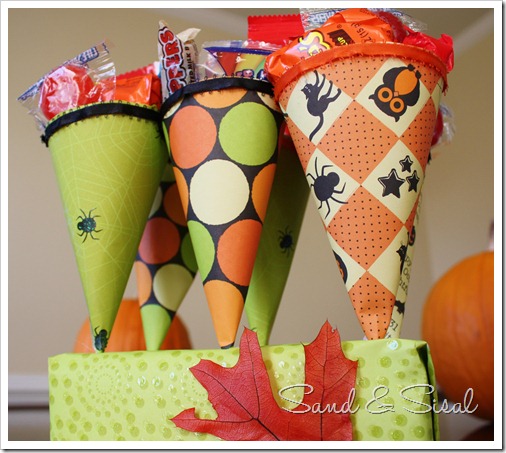
Halloween Treat Cones are a fun way to hand out sweets to all the little ghosts and goblins!
They are so simple to make!
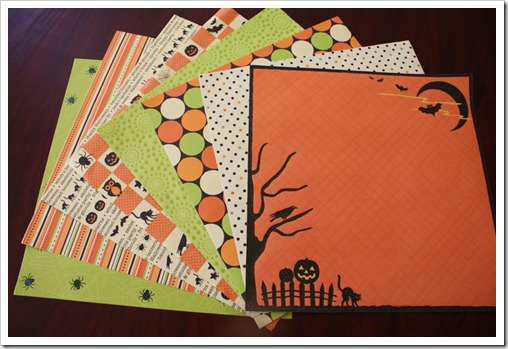
Start with a selection of 12 x 12” scrapbook paper.
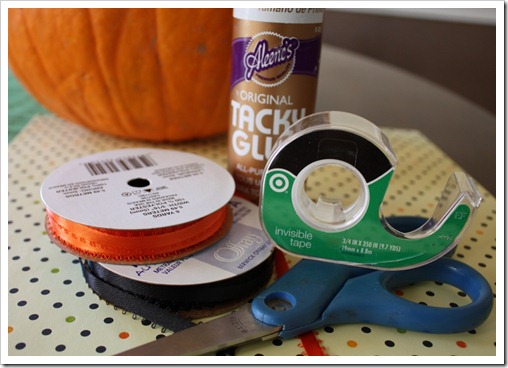
All you will need is scrapbook paper, a pen, scissors, clear tape, glue, and some ribbon.
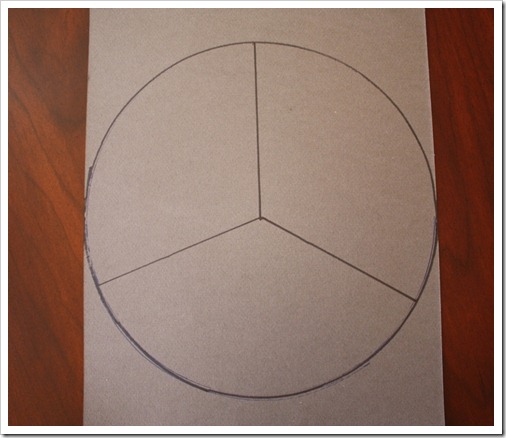
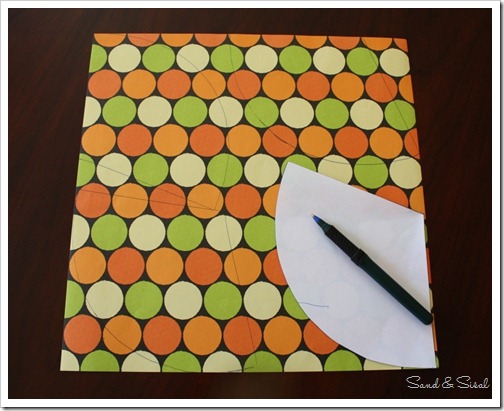
On a large sheet of cardstock or plain paper, draw a large circle and divide it into thirds.
I used the lid of a pot to trace around. A dinner plate would work also.
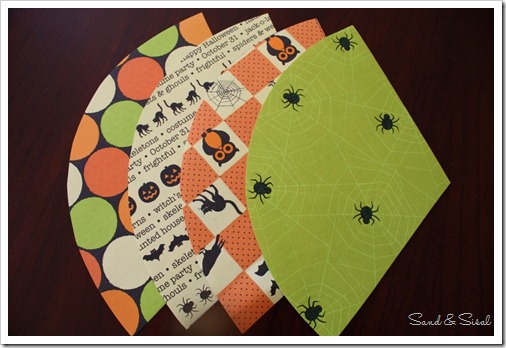
Next, cut out the circle and along the lines marking the thirds. You only need to use one of the pie shapes as a template for the cones. Trace the cone template onto a piece of scrapbook paper. You should be able to get 3 or 4 pie shapes from one piece of paper.
Cut out all your pie shapes.
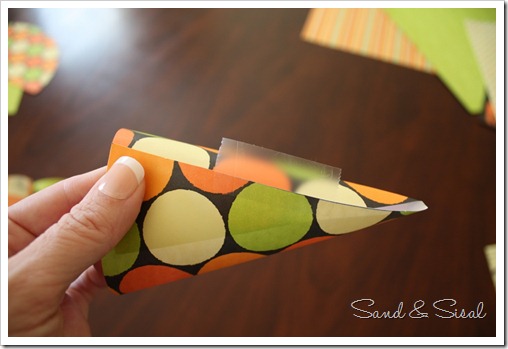
Now roll your pie shapes into cones and secure with tape.
I left a small opening at the bottom of each treat cone.
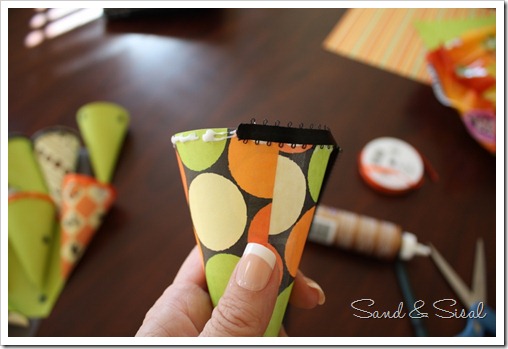
This part is optional but it really dresses up the Halloween Treat Cones nicely. Run a bead of tacky glue around the top of the cone and press ribbon onto the glue. Feel free to use any type of ribbon you trim you desire! Get creative!
Stuff the cones with any type of treat, candy, or small prizes. You can display the Halloween Treat Cones by placing them in a basket or bowl filled with colorful tissue paper or raffia or try this standing display.
To make your cones stand up, simply wrap a piece of Styrofoam with decorative paper, and poke skewers into the foam. Now place your cone onto the skewer through the small opening you left in the bottom.
The Halloween Treat Cones are ready to serve to your child’s class parties, block parties, your own party!
Does your neighborhood “BOO”? A basket of these treats left on the doorstep would be a fun surprise!
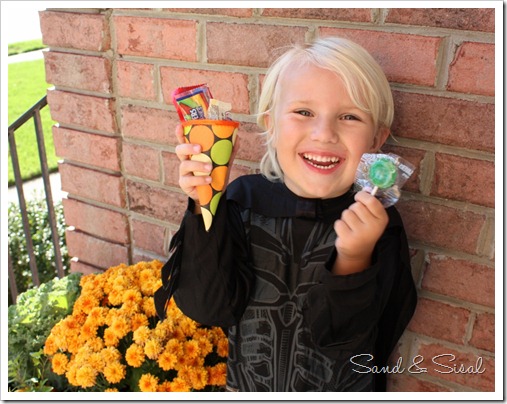
Just look at those happy smiles!
Happy Halloween!
Kim
Join the conversation on Facebook!
Linking up to:
 |
 |
 |
 |
 |
These are great! Such a fun way to wrap some candy and give some love!
We are having a Halloween Kid Treats party over at Sassy Sites! I would love for you to come by and link this up! XOXO!
Thanks for linking to Take-A-Look Tuesday – you were featured today!
Mandy, http://www.SugarBeeCrafts.com
So cute! And great tutorial!! Looks easy enough that I could actually do it! 🙂
Do you know the brand of this paper? I bought a similar pack and need more of the papers.
Thanks! Cute project.
All that is needed can be an existing, viable business short term loans
like in other ponzi schemes, bank runs result because the bank
won’t actually hold the funds necessary in order to meet all its obligations.