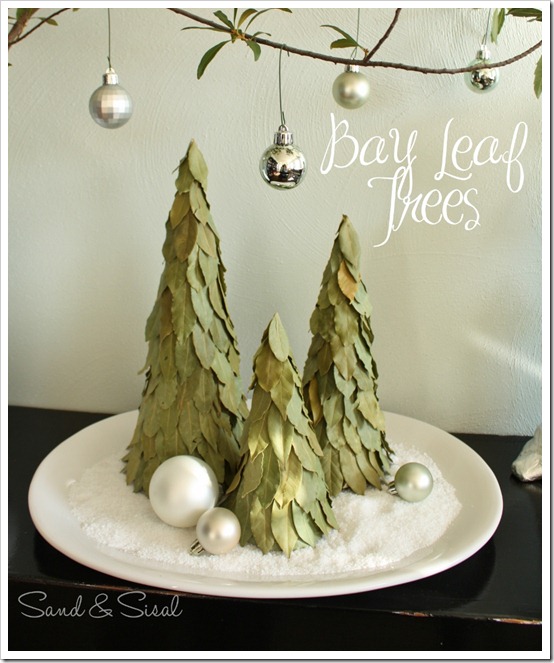
Early this holiday season I came across fresh bay leaf trees by Pottery Barn. Birch bark and sparkly silver set against the soft green trees seemed like a perfect pairing. Their fresh bay leaf trees sold out quickly, but I knew the trees could easily be replicated for a fraction of the price, using dried bay leaves instead.
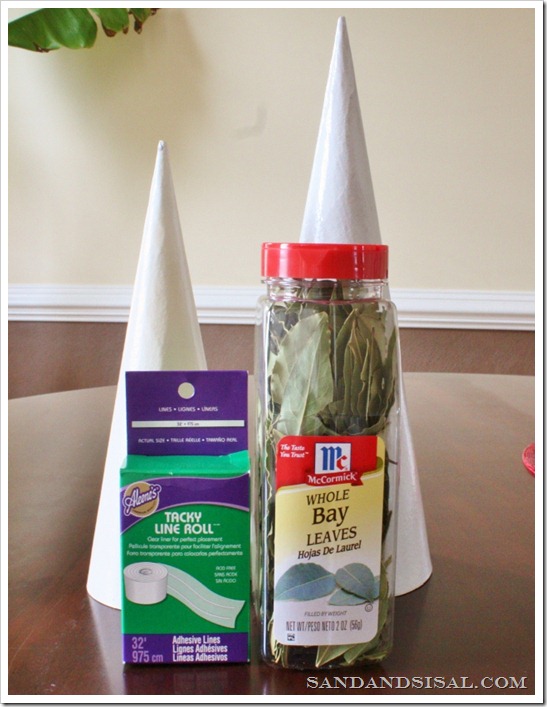
To make Bay Leaf Trees all you need is:
-
one large container of dried bay leaves
-
Aleen’s Tacky Line Roll
-
paper mache cones or poster board formed into cones.
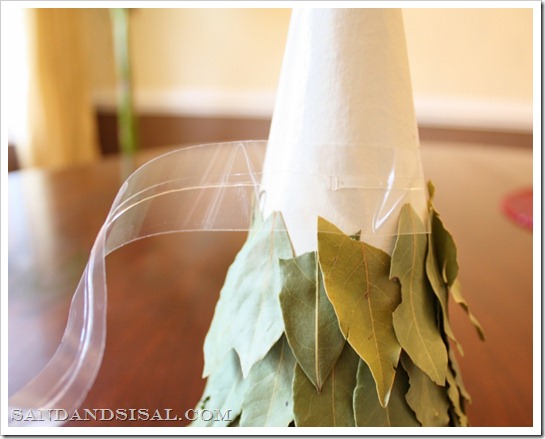
Purchase whole, dried bay leaves at a big box wholesaler like Sam’s Club or Costco. It will only cost approximately $3! You can use paper mache cones or make your own cone out of poster board and tape. My smallest tree is poster board. Take your tacky line roll and apply a strip of the glue around your cone.
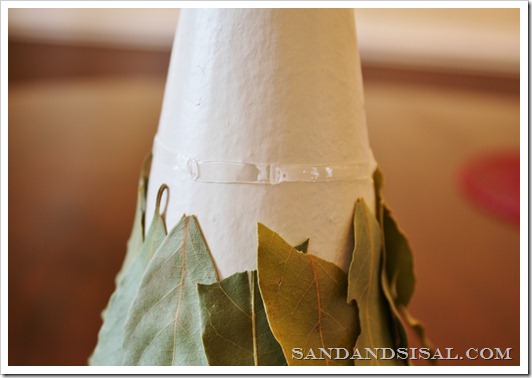
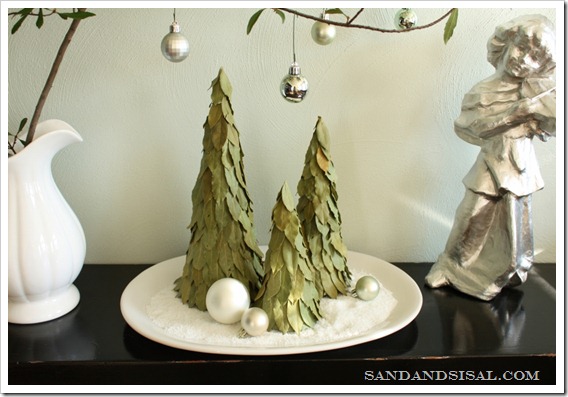
Remove the plastic backing and gently press nice, whole, bay leaves against the glue strip, slightly overlapping each other. Apply another strip of tacky line roll glue around the cone and add your next layer of leaves. Repeat this process until you reach the top of the cone. Just make sure the cone is fully covered.
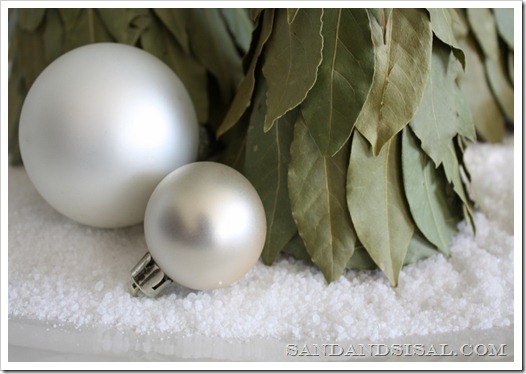
That’s all there is to it, unbelievably simple! Now you can display your Bay Leaf Trees. Pour Epsom salts onto a platter for an instant snowy winter scape!
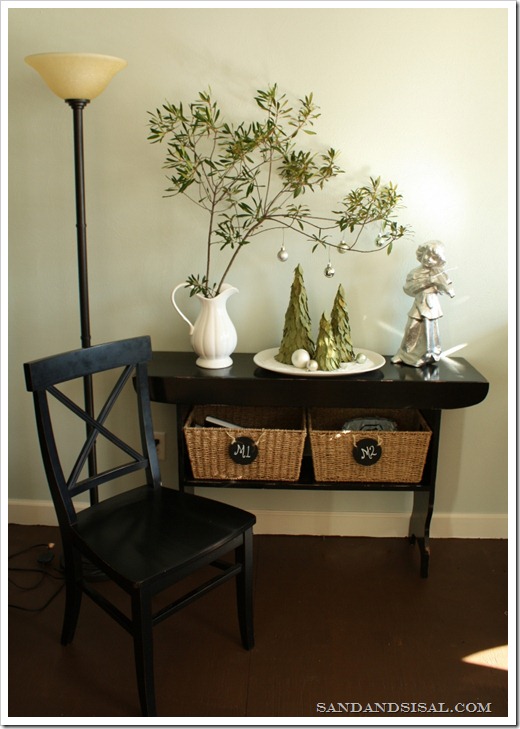
I trimmed a few wax myrtle branches from the yard and placed them in a pitcher. A few small, silver ornaments adorn the branches for a whimsical touch.
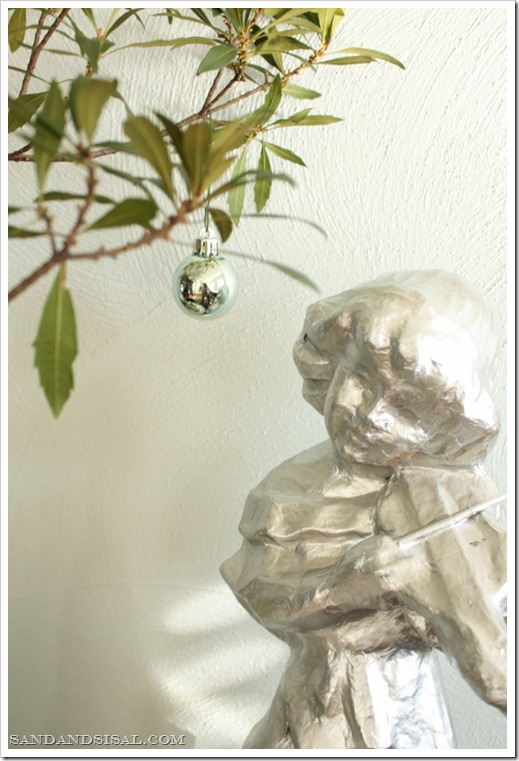
My paper mache angel, was gold and worn looking, so she received a mini makeover with a quick spray of silver.
The Bay Leaf Trees are so versatile and will fit in with any style of holiday décor whether you’re modern, rustic, shabby chic, eclectic or something in between! Another wonderful benefit of these easy to make and inexpensive trees is their smell! They make me want to cook!
Give these Bay Leaf Trees a try! You’ll love them! For another easy tree to make, try these coastal inspired Capiz Christmas Trees!
Kim
Join me on FACEBOOK, TWITTER, PINTEREST, G+ or SUBSCRIBE.
 |
 |
 |
 |
 |
 |
Kim…this is darling! I HAVE to give it a try!!
Happy Holidays!
XO,
Jane
Love these! They turned out so cute! Pinned them :).
This is one of my favorite made items this year.. Absolute genius idea and it looks terrific~!
well done indeed. Take a bow- you deserve to.
I love these, they look absolutely gorgeous 🙂
This would be a GREAT craft for my boys to do at their “Winter” party!! I’m saving this for next year 🙂 Who knew?! Looks amazing as always! You should have a special tab called Pottery Bargains or Ballard Discounted!
Gorgeous, Kim! So simple and elegant (as always here!).
How cute!! Love this idea, I bet they smell amazing 🙂
These are beautiful and wow how easy!! Love this!!!
Hi Kim- Love these – classic… simply elegant.
My best- Diane
Oh, Kim. This is such a simple and incredible idea! I just love it. Good girl! 🙂
These are so cute, Kim. I think they’d be cute any time of year. Or maybe even as a topiary?(since I don’t use bay leaves for anything else);p
I have followed your blog for a while, and this bay leaf tree idea popped up last week when I was trying to decide what to use as a food table decoration on Christmas Eve. Needed something that didn’t take up much space. This was perfect! I made a 14″ tall one this weekend, and it was incredibly easy. Perfect touch! Thanks for the post. I’ve already been forwarding your idea to others!
Love this! perfect for a table!
Beautiful. I am sharing this!
Love these pretty trees. Just wondering why I didn’t think of this. lol!
Thank you for the “show-how.”
Merry Christmas!
These are so fabulous I can hardly stand it! I’m pinning this bad boy and definitely plan on making this for next year. Gorgeous!!!
Kim, these are really gorgeous! Such a beautiful green and I’m sure they smell amazing.
You should submit your craft into my company’s craft contest when you can: http://www.pennysaverusa.com/contest/103/details/
Such a fab idea!
These are really cute. If I made these would I have to make them year after year or would they last thru the years sine we are using dried bay leaves?
Great question! Well it’s been one year later since I made these and I had one that sat out all year and it has faded some. The other two were carefully wrapped up in a box and they look just great. I need to hot glue a few leaves that fell off, but other than that I was very pleased with how they held up.
Just stopping by to let you know I featured this project on my Christmas tree craft collection.
Please grab a featured button from my side bar when you get a chance. Thanks
http://diycraftyprojects.com/2012/11/50-diy-christmas-tree-craft-ideas-collection.html
This is so on my list for next year!! I can’t believe I’ve never heard of Alene’s Tacky Line Roll. I’ll be looking for that now too! I sure love her Tacky glue line…I use it so much and give her so much free plug on my blog she should be sending me some!! So does the scent of these last very long using the dried bay leaves?
I love these! What a great idea!