The text came through from my husband at 7 am. “Look in the driveway.” Ok, it’s early and I haven’t even had my coffee yet, but I’ll play along. So I check out the window… nothing. I text back a few “???”. The faint sound of dogs barking and a lot of sirens in the distance seem to be closing in. I say a little prayer for whoever the sirens are assigned to help and head off to make my much needed coffee. The sirens stop and hub’s text comes through… “BRICKS, 2 BIG PALLETS SHOULD HAVE ARRIVED BY NOW”. Obviously the big truck from Home Depot with my bricks was late. We’re working on laying a brick patio and it’s been quite an arduous process.
An hour passes and still no bricks. I get a call from hubs, “The truck with our bricks crashed and spilled the entire load, so he’ll be late.” The sirens! Oh no! Sure enough a while later, the huge Home Depot flat bed truck arrives with a rather frazzled and apologetic driver, and what was left of our two pallets of brick. He turned a corner to quickly I presume and the pallets shifted and went flying across an intersection a mile from our home. Thankfully no other cars were damaged and no one was hurt. (Note to self: Avoid being next to a large flatbed when they turn corners.)
I’d love to give you all a tutorial on how to lay a brick patio, but we are complete novices at this. I’ll share with you what we’ve done, though I’m pretty sure we didn’t follow all the “rules”. We started leveling the ground where the patio would be in the back yard last fall. Dirt has been shifted, tilled, hauled, moved, raked, de-stoned, and smoothed over and over and over. I’m tired of dealing with dirt. Once the ground was prepared, my husband thought an octagonal shaped patio would look amazing. I agreed. The problem was how do you make a perfect octagon 16 feet in diameter? That requires math. Um, I’m an artist and we artists don’t do math. Our brains hurt when looking at numbers. Thankfully hubs is a math whiz and figured out all the correct angles.
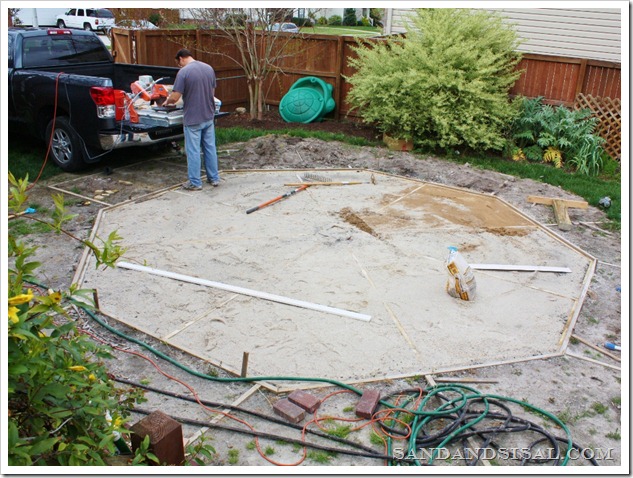
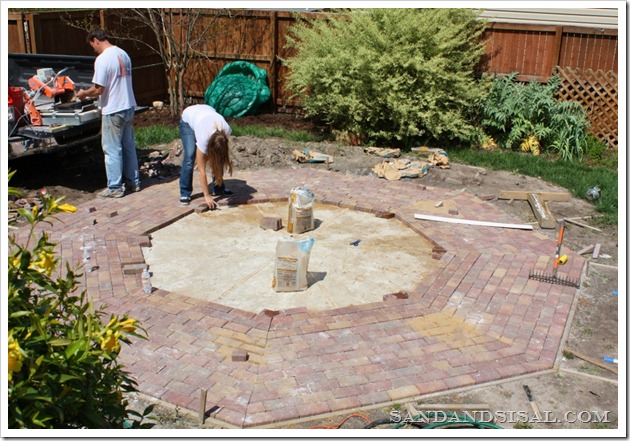
He laid pressure treated 2 x 4’s and formed the octagon. Then the dirt inside of the octagon was removed some, leveled, and topped with 4 inches of “crush and run” which is a small gravel. A few inches of sand topped the gravel and a vibrating machine compacted the whole area down. We started laying brick around the perimeter and used a wet saw to cut angles at the corners. That wet saw is a really neat tool but it scared me! I love my circular saw but the wet saw requires fingers to be closer to the blade than I’m comfortable with. My apologies to the hood who had to endure the sound of sawing bricks all weekend!
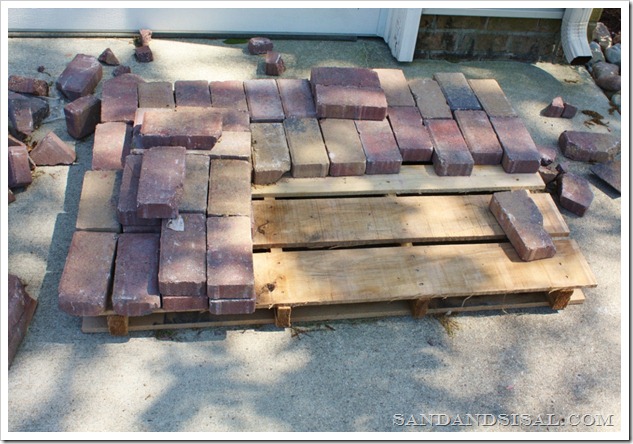
This is all that’s left of the bricks! We estimated the amount we needed pretty well, though many were damaged by the crash and couldn’t be used. Home Depot is refunding us for all the damaged bricks thankfully.
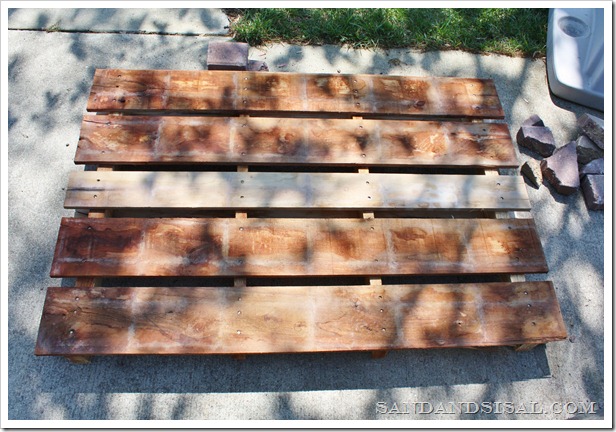
The kids all helped carry and lay the bricks which was a great help. Our fingers are raw and I’ve realized how out of shaped I am! My hamstrings and back ache like an old woman! (Second Note to Self: Start getting in shape ASAP!) I think what I am most excited about is not finally having the patio nearly complete but the two pallets I now have!! Yes, the wheels in my head are turning, thinking about all the pallet art I can create with these babies!
We still need to do the finishing touches to the patio which include adding a layer of sand over the bricks to lock them into place. Once it’s all cleaned up and completed I’ll show you the final result! I’m looking forward to a few chaise lounges and tables and the fire pit in the center with pretty, flower filled pots around the perimeter. Sounds lovely doesn’t it?
Kim
Check out my other DIY Projects tab up top.
FACEBOOK, TWITTER, PINTEREST, G+ or SUBSCRIBE.
It sounds better than pretty, it sound MAGNIFICENT.
its already looking great so I can imagine the finishes product.. so much hard work but it will be sooooooooooo worth it.. I’m happy for you and your family n friends.
enjoy every moment..
ps~ my daughter is 28 and has the back issues- me the oldie:) never has a problem lol..
How very sweet of you! Thank you so much! I’m looking forward to relaxing on it!
I love the shape. It’s going to be so nice!
Just be sure to use that polymeric sand. I had a neighbor who did a walkway with pavers but didn’t use the correct sand and it was filled with weeds. They had to tear it up and re-do it. 🙁
Hmmm, I’m not sure what type of sand he bought. I’ll check. Thanks for the tips!
It looks lovely and sounds lovely what you’ve planned once its compelety finished. We put in our patio a few years ago and I had the brainstorm to put a pattern on the end too “add interest” talk about a headache….but it looks great 🙂 I can’t wait too see it all finished be sure to include a photo of you in a chaise lounge with a cocktail in hand.
Ohhhh, I soooo understand…. we tried several patterns for extra interest… yah, no, we won’t be doing that. I have a whole new respect for masons! No worries… I’ll have that cocktail in hand for sure upon completion! 🙂
It looks lovely and sounds lovely what you’ve planned once its compelety finished. We put in our patio a few years ago and I had the brainstorm to put a pattern on the end too “add interest” talk about a headache….but it looks great 🙂 I can’t wait too see it all finished be sure to include a photo of you in a chaise lounge with a cocktail in hand.
Well since y’all are now pro’s you can come and do mine. I’ll make it easy on ya mine will be a rectangle. Can’t wait to see the finished product.
Haha! You prep it and I’ll lay down the bricks, that’s the easy part! (Especially if it’s a rectangle!) 🙂
Oh it’s going to look fab!!!! Love brick patios and I can tell already by the octagon it’s going to be pretty 🙂 I hope you are not wearing sandals for this project……. 🙂
haha Jess, nope, no sandals this time 😉
Thanks!
I love the octagon shape! And those bricks are gorgeous! Can’t wait to see the finished product!
Thanks Lauren!
Could you take a minute of your time and measure how long the 8 straight edges are? you can save me alot of time trying to figure it out… not real good at math… lol
Sure Terry!
Each outside edge is 7 feet wide and each “spoke” on the octagonal wheel (haha) is 9 feet long to the center. I suck at math also. My hubs figured the measurements out. Hope that helps! ~KIM
That helps bunches… 😉 Thank You ! ~Kim
Okay I’m now chuckling because even though you are in pain and hunched over and sore as all can be …
… you’re doing a happy dance about all the pallet opportunities that lay before you!
And am loving the patio. And am tracking with you about the math hurts my head thing …
Hope you and your family have a lovely Easter weekend!
🙂
Linda
Thanks Linda! I hope we do!