We’ve been doing a ton of DIY projects around the house, like you’ve seen in the recent post “Installing Hardwood Floors”. Many readers have written asking for some basic instructions on how to do some of the carpentry I’ve done. I’m certainly not a pro, but I’ve done enough to pass along some simple tips. Installing baseboard molding is probably one of the easier molding projects to tackle. Where do you begin you might ask? Let’s head out to the hardware store and take a look.
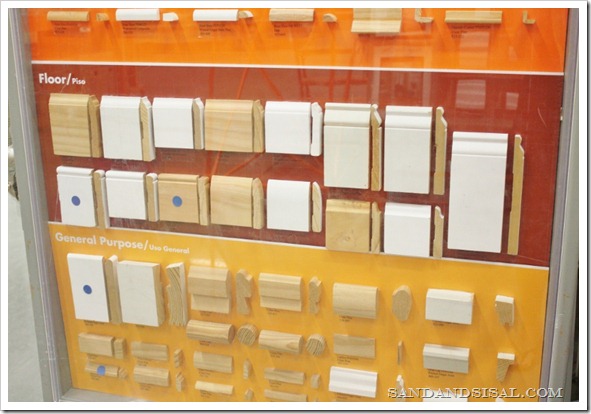
This is what you’ll see upon entering the molding aisle at Home Depot. It’s a tad overwhelming for sure. Most of the baseboard molding comes in 8’ lengths and in 16’ lengths. Borrow a friend’s truck and lots of straps, because I recommend purchasing the longest possible lengths you can get. Long boards mean less cuts and a cleaner look.
You should have seen us in the HD parking lot fastening the three 16 foot long baseboards and shoe molding across the top of our truck. Hubs and I were arguing about how to best secure them and apparently it was entertainment for an old man who sat in the car next to us shaking his head and laughing. But hey, my idea won out and the boards were strapped tight and it was safe to drive, thankfully.

Back to your choices…. most homes these days have a the basic 4.5” baseboards, but you can chose from a variety of heights and styles. If you want to get creative with your baseboards, be sure to check out my recent post “Baseboards”. It is a collection of different baseboard styles and eye candy inspiration.
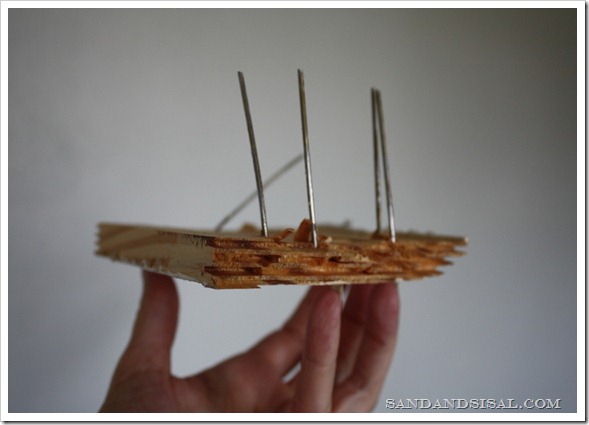
Let’s get started. We ripped out the old carpet in our music room and also the baseboards because the hardwood flooring needed to be installed. Removing the old baseboard wasn’t exactly a breeze. I’m beginning to think the carpenter had some anger issues and took it out on my baseboards, because they were full of hundreds of nails! This is overkill people. Please don’t use this many nails.
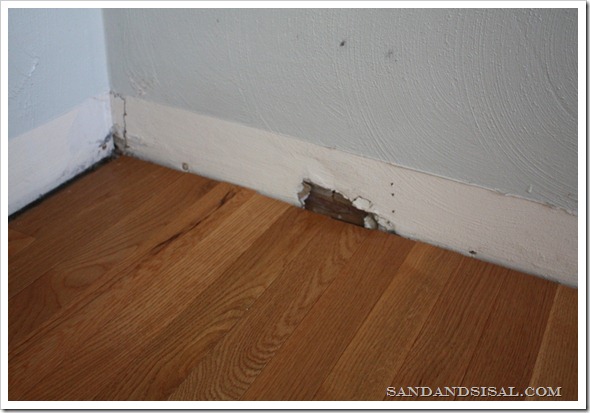
The walls were a bit damaged but I knew the new baseboards would cover that up.
One of the best tips I can give you is to purchase pre-primed baseboards and to paint them first. You then will only have to touch up where you nail. This saves you a ton of time and you don’t have to worry about getting trim paint on the walls. I laid my 3 boards across my deck and gave them 2 nice coats of semi-gloss.
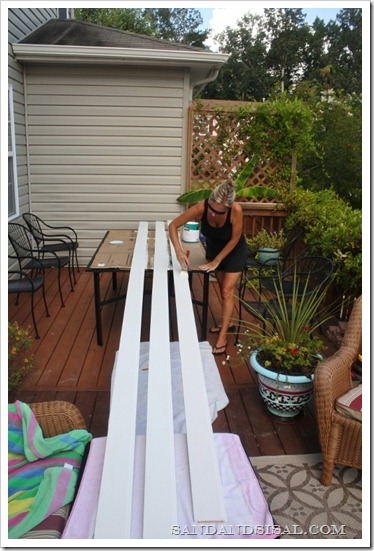
Items Needed for Installing Baseboard
Baseboard
Quarter or half inch shoe molding
Miter saw
Nail gun and compressor
paintable caulk
wood filler
Once the boards are dry, you are ready to cut. Now I know you’ve heard that the right tools make the job easier. This is so true! If you are planning on doing any type of carpentry I highly recommend purchasing a miter saw and a nail gun and compressor. I have two nail guns, a larger one for jobs like this and then a small finishing nail gun for small moldings. Both of these tools making DIY-ing a breeze!
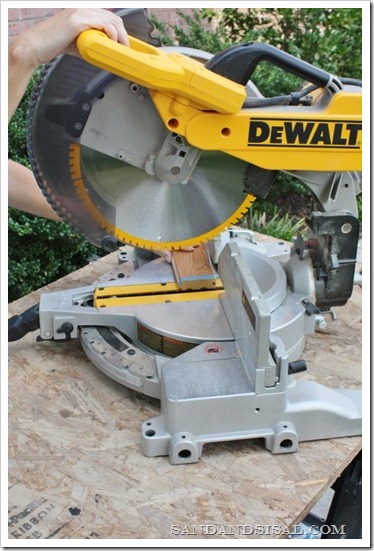
Measure the length of your wall starting from the inside edge of a door casing to the corner. Take this measurement as close to the floor as possible. My room was 13’ x 14’. We took one 16’ baseboard and made a 90 degree straight cut at the end. You don’t have to do this but it trims off any imperfections in the board giving you a nice clean straight cut which will butt up against the door casing. Then take the 1st wall measurement and mark it with pencil on your baseboard.
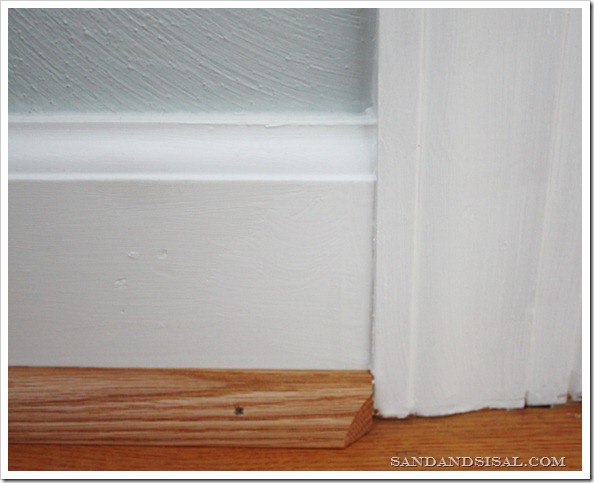
Determine which direction your 45 degree cut needs to be, then turn the blade so it is set at 45 degrees. Stand the baseboard flat against the back fence of your miter saw and make your cut. It is always better to be too long with your board then too short. As the saying goes, “Measure twice, cut once”.
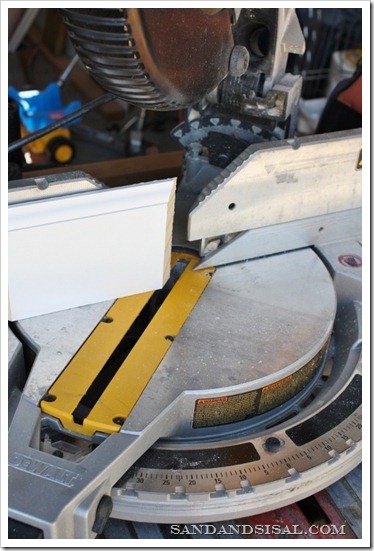
Lay the board against the wall to ensure proper fit. If it fits nice and snug then nail it in with your nail gun. I like to put two nails about two inches in from the ends and then one nail every 8-12”. Add more if needed.
Move on to the next wall and take that measurement. This time you will start your end cut with a 45 degree cut going in the opposite direction. Here is an example of what 45 degree cuts look like if you are facing a corner.
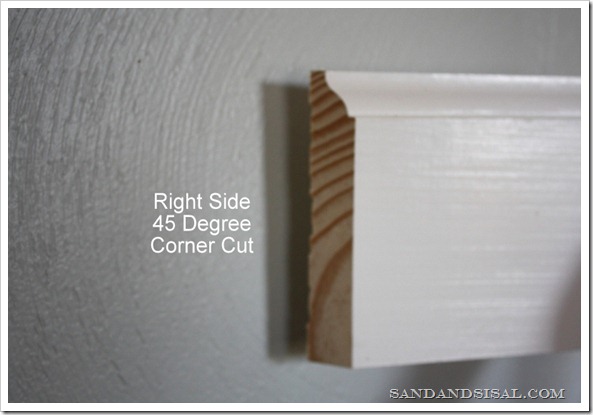
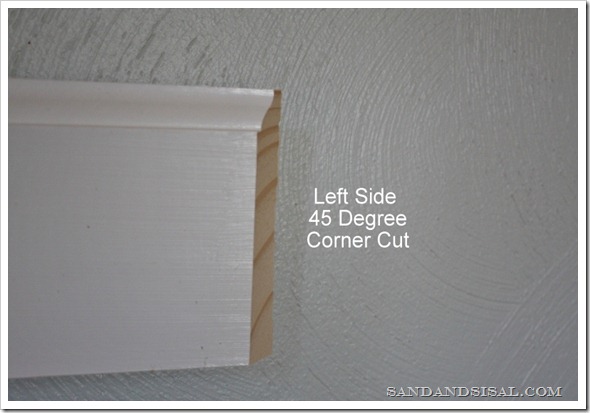
Make sure the next board fits into place nicely and if it does then nail it in. Repeat this process until your room is complete. After everything is nailed in place you will caulk the top edge and joints with paintable caulk. Fill your nail holes with wood putty and touch up then with your semi gloss paint.
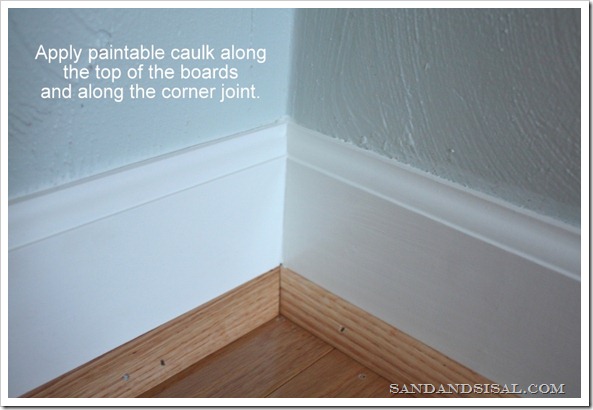
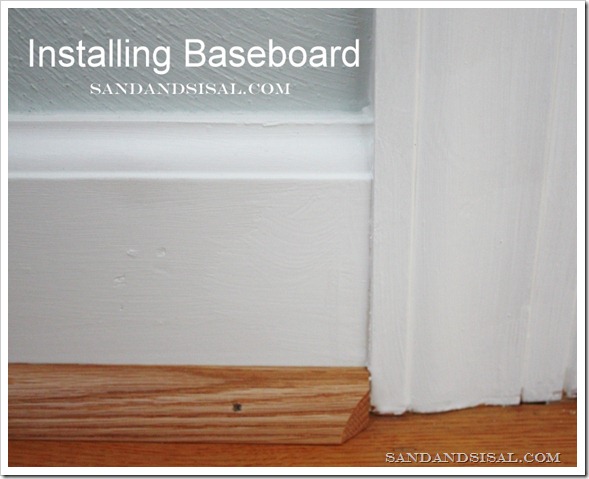
You will need to add shoe molding. This covers any gaps that might exist between the flooring and the molding. It is installed in the same way as the baseboards except without caulking. Whether you choose shoe molding to match your flooring or painted white is simply a personal preference. I like it white because I think it makes the molding appear larger, but hubs wanted it to match the flooring.
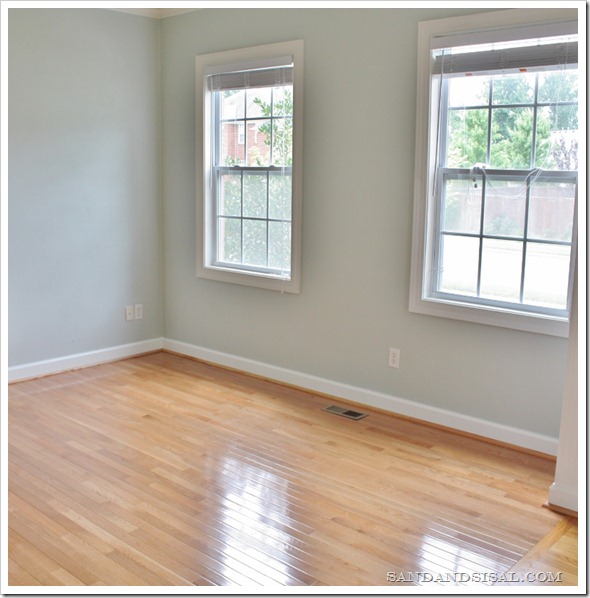
Installing baseboard is a project that doesn’t take a lot of time if you have the right tools and buy nice long boards. Give it a try! For more DIY ideas check out my DIY Project Gallery tab up top.
If you find this post helpful, could you please give it a “G+ 1” at the very bottom of the post. Thanks!
Kim
G+1
Looks great Kim! Slowly but surely each room around here is getting an upgraded 5″ baseboard. I don’t think home projects will ever end!
Wonderful…I so want to learn to use power tools!!!!
You make every project look so easy! And always styling during it too 😉
Great job! Pinning it for a later date project
How did you get the full length baseboards home from the store? I’ve wondered that for crown molding before…
Strapped them to the top of the truck… it was quite a comical site. 😉
What paint color paint is that in your room?
Sea Salt by Sherwin Williams 😉
What color paint is that on the walls
I’m actually thinking of painting mine this colour now. Thanks for the inspiration!
Did the nails need to be that long on the new baseboards going in?!
Oh heavens no. Those nails were scary. They were 3 inches and a higher gauge nail. We used 2 inch nails. Thanks for the question. 😉
I just found this on Pinterest. I know you said you pre-painted your trim before installing. Did you paint over the caulk or just leave it white? Just curious since you said you needed ‘paintable caulk’. Is that just for future painting?
Looking for the “right” white for trim. What brand, color, finish (semi- or high-gloss?) did you use Thanks!
That is always a tough question. It really depends on what your wall color is. I choose a cooler but bright white if my walls are cool toned but I’ve also used a warmer white when the walls are in warmer tones. I did use Behr paint for this particular room, but to be honest I didn’t like it. It left a lot of brush strokes. My favorite is Sherwin Williams Emerald or Duration line in Semi-gloss and in the color: Extra White. The paint levels nicely (less brush strokes), and coats well. It is a modern white and goes well with cool and warm colors. Hope that helps. 😉
Inside corners are typically not made by cutting 90 degree angles but rather by cutting the end of one baseboard in the shape of the baseboard to which it will be placed against.
I meant 45 decree angles….
Thanks so much for the great tutorial and lots of photos. I’m trying to talk myself into redecorating the living room and hall which will require new baseboards!