Several readers have inquired as to when my girls’ bead board bathroom would be finished. I had shown several parts of the bathroom remodel process but never an entire post on the finished room. Well here it is, my Girls’ Bead Board Bathroom Reveal!
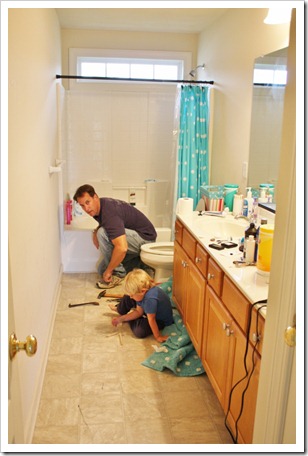
We started the remodel process last spring, took a very break during the summer, and finished it before the holidays. We worked on the bathroom when we had the extra time.
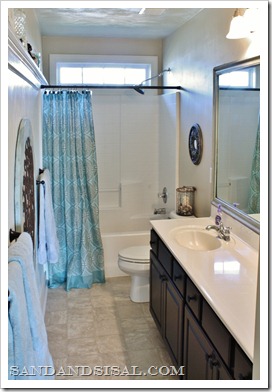
BEFORE AFTER
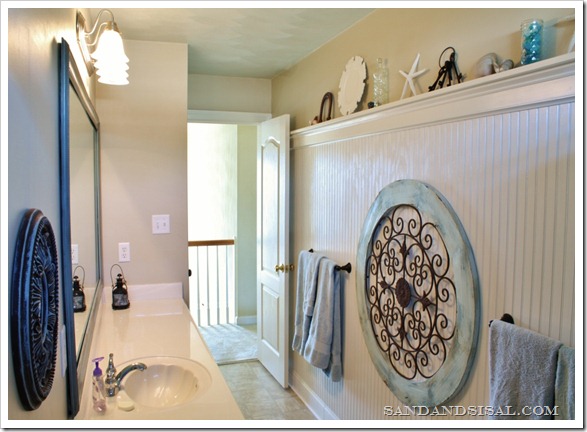
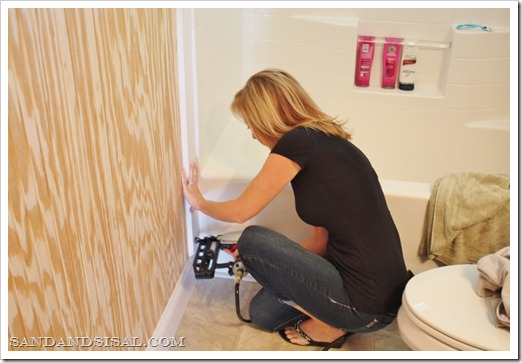
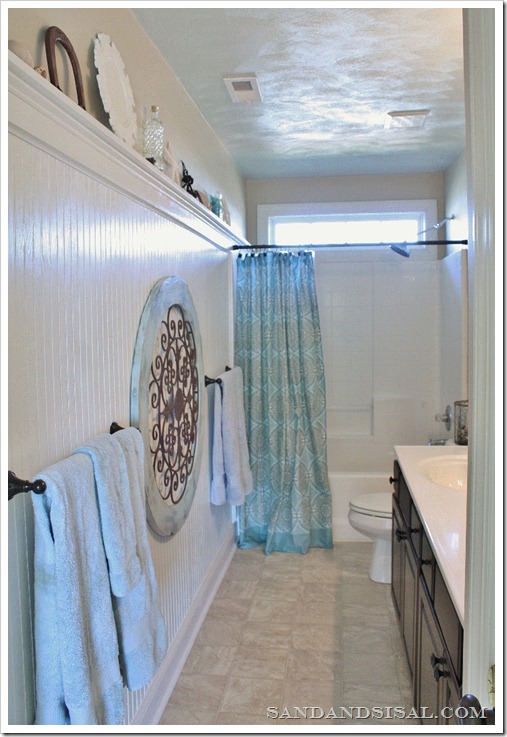
To find out how we installed the bead board wall and trim, feel free to read the post The Girls Bathroom – Adding Bead Board. After installing the bead board, it was painted white and the walls above the shelf that topped the bead board were painted in Sherwin Williams Urban Putty and the ceiling was painted in Sea Salt. The soft, watery colors of the beach and sea were the inspiration for the entire room.
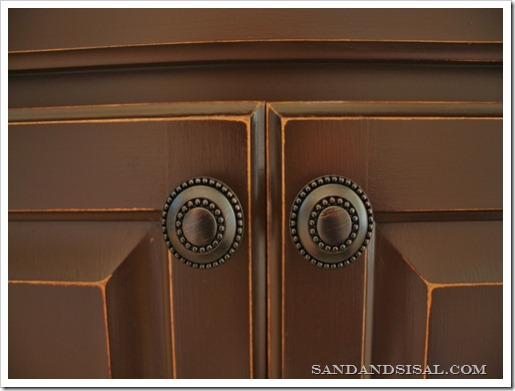
The next step in the renovation was refinishing the builder-grade maple cabinets to a deep, rich espresso and adding new oil rubbed bronze hardware. I used a painting, distressing and glazing process that came in a kit. Find out how I refinished them by reading the tutorial Painted Cabinets. My husband is an “anti-paint-wood-kind-of-guy” and it took 3 years to bribe talk him into letting me do this, but he is now sold on the process and loves the professional looking results!
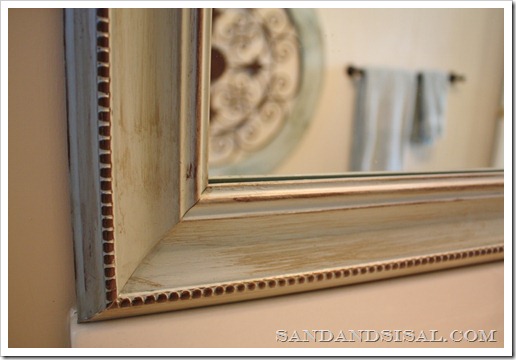
The other main change to upgrading the bathroom was to add a custom frame to the large, bare mirror. Find out how to make a mirror like this one by reading the tutorial Painted Mirror – Using Paint and Glaze to Enhance Details.
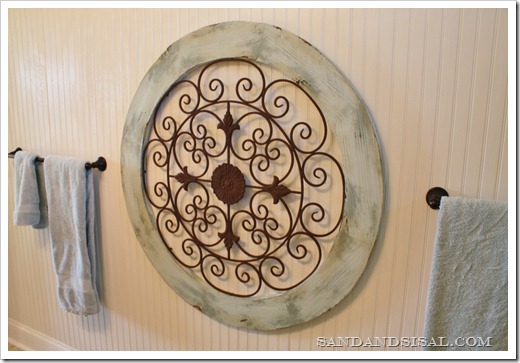
All new oil rubbed bronze hardware replaced the ugly plastic and ceramic hardware and accessories were carefully chosen. I waited to decorate the bathroom until I found just the right items. Even those items needed tweaking, like this Garden Medallion that received a little makeover. Even the shower curtain has a medallion print. Circles are repeated all throughout the room, juxtaposing the linear bead board wall and creating a flow that keeps the eye moving.
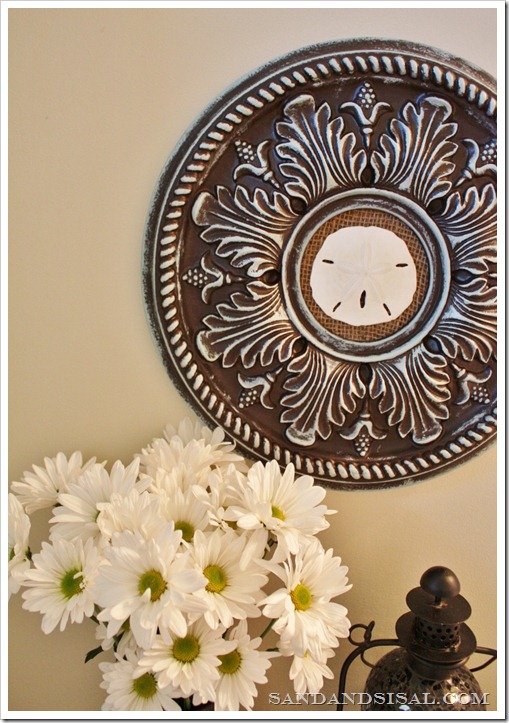
A ceiling medallion became a piece of art with some paint and burlap. Read how to make Ceiling Medallion Wall Art.
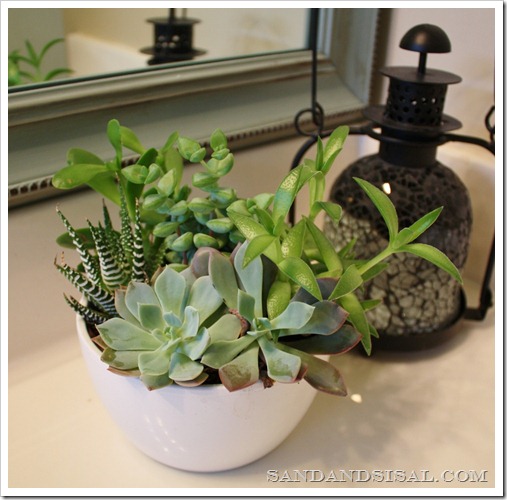
Every room needs a final touch of fresh greenery and candlelight. Tiny succulents bring a touch of life to the room and need little maintenance, which is perfect for my teens! Behind the plant is a glass mosaic tea light lantern I found at a local garden center.
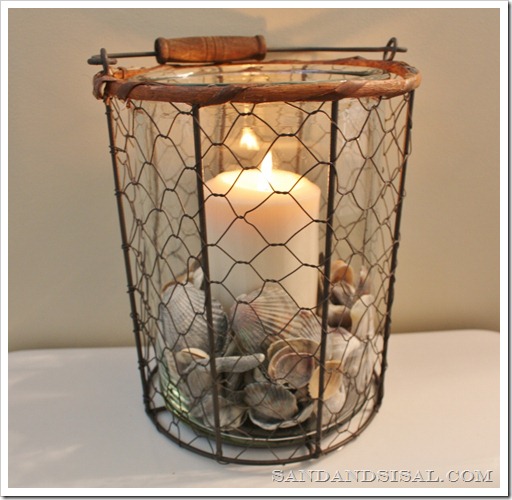
This adorable wire fish basket holds a glass hurricane and candle. It reminds me of the wire crab pots we have here along the Chesapeake Bay. It’s a new find from TJ Maxx and I filled the hurricane with seashells the girls collected while staying at the beach cottage on the Outer Banks of N.C.
When decorating a room, I like to use items that are meaningful and hold a memory from an experience the family has had. So along the top ledge of the bead board wall are all different accessories that either I or the girls have found or collected over the years. Using meaningful accessories helps to personalize your spaces.
I’m thrilled with the girls bead board bathroom makeover! I hope you enjoyed the tour!
Kim
For the latest updates on DIY projects like this one, join me today on Facebook, Twitter, or RSS Feed!
linking up to:
 |
 |
 |
 |
 |
 |
Gorgeous! I would love to have that bath in my home!!
This bath is beautiful! I love the coastal feel and the colors are so light & bright. Love the beadboard & the darker vanity.
It looks beautiful! I’m so glad to see you painted the vanity a dark colour, that’s just what I want to do in my bathroom!
What a fun bathroom girl! Awesome job! I love everything that you have done, wow! The dark finish on the vanity looks so amazing. Love it!
Looks amazing! I love the updated cabinets. They look brand new!
Beautiful! Bead board makes everything better. 🙂
What lucky kids you have! The dark cabinet against all that crisp white looks fab! You are one handy gal! Been a FB follower but now a GFC follower too!
Kelly
What a pretty makeover. I love how you changed the ceiling medallion with burlap and a sand dollar. The painted cabinets are a great improvement….why are husbands like that?
Fabulous makeover.. I love every detail~! applause
girl, you have done it again! What a beautiful room! I love love love the medallion with the burlap and sand dollar, it’s perfect!
I LOVE what you did with the bathroom! Our girls bathroom has a VERY similar layout, so I am going to Pin your pix, and then come back and read the tutorials when we start on their bathroom redo. Right now (January) is dedicated to decluttering and redecorating the office! One project at a time right? 🙂
Thank you for sharing!
It looks great–I just love that ceiling medallion! 🙂 They are lucky to have such a nice bathroom!
It’s beautiful! Love the beachy theme. I am your newest follower from Addicted 2 Decorating’s linky party!
Peggy
This looks really phenomenal! That beadboard makes the room look loooads bigger.
Everything is so cohesive and beautiful. I love that you used circular shapes to balance out the sharper lines of the beadboard and the cabinets came out perfectly!
Wow. It turned out great. I love everything about it. The colors are great too. Thanks for sharing. I would love it if you could link this up to our linky party going on right now.
http://www.junkintheirtrunk.blogspot.com/2012/01/link-it-up-wednesday-10.html
This looks fantastic…I love finding new creative blogs…like yours! I’m a new follower, so stop by and visit anytime…cause’ I love new blog friends, Lori
What a great transformation! I love how you added the sand dollar to the medallion…pinned it!
This is gorgeous! My girls’ bathroom is about to be madeover, and originally I was thinking just paint and a few accessories, but I plan on reading your highlighted posts and perhaps expanding my project 🙂 IF I can talk the hubby into it…
Great job, it looks so beautiful!!! Love the candle & shells in the glass, very pretty!
I LOVE your accessories just as much as I love all the work that you did!! My FAVORITE is the glass mosaic tea light. Beautiful as always 🙂
Beautiful! Love the character the beadboard adds!
It’s so funny how most men don’t want to paint wood. What’s up with that?!?
This bath is to-die-for gorge. I love all the accents. Just lovely.
this is beautiful!
I installed beadboard in my tiny bathroom because the previous owners had gone crazy with a drill and it’s an old house with plaster walls so the easiest, neatest fix was beadboard to cover the flawed wall.
Woah, what a transformation! This is amazing. I’m so impressed!!
It’s so pretty! I love the beachy look, and how calming it is.
Kim, the bathroom is simply gorgeous! I love your style and look at you rockin’ the power tools! Go girl!
The transformation is gorgeous. I am one that does not like to paint wood but the results are stunning in your bathroom. We added bead board to our bathroom which we are loving but I crazy about your details on the wall.
Erika
It’s a Wrap Link Party at Artful Rising
Wow that is SO great!!! love the colors and the beadboard!
Hi Kim! Your bathroom is so pretty! Great makeover!
awesome! and a DIY project, my husband can;t even nail a nail! Love that you used accents from the garden center, they usually have tons of super cute stuff and are overlooked.
Can I have your bathroom… PLEASE??? Everything little detail is perfect!! Fantastic transformation!
Check out my blog too:
http://thediydreamer.blogspot.com/
It’s so beautiful! Thanks for sharing all your great ideas with us.
Wow! The room has so much character now! Love it!
Just pinned this to my Master Bathroom board. I love it! We just finished our basement with breadboard all the way around the bottom half of the walls. I love it in any room.
Oh my gosh, I want that bathroom!! Just beautiful! I would love for you to link up Thursday (actually it starts tonight) to It’s a Party!
http://www.acreativeprincess.blogspot.com
This is GORGEOUS! Can you come to my house and redo my awful bathroom? You are crazy talented! I love it! xoxoxoxo!
Your bathroom came out great ~ What a difference! I have to say though, my favorite part is your shoe selection while using the finish gun! ha ha LOVE IT! Thanks for adding me on google+, just added you back and joined your RSS feed 🙂
GORGEOUS! You have been featured on COM- xo, jen
Love it so I pinned it 🙂 Hope you can swing by, too, and join us in my Creative Bloggers’ Party & Hop.
I love this bathroom makeover! Don’t be surprised if beadboard shows up in my kids bathroom someday soon. Thanks for the tips!
hello,Kim!
What a wonderful blog u have!!! 😉
i’m portuguese but living in Ireland since a month ago :)(sorry about my bad english-lol).And yes,i would b delighted if u could send me an invite to Pinterest ;D
ty very much!!kisses…
PS:i’m already a subscriber of ypur blog 😉
I love beadboard, and it is totally beachy and feels like it blends right in with the rest of your home.
Jessica
stayathomeista.com
Good Morning!
LOVE this bathroom!! Can you tell me the name of the color you used on your walls?
Thanks, Kim!
Never mind!! I just re-read the blog and found it was Urban Putty!
Thanks!
Love this bathroom re-do! I am now inspired to tackle the icky orangish pine cabinets in my kids bathroom. I also really love the frame. Did you distress that yourself or did you purchase somewhere?
Beautiful job. You should turn the horseshoe the other way however. Luck collects in it, the way it is the luck is dumping out. 🙁