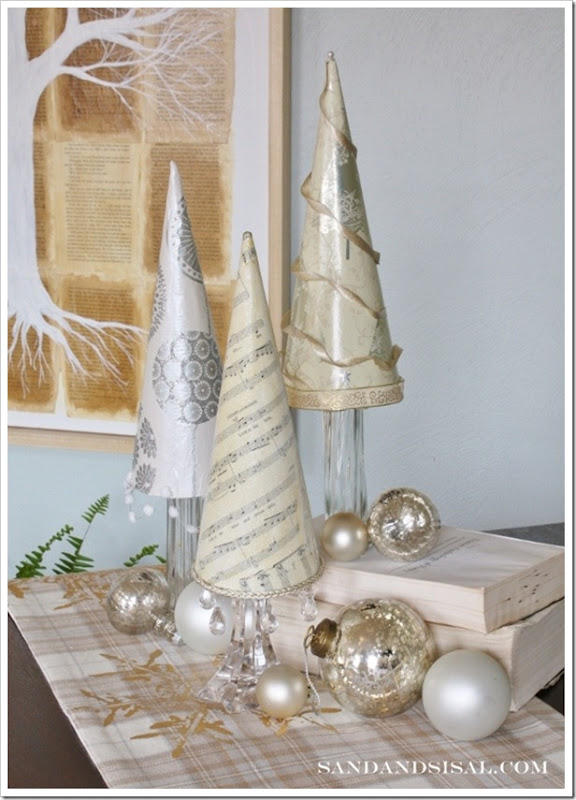
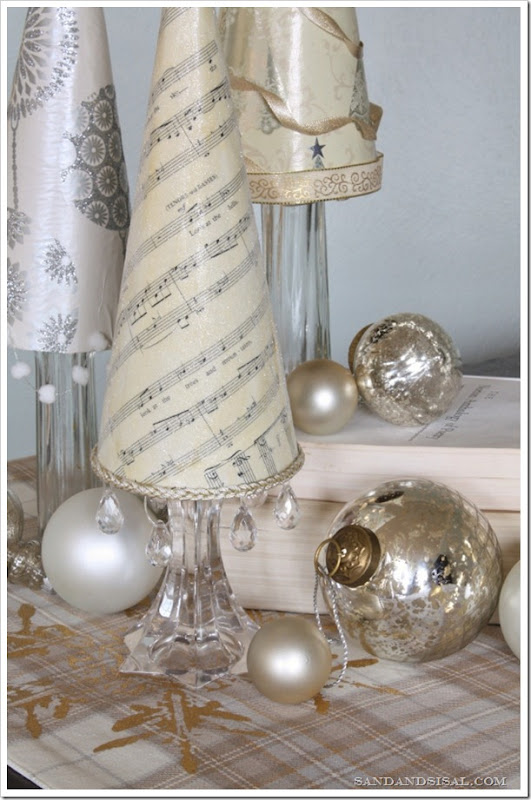
I love decorating with cones for any season! I’ve used cones for my Bay Leaf Trees, Capiz Shell Christmas Trees, and Natural Elements Textured Cones. This Christmas season I want to show you How to Make a Paper Christmas Tree that can be used on mantels, tabletops, or centerpieces. Paper Christmas trees are very simple and inexpensive to make.
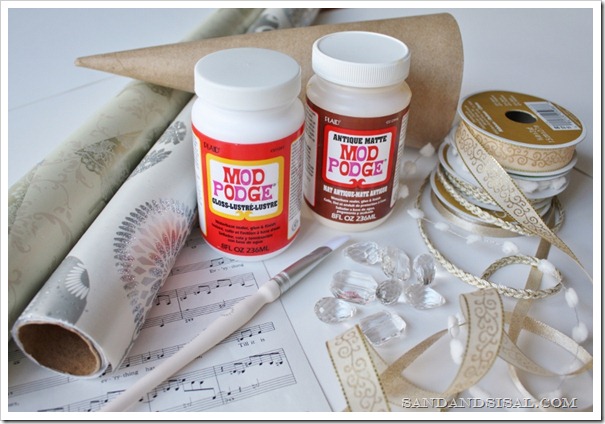
To make a paper cone tree you will need the following items:
- Mod Podge (your choice of sheen- Antique, Satin, Gloss, High Gloss, Sparkle)
- Paper-Mache Cones
- Wrapping Paper or Sheet Music
- Assortment of decorative items like ribbons, beads, jewels, sequins, glitter, buttons, etc.
- Scissors, flat tipped paint brush, hot glue gun
Step 1: Wrap the wrapping paper around the paper mache cone. Trim off any excess and set wrapping paper aside.
Step 2: Apply a thick layer of Mod Podge all over the paper mache cone.
Step 3: Place your trimmed wrapping paper on the Mod Podge covered cone. Gently smooth with you hands.
Step 4: Apply a top coat of Mod Podge to the cone. I applied the Antique Mod Podge to the sheet music for an aged look. If you don’t want an aged look, just use one of the other Mod Podge sheens.
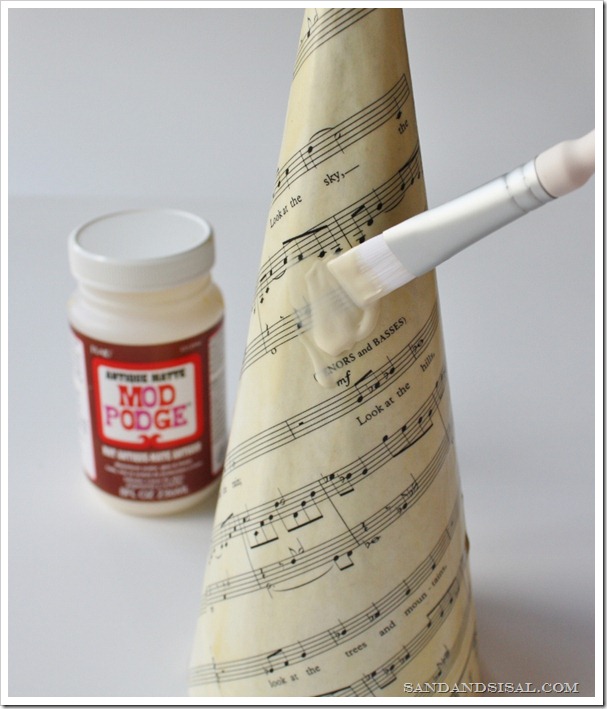
Step 5: Sprinkle Tree Cone with Glitter (if desired) while Mod Podge is still wet. Allow to dry completely. I used Martha Stewart Crafts Glitter in Crystal Fine on the music sheet tree.
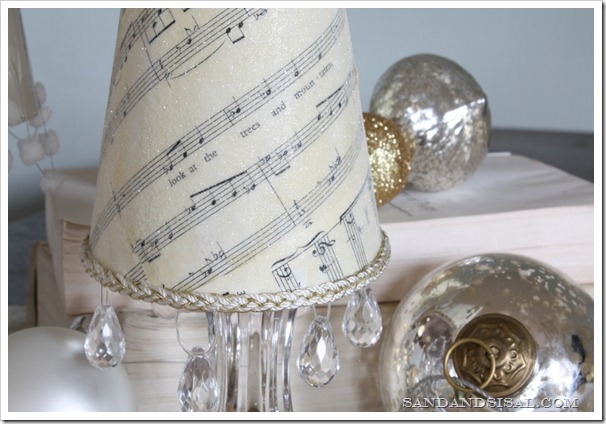
Step 6: Accessorize you tree with ribbon, trim, jewels and other decorative items. Use a hot glue gun to adhere items.
Step 7: Place your paper Christmas trees on top of candle sticks, wine glasses, bottles, or on top of overturned bud vases. Feel free to stuff the inside of your cones with tissue paper to help with height levels.
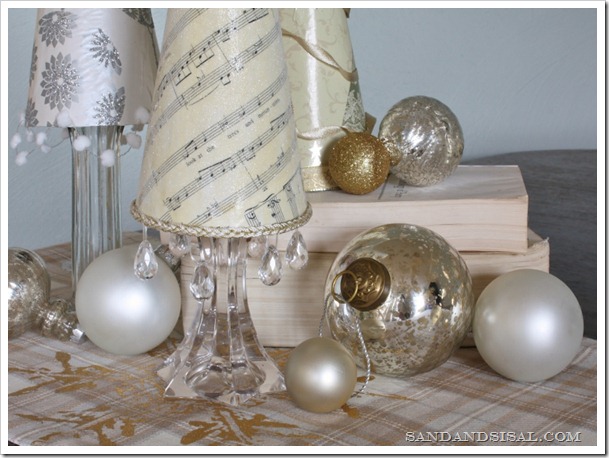
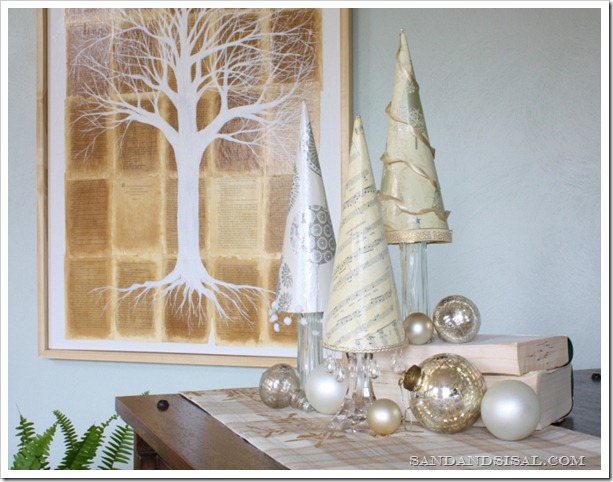
Paper Christmas Trees are so simple and inexpensive to make. Don’t you think they look pretty set against my Twilight Tree of Life Art? That too was made with Antique and Satin Mod Podge. Go grab some Mod Podge, cones, and wrapping paper and make your own Paper Christmas Trees!
Connect with Plaid Crafts and Mod Podge on Facebook, Twitter, & Pinterest.
Kim
Join Sand & Sisal on FACEBOOK, TWITTER, PINTEREST, G+ or SUBSCRIBE.
Check out more holiday craft ideas using Mod Podge by my lovely friends! (click the pics to be taken to the tutorials)
Linking up to: Craft-o-Maniac
Disclosure: Product and compensation were provided for this post. All ideas and opinions are my own.
Beautiful, Kim! I love the glitter on the sheet music one! Gorgeous!
Very pretty!
I love it!! Pinning it!
Beautiful display!
Gorgeous! I have a couple of candlesticks I picked up from a trip to Goodwill that I hadn’t yet decided what to do with. You’ve inspired me!
Those are so very beautiful…I so love the conical trees, especially when beautiful pedestals such as crystal candle holders are used….
Oh those are beautiful! I love them with your twilight tree in the background!
Very cute trees. I didn’t know about antiqued or aged mod podge.
This is really pretty–I love anything with sheet music!
I was just working on one with some vintage sheet music — love your embellishments, Kim!
Hope you have a blessed Thanksgiving ~ xo Heidi
So pretty! I love the little crystal idea and sheet music. Great way to add some pizzaz to a table top 🙂
so pretty great job friend. hugs, jen
These are so pretty! Thanks for sharing.
These turned out so well! I love it.
Kim those are so pretty! When my friend was here, we made some and it took us longer to make the cones than it did the rest of the project! I didn’t know you could by the cones already made!! Duh!
very cute! did you know that you can mix your glitter into to mod podge and paint on like usual? it makes is so much easier and way less messy! the more layers of podge you add the more glitter you get and the glitter doesn’t fall off and you don’t have to seal it!
ps. i’m obsessed with using sheet music for everything!
Where can I find paper mache cones? Love love these trees. Perfect for my musical friends and well as for me.
Hi Lyn! You can find them at most craft stores or on Amazon.com (I added a direct link for you in the list of items needed).
Thanks!
KIM