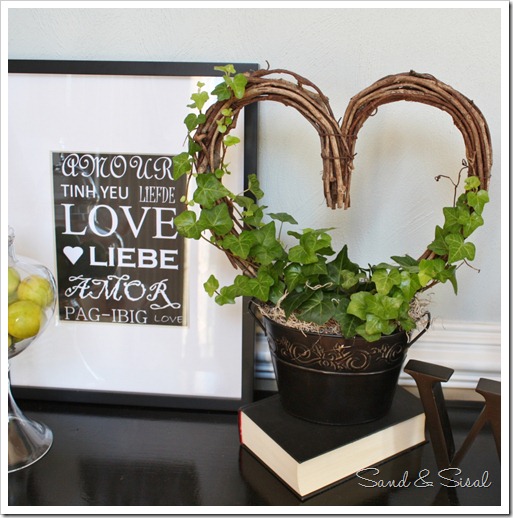
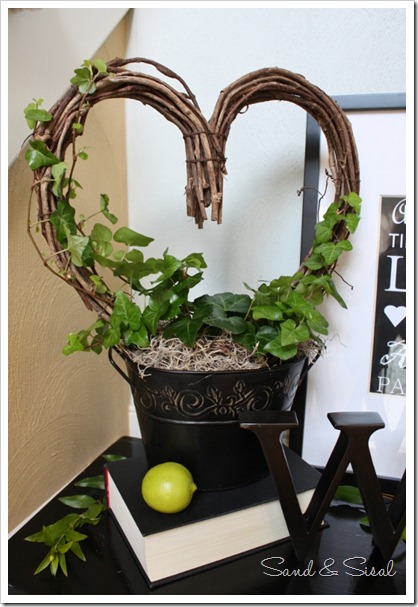
Do stuffy, formal Victorian images come to mind when you think topiary? Topiaries can bring a whimsical and casual look to any room! Creating a live topiary is easy and inexpensive. To create your topiary all you need is a vine, a container filled with potting soil, and some type of form to train your vine on.
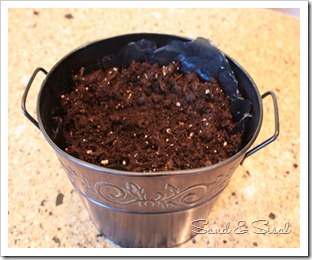
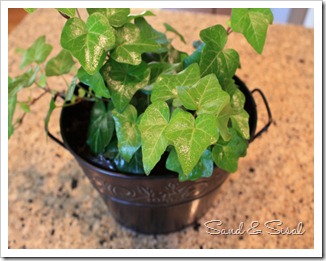
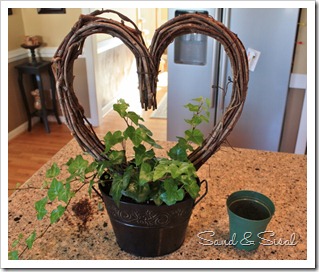
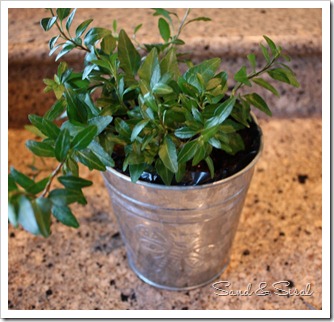
I found a beautiful black tin pail at Michaels to use. To ensure it would not leak, cut a large corner off of an outdoor garbage bag and line the pail with it. Next, fill the pail with good quality potting soil. Plant your ivy into the pail. The particular ivy is English Ivy, and it had a few very long vines already on it. I like choosing vines with long tendrils, because they help give you an instant, already grown look to your new topiary.
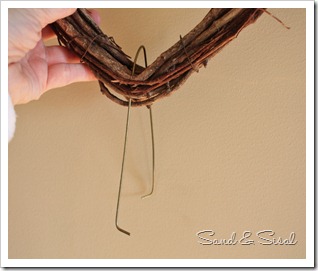
The next step is to take your form, like a grapevine wreath, and secure it to your pail with a piece of strong wire. Cut a wire coat hanger with tin snips or wire cutters, bend it, thread it through your form, then bend the ends of the wire to create “feet”. These will help stabilize your wreath in the pail. Push the wired form into the pail and start wrapping the long tendrils of the vine up and around your form.
As the vine grows you will have to occasionally wrap new tendrils around the form, helping it eventually cover the form completely.
Think out of the box!
The form you choose can be any height or shape. Think out of the box and look around your home for interesting shapes. Do you have an Parisian Eiffel Tower form sitting around? How about a wood letter initial? What about horse shoe or a large starfish? The form is up to you! See how fun and whimsical topiaries can be?
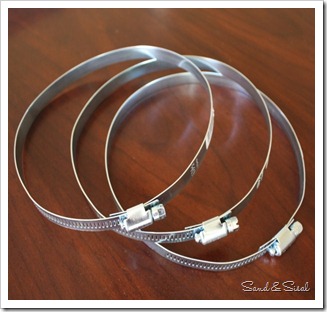
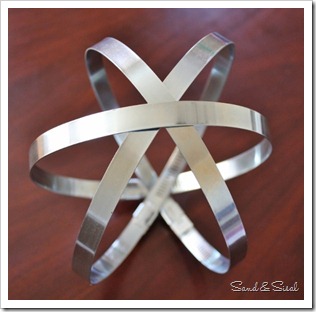
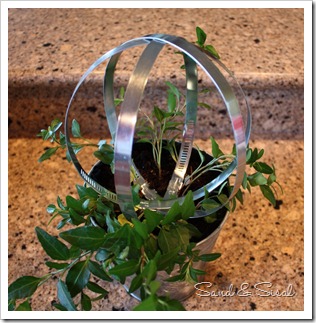
This next topiary is made from stainless steel pipe clamps! They can be found in any hardware store, and come in multiple diameters. These below are 6.5 inch clamps. I simply criss-crossed them to create a sphere, and tightened the outer most clamp to hold the sphere tightly together.
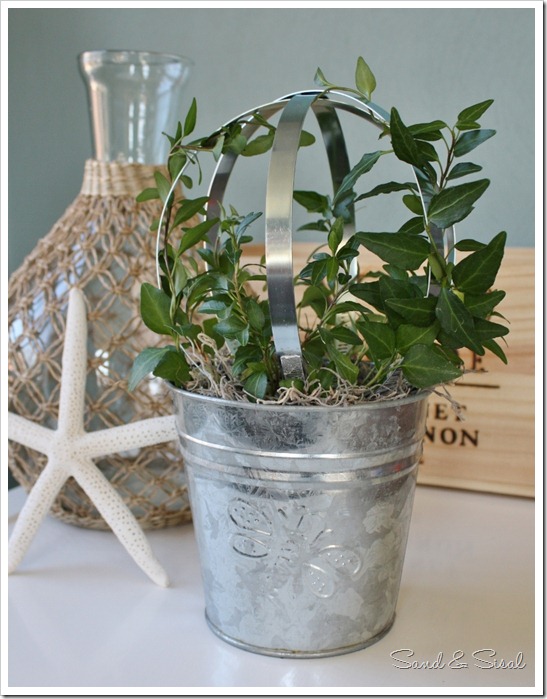
Royal Hustler Ivy was planted into a silver tin pail, using the method described above. The sphere was placed on top and then the individual vines were wrapped around the metal sphere.
Spanish moss is tucked around the pail for a finished look, it also helps maintain some moisture in the soil. I can’t wait for it to grow and envelope the entire sphere! Vines are very low maintenance, easy to grow, give you fast results,and just need medium, indirect light and moist soil. Some good vines to choose would be most types of ivy, creeping fig, angel vine, and pink jasmine.
Happy Growing!
For more posts on gardening, plants and flower arranging, you might like these!
Forcing Forsythia / Thanksgiving Centerpiece / How to Grow Plants from Clippings/ Spring Planting – Banana Trees
Kim
For the latest updates, join me today on FACEBOOK, TWITTER, or RSS Feed!
Linking up to:
 |
 |
 |
These are gorgeous! Now if I could only keep them alive 🙂 Thanks for sharing!!
You can keep them alive!!! Just don’t over water and you should do just fine. Thanks so much!
What a great project…so cute! Such a simple little craft for Valentine’s Day time!
Thanks Michaela!
This a perfect idea! I’m finally attempting house plants after years of killing them all off. So far mine have lasted a month now–that’s a record. I’m going to have to give some ivy a try with one of these ideas. Thanks 🙂
Oh good! I hope this will be a success for you! Thanks!
I was admiring your little grapevine topiary in your other recent post. I love the green ivy with the silver topiary form, too. Something about silver and green for me, I just love it.
Thank you Leslie! I’ve always loved silver and green too!
this would make a great gift! like the idea of making other forms!
Thanks Jamie!
By preventing leaks, you’re promoting overwatering, root rot and eventual plant death. When I use metal containers I drill holes in the bottom or pound a nail through it in a few places. I am currently training angel vine on twigs and grapevine shaped in a sphere.
I think this is my all time favorite! Your topiary looks amazing. I think your craft is so easy for anyone to do.
These are wonderful! I wish I could keep plants alive. This would make a great gift!