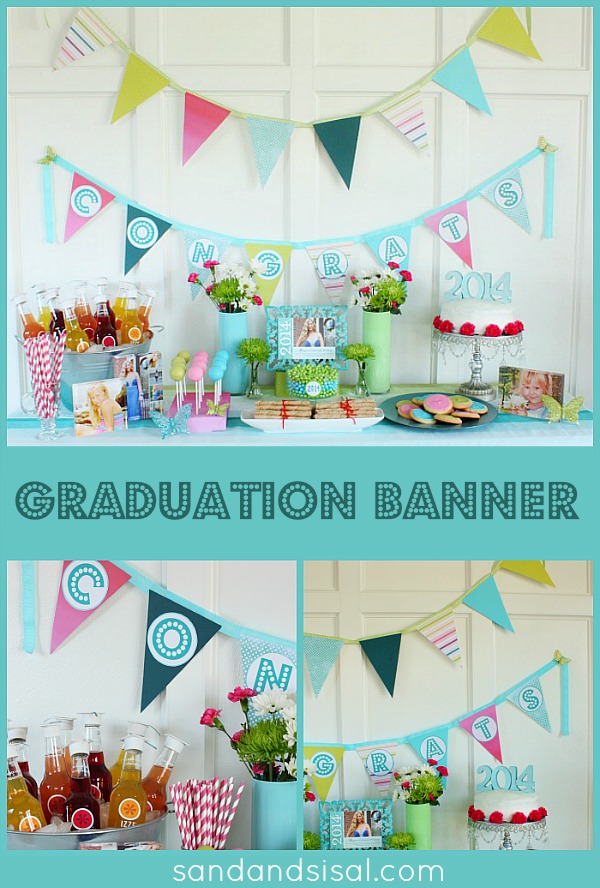
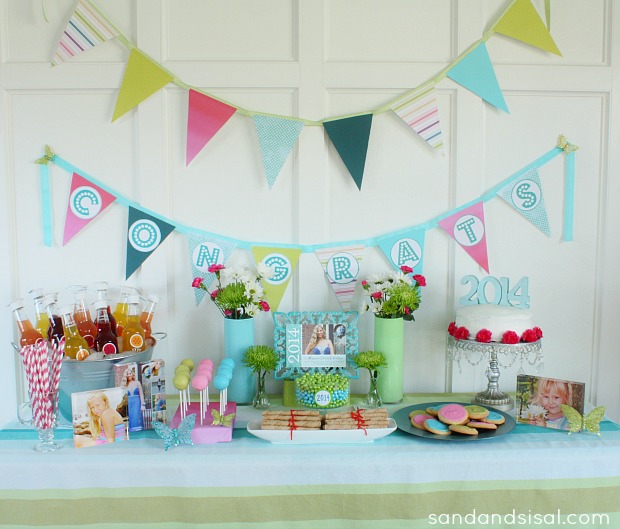
Graduation party supplies do not have to be expensive. You can create your own graduation decor like this congratulatory DIY Graduation Banner with simple scrapbook paper and ribbon. I recently made a few for my daughter’s graduation party. Let me show you how easy it is!
To make a Graduation Banner you will start with an assortment of 12″x12″ scrapbook paper in a variety of coordinating colors and patterns.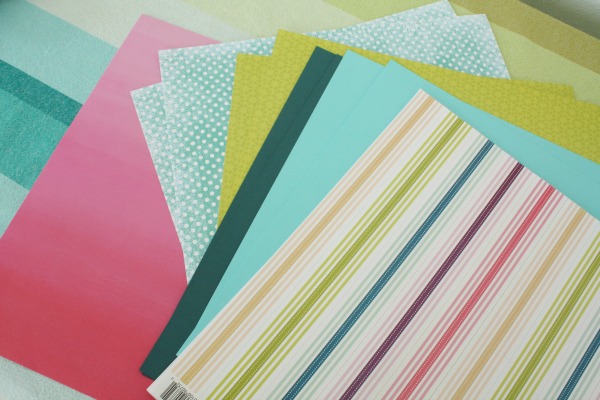
Cut out a long triangle that measures 6 inches wide and 9 inches long. This will be the template to use to create the graduation pennant banner.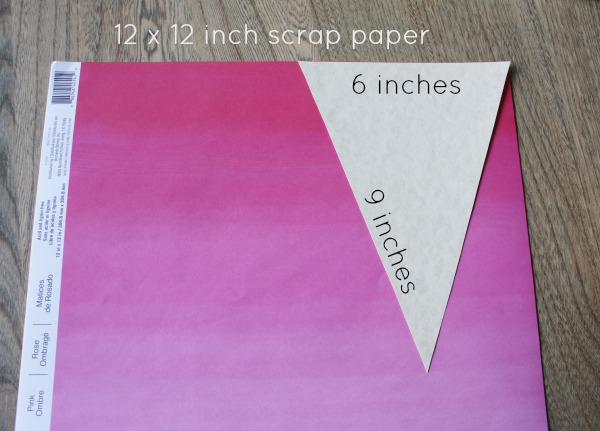
Flip a piece of scrapbook paper over and trace around your triangle template. You should be able to fit 3 triangles per sheet of paper. Repeat this tracing on all your scrapbook paper. Cut the triangles out. 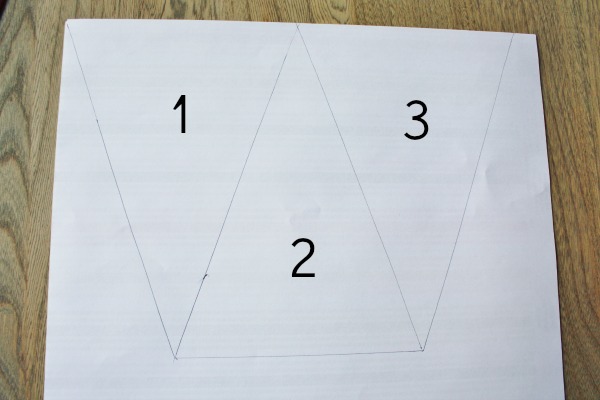
To make the lettered circles for your banner, you will need to use a word processing program like MS Word or you can use a free photo editing service that I use for all my pictures, like PicMonkey. I love PicMonkey. It is so user friendly and fun to use!
In PicMonkey, click “design” at the top, then select what size canvas you want. I chose 8×10. Now select a geometric circle under their “overlay” icons. Drop 4 circles on your page and color them as desired. 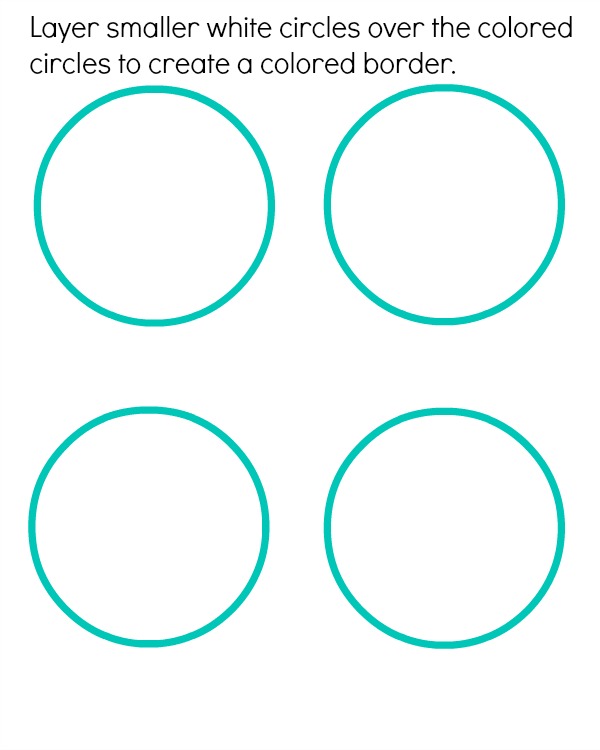 Next, create 4 more circles, but this time make them a tad bit smaller and color them white. Layer the smaller white circles over the turquoise circles. This creates a colored border. Click SAVE now, label the document and save it to your computer. You will need to use these 4 bordered circles several times.
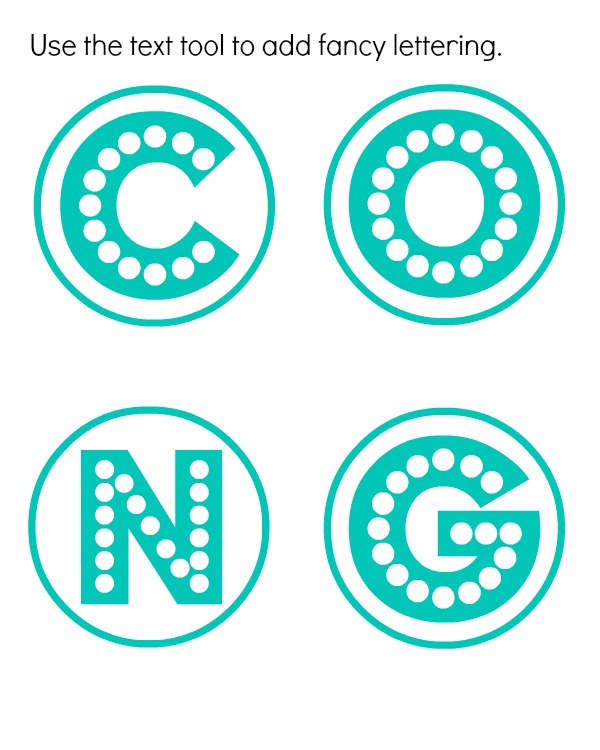
Time to add some lettering. Use the text tool to add fancy lettering. This font is called “Budmo Jiggler”. Size each letter to fit inside your circle. Color your letters as desired. Save the lettered circles to your computer (with a new title) and then print.
**Note** I am spelling “congratulations”, (15 letters) so I will be needing to use the bordered circle document (which we saved to our computer) 4 times.
 Once you have printed out the lettered “congratulations” circles, then cut each one out by hand or use an adjustable circle cutter. Glue each circle to a different colored pennant triangle. I used my kid’s glue sticks. 😉 Lay out your pennants onto a ribbon and adjust the spacing.
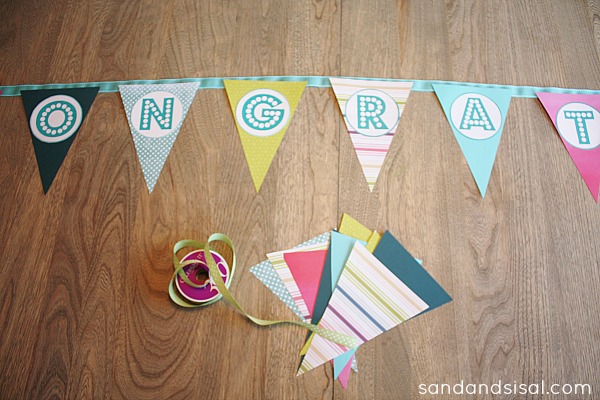
Use a few dots of hot glue to secure each pennant to the ribbon. Boom! That’s it! Hang it. Party time! 😉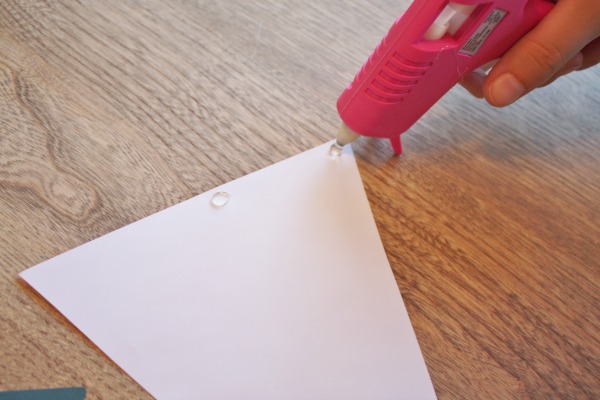
For more fun and simple graduation party ideas check out these posts! ~KIM
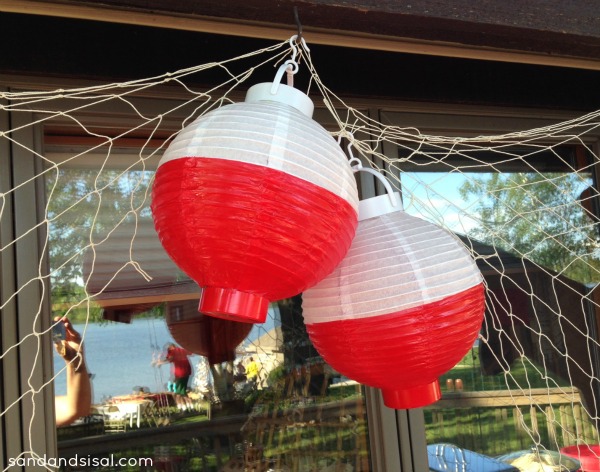
A Fishing Themed Graduation Party
Looks like a great party set-up! Congratulations to your Morgan! 🙂
I am working on a banner for my sons graduation now and using your tutorial! Copying lots of your ideas with boy colors! Thanks so much for sharing!