I know, I know, it’s fall but hey, I live in the south and it is still in the 80’s & 90’s here, so it’s hard to get into a fall decorating mood. Jumping straight into orange pumpkins and scarecrows just doesn’t work in our area of the country. So I want to transition to fall s-l-o-w-l-y. And decorating with dried flowers from your own garden is a beautiful way to ease into fall. Let’s learn how to dry hydrangeas so you can preserve and use them all year round.
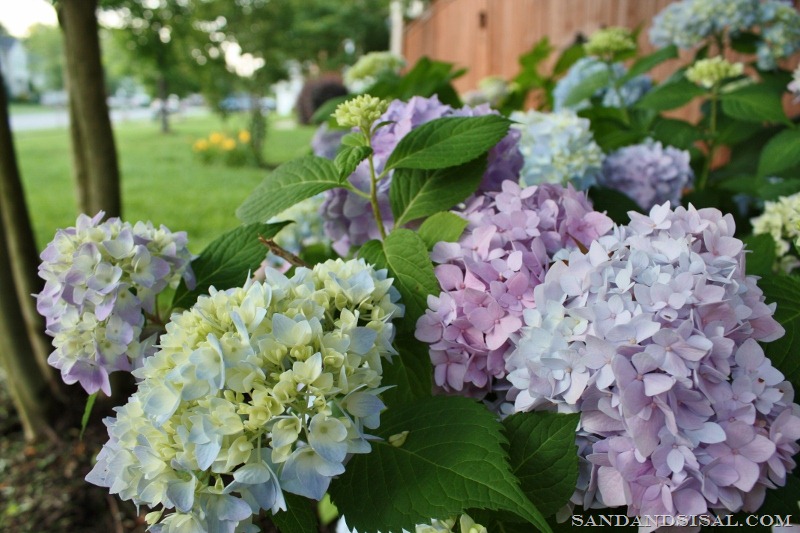
 I have 7 hydrangea bushes around my home and I need to add more, but here’s a little glimpse of how they look in summer. Gorgeous & full of blossoms! Click here to read all about your options in planting Hydrangeas.
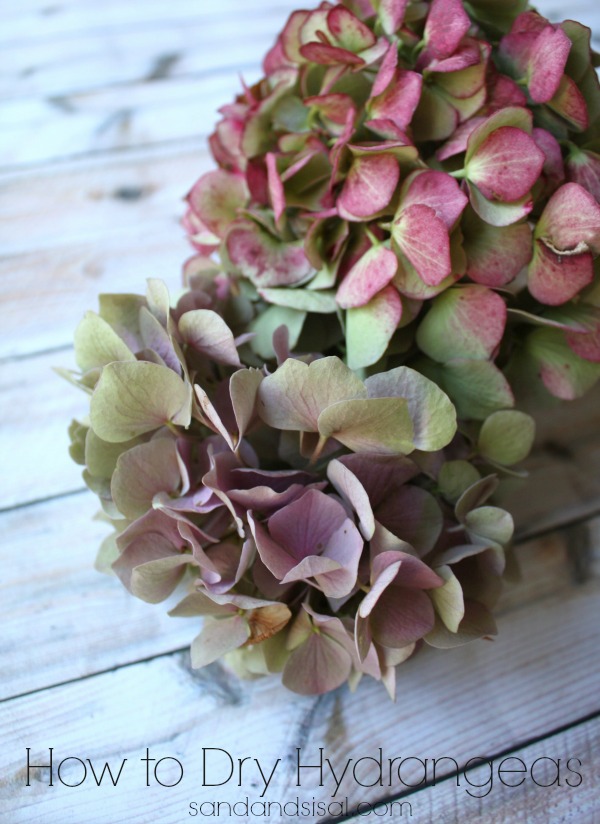
How to Dry Hydrangeas
You can capture those beautiful blooms here in the south, in late August and early September.
Step 1: To dry hydrangeas, choose a healthy blossom head without any blemishes. Cut the blossom off the bush leaving a 5-6 inch stem when the petals start to feel slightly “papery”.
**Do NOT cut them off any earlier or it won’t work. They must feel papery.**
Step 2: Strip off all the leaves and place into a vase of water. I put each stem into a separate vase so that the blooms don’t get crowded or squished. Allow the blossoms to suck up the water slowly and then add more water as needed until the blossoms are completely dry. This will take a few weeks, so be patient. Be sure to keep them out of direct sunlight also.
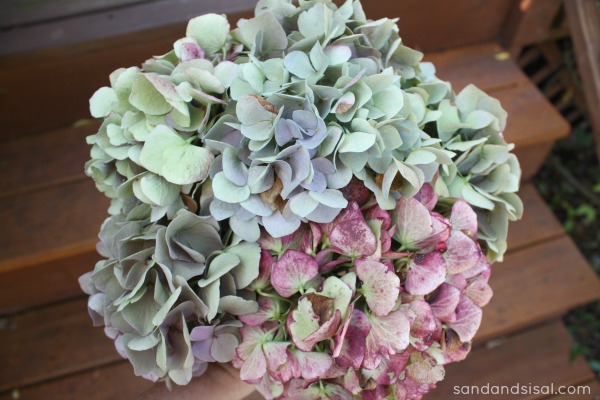
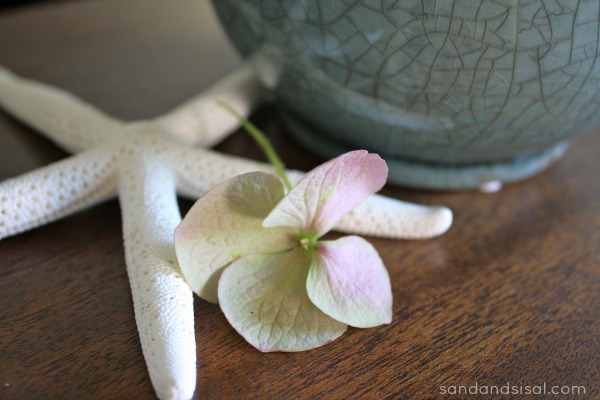
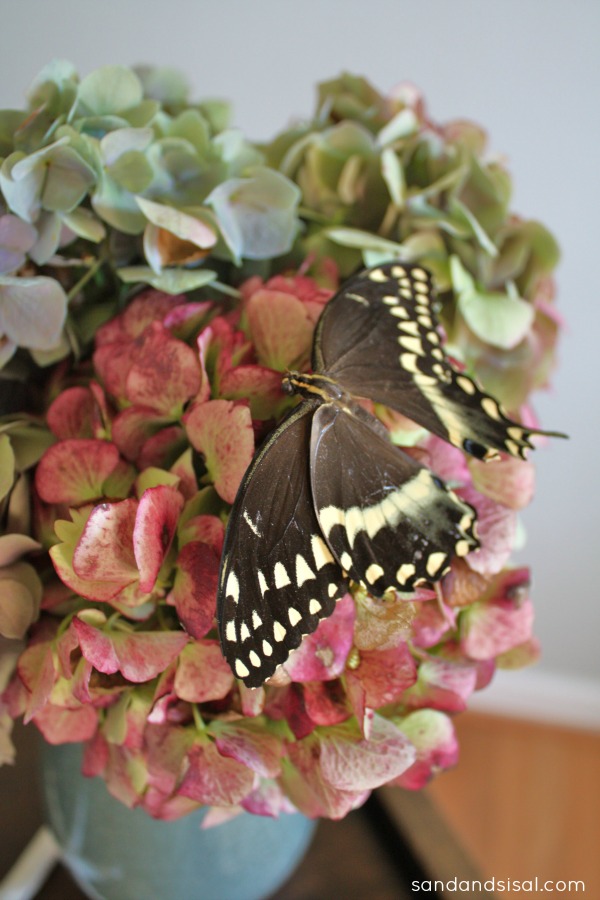
The rainbow of blues, reds, purples, and greens in these blossoms are amazing! Once you learn how to dry them, you won’t want to stop!
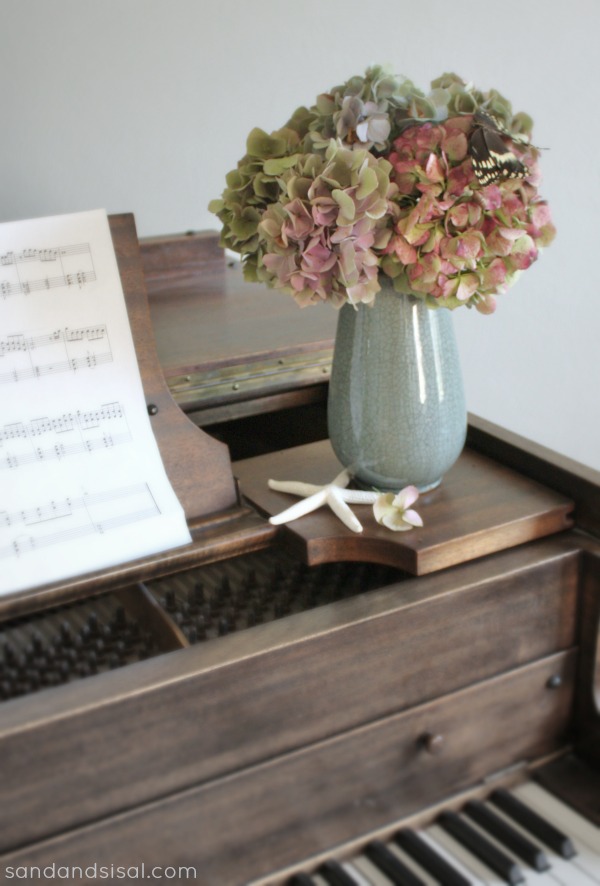
 My daughter found this pretty yellow swallowtail butterfly in the street and tried rescued him before he died. He’s our state butterfly.
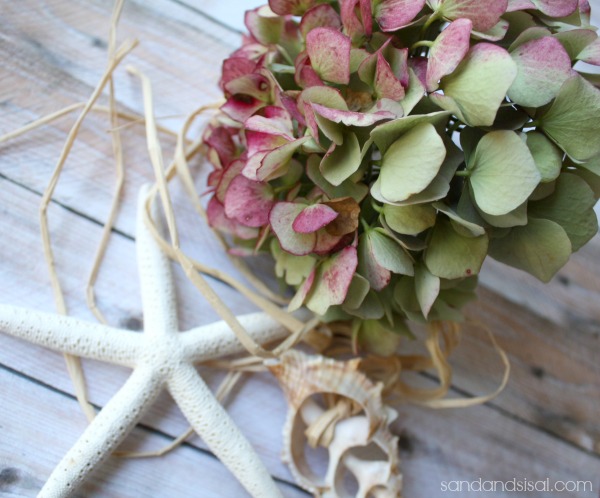
Today I’m headed off to the beach at my mom’s to gather some beachy and natural items to make a coastal fall wreath with. I think I’ll be incorporating some of these gorgeous dried hydrangeas in it also!
Have you ever tried to dry hydrangeas? Tell me about it!
(linking up and featured on TidyMom!)
Kim

I live in New England, and we have such a shorter summer, that WE don’t want all that gaudy orange and yellow “fall” decore, much less HALLOWEEN to be out in our stores in August!!!! I can’t stand fake fall decore, anyway, just like looking at the REAL stuff, like leaves and pumpkins, but IN DUE TIME 🙂
I feel exactly the same Kate! It annoys me to see stores pushing the holidays so many months premature. 😉
My handrangeas have been gorgeous this year. Glad to know I can dry them and display them all year. Thanks for the tutorial. I am going to share on my FB page for my readers to enjoy. 🙂
Thanks!!!
Your hydrangeas are beautiful. I just dry mine but keeping them in a container after they have all of water out of vase. They turned out great!
Yep, they are crazy easy to dry. This year I made sure to cut enough blooms to dry. Glad I did! Thanks for stopping by Kelly!
My hydrangea bush ( alas I only have one.. My yard is very sunny) Was amazing this season. Armloads of bounty! Which I dried . Like you I am transitioning very slowly… still too hot here in North Central Florida for me to feel Fall(ish). I arranged dried blooms in every room to give that early Fall/late Summer vibe.
Hugs, Gee
I love to dry my hydrangeas. I use them pretty much year-round in one way or another. I’m getting ready to load my mantle with them for pre-fall. A pet-peeve of mine is all these bloggers that start raving about fall in August. I just posted about it today!
There are so many hydrangea bushes in the village we moved to, that this spring I planted six in front of our house. They were just small so unfortunately didn’t bloom this year – but I’m hoping for next year!
This project *almost* makes me want to dress in black and be local the hydrangea swindler. Haha!
Most of us, who have had hydrangeas for years, and dried our fair share, wouldn’t mind it at all if you knocked on our door, asking if you could cut some for yourself. I have all “Mophead” variety, and since I cut them from around late July till last week, I am basically pruning them a bit. Mine like a good ‘haircut’ in the spring, before many stalks have too many buds on them. Mine do get green, tiny, buds really early, so it is impossible to not cut off some of them. I get tons of regrowth and flowers even with the Spring Haircut!
Good to know! I’m completely new to gardening. I of course would never cut from someone’s garden without asking, but I assumed since they are so pretty people wouldn’t be willing to let them go. Interesting to know you can prune so often! Thanks Kate!
I dried some from a friend’s bush but the color faded to a terrible brown. And the blooms fall off if barely touched. I have been using floral spray paint to add some color. It is really pretty to make a lighted hydrangea tree using a grapevine tree form.
I’m so sorry about that Theresa. They were probably to moist still and not papery feeling enough when they were cut. I’ve had that happen before too. Keep trying though. 😉
Thanks for the tip on drying hydrangeas. My plants weren’t as prolific as usual, but I definitely have some flowers to give your tip a try.
I actually dried some quite by accident last year and they’re still gorgeous!! Happy hunting on the beach, Kim!
xo Heidi
Thanks Heidi!
I picked mine all summer, I just love them in every room. This year, I picked a whole bunch about a month ago and dried them this way and about half didn’t make it, probably because they were too moist still. But several did and their colors are amazing! They’re a mix of pale greens with touches of blue and purple. I’m so excited I get to look at them all winter now too 🙂 XO
You are correct Christy. Most likely the blossoms you cut that didn’t make it, were not papery enough and too moist. The colors will fade over time, but I’ve had several blossoms for 4 years now that even though are faded are still gorgeous. You are so fortunate to fill each room with those pretty blooms! 😉
I absolutely love dried hydrangeas. I tried them once in a vase with water and wasn’t successful; I’m sure I harvested them too early. I’ve dried several bunches this year by hanging them upside down. In my neighborhood folks trim theirs religiously and discard them on the curb. They must have your knack of knowing just when to cut them! Fresh blooms and then dried ones? Thanks for convincing me I need to try again! 🙂
Keep trying Dianne! Feel the blooms on the bush. If they feel fairly dry and papery then they are good to cut. Be sure to cut off all leaves too. 🙂
I’ve always wanted to dry hydrangeas and I’ve never done it right! Glad to know it’s easier than I thought. Thanks for sharing!
It is easy Erin, just be sure to follow my directions. Do not cut them from the bush before they feel somewhat dry & papery and remove all leaves. Every time I tried to cheat the instructions…. I failed. 😉 You will do great. keep trying!
I can’t say hydrangeas are something I’d ever thought to dry, even though I love them. Thanks for the great idea!
I’m hoping to plant some hydrangeas at our new house so hopefully I can do this in the next year or so!!
Thanks for linking up! I featured your post in my wrap up http://tidymom.net/2013/creative-ideas-3/ Have a great rest of the weekend.
I purchased some at Trader Joe’s kept them in a vase and tried to let them dry. They curled up and dried out! Hoping to plant some hydrangea bushes in our new back yard in the spring. Will try leaving them on the bushes until they start to dry and try this method of preserving them! I love hydrangea and can’t wait to have them in my yard to enjoy all summer.
Do hydrangea grow in southern az? Do they require lots of watering? Thanks for any input
Hi Kim, I have tried drying hydrangeas and they came out okay but not great. After reading your tutorial, I know why. I’m excited to try this method. I just wrote a post on hydrangeas and linked to your awesome tutorial. What beautiful photography you have. Thanks so much for sharing. ~ Abby
I cannot wait to try this. I hope I cut them at the right time so they dry correctly. This will be fun trying though. Thanks for the tutorial.
You will love them! Best of luck! 😉
This is one of my favorite flowers!! Thanks for the tips!!