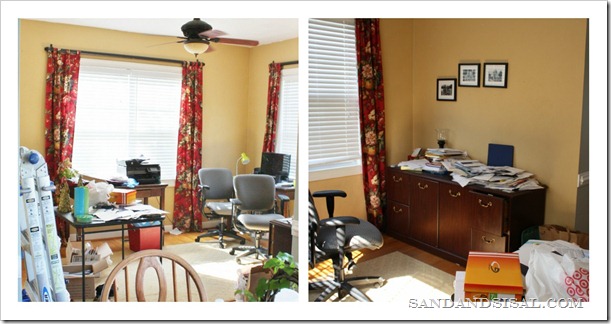
But first things, first… let’s take a look at the awful Before Pictures!
Below are pictures of what my computer room looked like before hand. Yuck. It’s a total disaster. Piles of papers, completely unorganized, unfinished, a dump-and-stash zone, and not a room that you want to spend any amount of time in. Embarrassing! I had lost total control of the room. Time for a change! Let’s clean this mess up and install board and batten.
Before starting any project, make sure you have all your safety gear and tools in working order. Follow all your power tools’ manufacturer recommendations and safety precautions. I used all of the 3M Tekk Protection products you see below for this board and batten project and when I Installed Hardwood Floors, and when using any project that involves power tools.

To Install Board and Batten with Decorative Trim you will need the following:
- Air compressor and nail gun
- Nail gun nails: 2 inch and finishing nails
- Pre-primed 1” x 2.5” x 8’ boards
- Vinyl cove molding
- 3M Tekk Safety Eyewear
- 3M Tekk Sanding & Fiberglass Respirator
- 3M Tekk Ear Protection
- 3M Pro Grade Sanding Sponge- Extra fine grit
- Paintable Caulk
- White semi-gloss latex paint
- Paint brush and roller
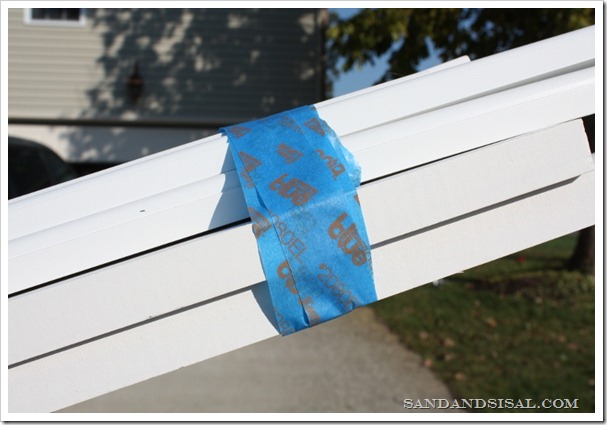
Head out to your hardware store and gather your supplies. To secure my boards together safely for the trip home in my truck, I wrapped several board of trim together with 3M Scotch Blue tape. I keep a roll in my truck’s glove compartment. It really comes in handy for situations like this.
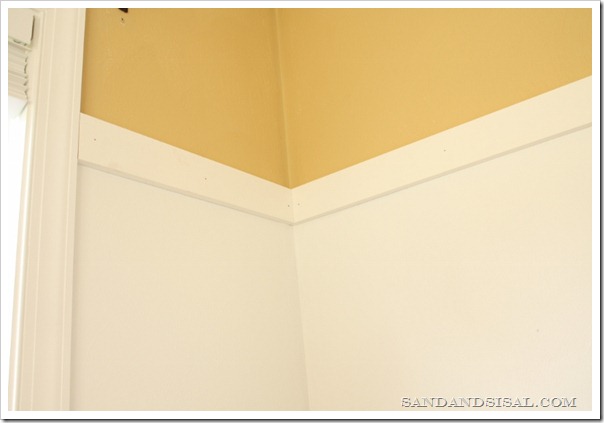
Decide on your desired height. I chose 3/4 the height of my wall. Have someone help you hold your 1” x 2.5” x 8’ boards to your desired height. Make sure the boards are perfectly level with your level tool and nail to the wall with 2 inch nails. Continue all the way around the room. Once that first step is done, then go ahead and paint everything (walls and baseboard) below the horizontal board in semi-gloss white paint.
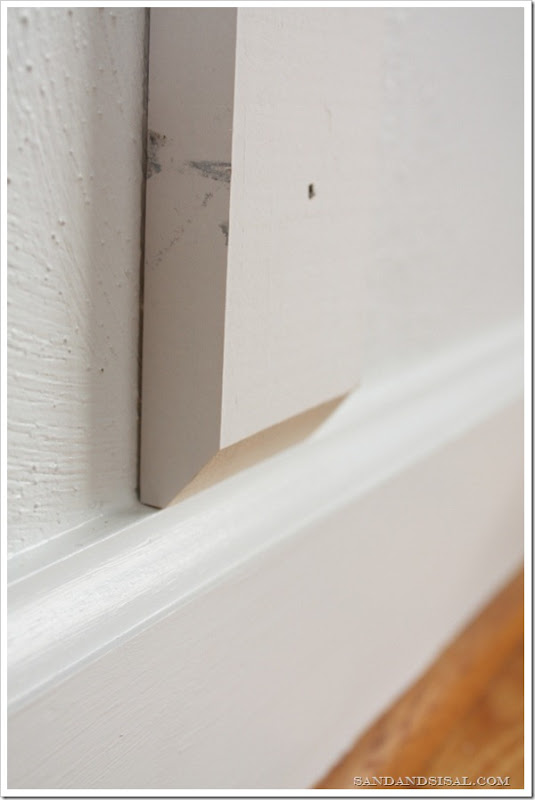
Because I wanted my boards 16” apart, I cut a scrap piece of board to that length. This will be your spacer board. Nail your first board to the wall and check for plumb. Use your spacer board and align your next batten board on the other side of your spacer board. Check for plumb (a level vertical) before nailing with your nail gun.
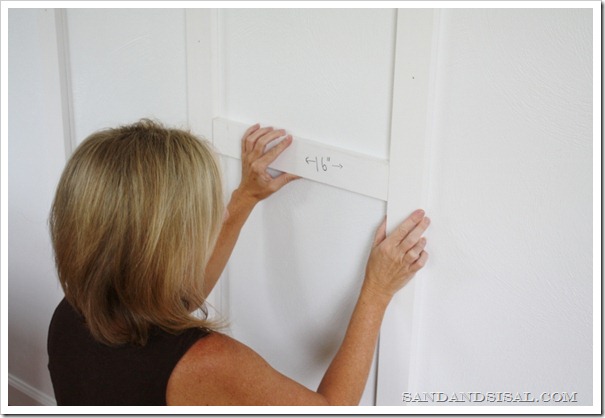
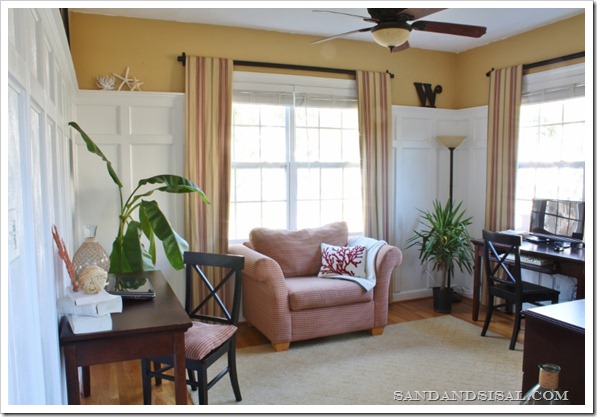
Continue this process all the way around the room. You can stop at this point if you choose. It took us a very short time to install basic board and batten (approximately a day and a half). This room is 13′ x 9′ and the board and batten cost just under $300.
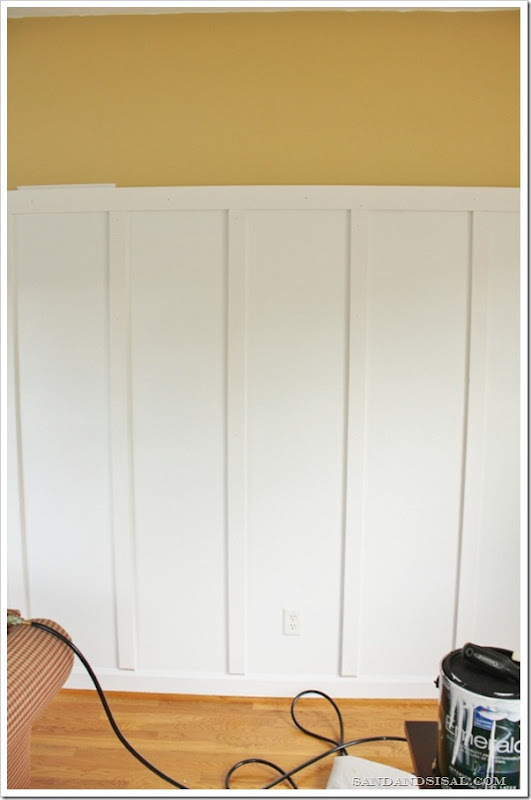
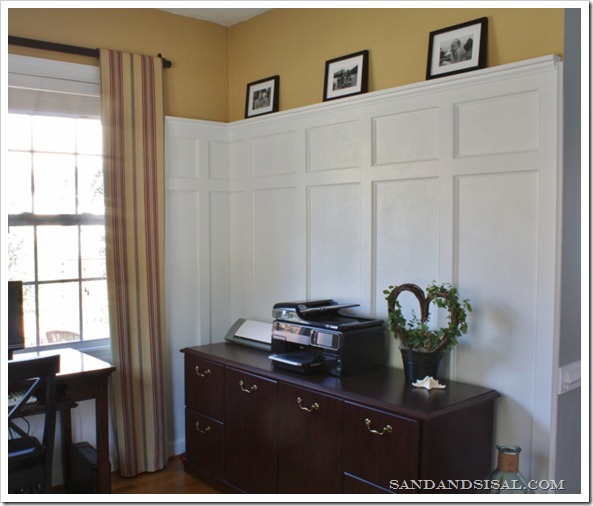
But you know I’m just not satisfied with basic…. it’s a compulsion of mine. I need more detail! So let’s not stop there! Let’s add a decorative rectangle! Easy enough. We decided on a 10” rectangle and cut a 10” board as our spacer. This ensures that everything is square (muy-importante & uber-easy!). Cut several boards to 16” lengths. Place one board under your 10” spacer board to align it. Nail it in place with 2 inch nails.
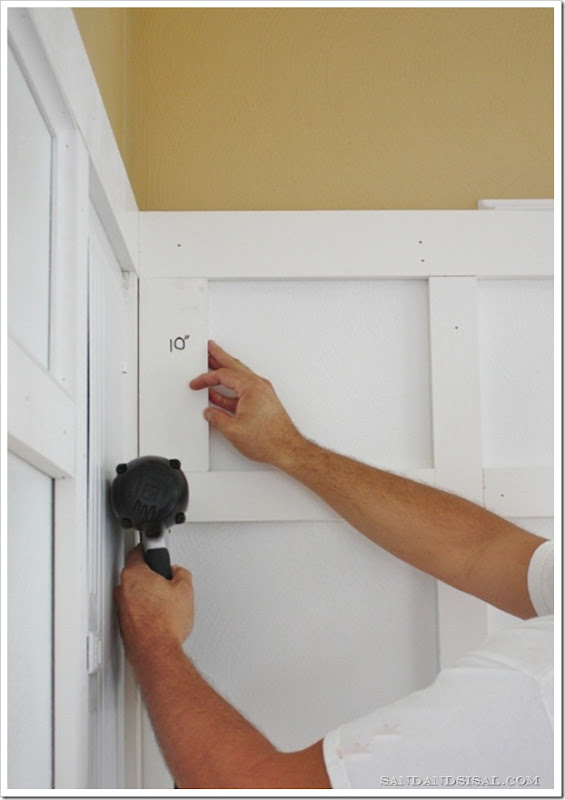
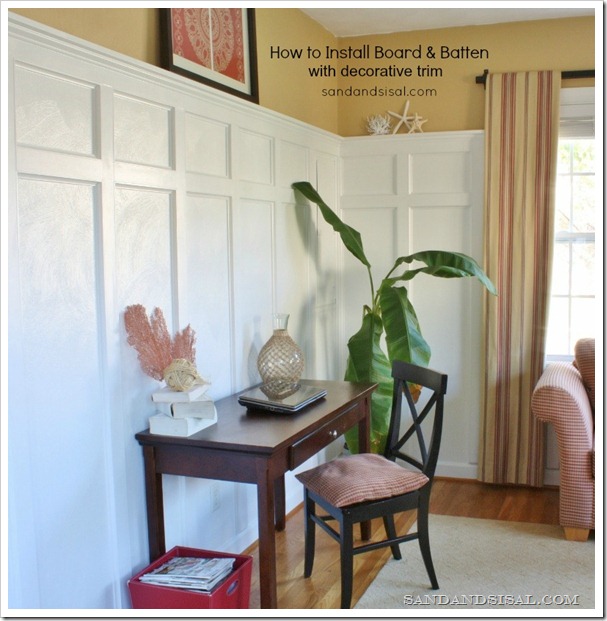
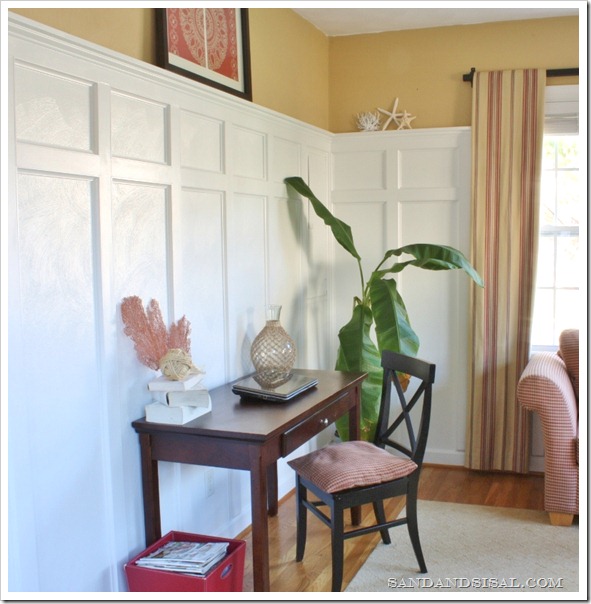
This is how it will look after you have created little rectangles. Feel free to stop at this point (again) if you desire. But if you’re a sucker for detail like me, then keep going! Let’s add some decorative trim to the board and batten.
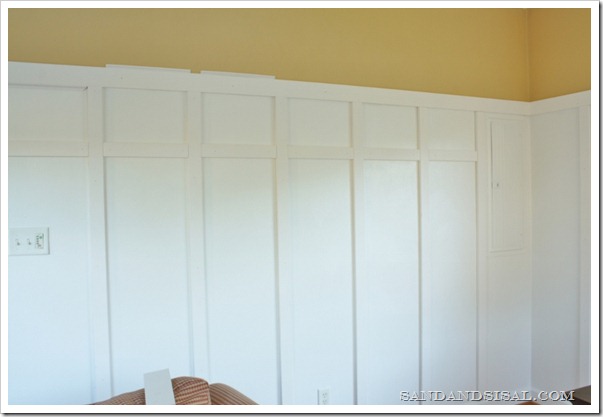

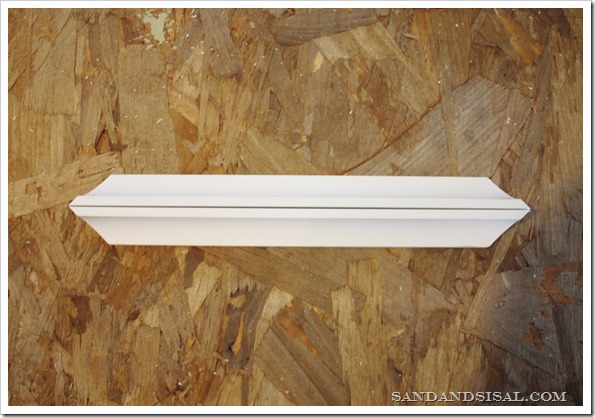
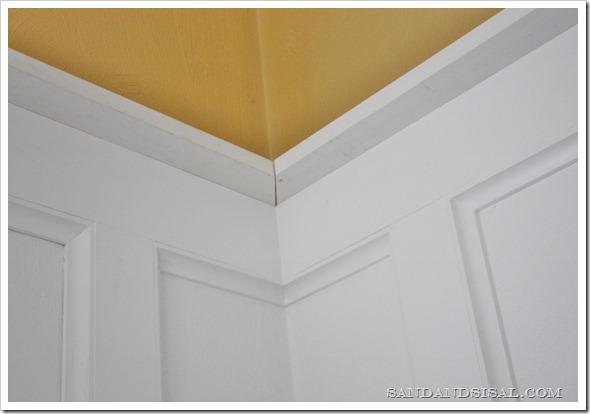
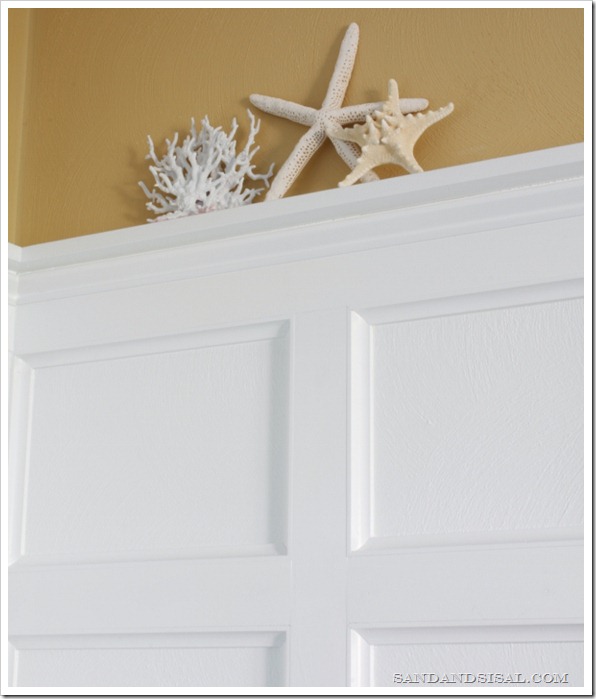
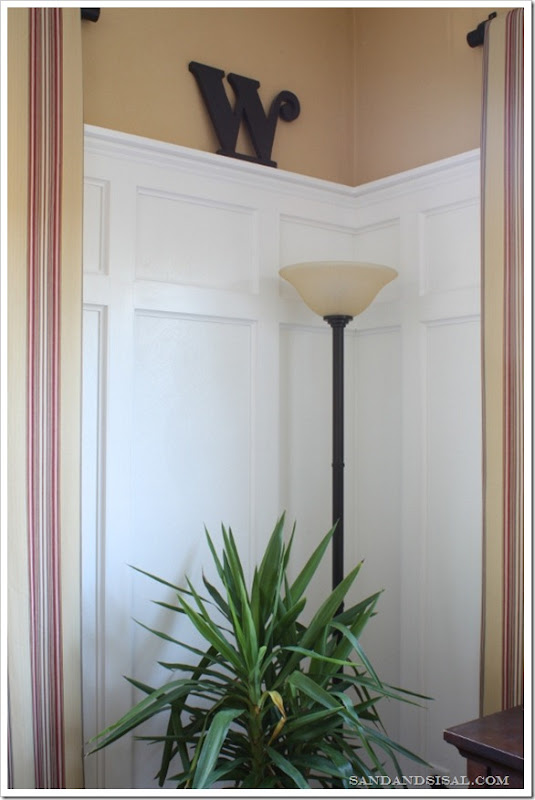
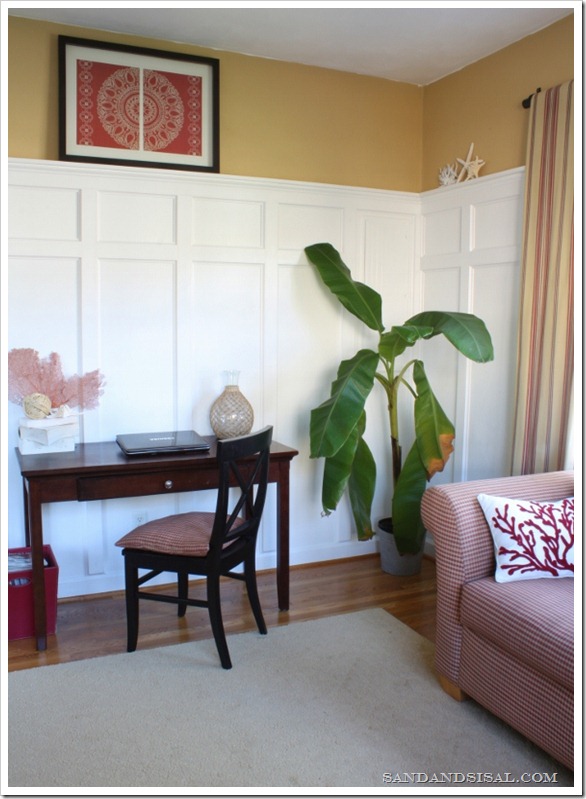
At this point you can also add additional cove or decorative molding under the ledge with finishing nails (as seen below). Fill in the nail holes with wood putty and sand to a smooth finish when dry with your 3M sanding sponge. Caulk all the inside edges with paintable caulk. This step gives you a very seamless and professional finish.

Pin it if you love it!

This post is a collaboration with 3M DIY. To learn more about safety and preparation, visit 3MDIY.com.
I love the look of board and batten! Well done.
I am just trying to figure out which room to install mine….
Kim, looks awesome, clean, and fresh! I find the less I love a room, the less likely I am to keep it clean and organized. My master bath is THAT room right now. Good luck in keeping it so clean and neat. Your love for the room should help a ton!
I love it Kim! We are getting ready to do this in our dining room and I cannot wait. Yours looks so amazing! Thanks for sharing. 🙂
What a great office space Kim. You make it look way to easy! Thanks for sharing. xo Jenna
Great job Kim! I posted it on Facebook and passed it on 🙂 I. Love. It!
The room looks so great!! I find all kinds of fan coral down here … now I want to spray paint some red. 🙂 Love those beach accents.
Thanks Karah! That coral is actually that color! I’m in search of black fan coral but the price on it is escalating. I’m thinking of spray painting some inexpensive red! I need to come and visit you I’m thinking!!!
Thank you so much for the tutorial! I am considering installing board and batten in my laundry room. I do have a question … What do you do when you have two walls that are different lengths … say a 9′ wall and a 10′ wall … how do you decide how far apart to place your boards? You chose 16″, but how do you make sure that everything stays even around the entire room? I hope that I am making sense.
Hi Dawn. You are making perfect sense! I recommend choosing a width, then take a piece of painters tape and mark that width all across the room. Some areas, especially around windows, might look odd, so feel free to adjust those individual walls and spacing. The eye will not distinguish a difference as long as you don’t vary more than an inch or two. Find a width that works well for your room. (you’ll be playing with a lot of tape… trust me!) 😉
Wow, does that look great! Thanks for a great tutorial. I actually think that I might be able to handle it!
We created board and batten in our bathroom several years ago but never sis the cove molding. I think I have a trip to Home Depot or Lowes in my future. The molding gives a nice finish to the project.
Kim, the extra details you added make a big difference. I like board and batten a lot, and a plain, unembellished style is pretty. But those extra rectangles, the ledge, and the cove molding at the top really make a big difference. That said, I do not particularly like a heavy decorative molding with board and batten. Your look is still simple enough to fit with the board-and-batten vernacular, I think! (Did I really just use the word “vernacular” in a comment? I may be a nerd.)
Oh, Kim it is fabulous!
I love the extra 10″ detail at the top. Nicely done and what a gorgeous transformation!
I’m pinning because I love it! You did an awesome job and it totally transformed the look of the room!
Leslie
Probably the best tutorial of how to do this that I have seen, thank you thank you thank you. I have already forwarded this to my husband so he can study up on doing this in our living and dining room (one large room). Can’t wait to do this, so excited!
Gorgeous! I love your tutorial and pinning it for when we tackle our foyer.
It looks fantastic!!! Your extras make this look so much better than the others I have seen…. definitely worth your effort!
STUNNING!!!! That little extra makes such a huge impact. Love it!
Absolutely gorgeous! It really opened up the room and I am a sucker for details, details, details! The ledge is lovely and great for leaning items! Looks great and I love your blog.
Looks great, Kim! What a pretty work space you have.
-Erin @ DIY On the Cheap
Love this Kim! I just pinned and had to come over and see how to right away! We did a similar tecnique on our ceiling, your trim adds so much though! Love the little details that make this makeover even more special!
This is gorgeous! I absolutely love how it turned out! The room looks so much brighter.
Incredible! Thanks for the great tutorial!
You make this seem so easy! But your clear instructions and photos help a lot! thanks for sharing with us
Looks sensational! Thank you for those meticulous and clear instructions! Makes it a whole lot easier to follow and attempt!
Hi Kim,
This is a fantastic tutorial! Thank you for letting me link to it so my readers can benefit from all your hard work!
They bunch at the most notable, then cascade down
with folds payday loans it is just not tiresome
and time-taking to acquire into cash aid as the lenders arrange take advantage
a quick manner for the applicant by direct cash deposition process.
Do you think the Dutch Boy paint would work here or would you recommend sticking with the higher end paint considering it is such a large area? I am also a paint snob and have only used Benjamin Moore, but I’m going to Shermin Williams to check out some of your suggestions!
Hi Kim,
Thanks for this tutorial. I have read several others on pinterest, but yours has answered many lingering questions. It will be a while until I can get to this dining room project, but now I know what to consult when I get there. …Dannie
I love what you did by adding the squares at the top and the trim. This is just what I needed to show my husband for us to do in our family room and he usually needs a picture of exactly what I want. So glad I found you on Pinterest.
This is terrific, but I’m stumped by one thing. After you attach the top rail, you say to attach the vertical strips by ‘nailing’ them to the wall. Since the wall studs are typically 16 inches on center, after the first board, you won’t be hitting any studs, which is a problem, isn’t it? I feel dumb, what am I missing?
Hi Dan,
Don’t feel dumb, you aren’t missing anything. Each vertical board has 6-8 nails in each of them, which is more than sufficient. Don’t worry, those boards aren’t coming off the walls any time soon! In fact, I had messed up one vertical board and had to attempt to pry it off the wall… it was not easy to remove and it wasn’t nailed into the studs at all. 😉 If you choose to not add the extra cove trim work you still need to caulk all the edges. That not only gives it a finished look, but acts much like an adhesive, securing the boards additionally.
Hope that helps. Thanks!
Kim
I like what you did with the room, but feel you should add crown moulding to ceiling wall
Hi Theresa! I totally agree! Crown molding would look so nice, but it’s one project/budget at a time. Trust me, it’s in the plans! 😉
Happy New Year!
~KIM
Not sure if you’ll see this or not – but I’ll give it a try. First of all LOVE how it looks! That said, how high are your ceilings? I have only 8 ft ceilings in my living room, though at one end they are vaulted to the 2nd floor. We’re thinking of adding a board and batten treatment to the room to give it some umph 🙂 It’s a cape cod style house, not huge by any means, but open concept to the dining/kitchen. We just want to add the board and batten to the living area. Do you think 8 ft ceilings are too short for board and batten? Would it make the room “squatty”? Like I said, one end of the room opens to the roofline on the 2nd floor (slanted ceiling) Hard to explain without a picture. BUt anyway, just wondering what you think of the ceiling height for board and batten. I’d like to do white below and a blue on top. Thanks!
Hi Kim,
Thanks for the kind comments! My ceilings are 9 feet. I think board and batten would look absolutely great with your 8 ft. ceilings, especially if you place a ledge along the top and put pics or decorative items up there. This would draw the eye upward and give the illusion of a taller wall. If it was my house, I’d make the height at either 6 or 6.5 feet. That gives you 1.5 feet of color above and room to decorate. If you have crown molding then go with the 6″ height definitely.
Hope that helps! Have a great week. ~KIM
I’ve seen other DIY postings for board and batten design and installation, but this is the best one, yet! Your use of cove molding gives it a very polished and professional appearance and your techniques for installation are very well presented. I have long planned to do this for my daughter’s room and had the entire space visualized, but your photo blog has given me even greater inspiration to take the design just a bit further. If I can just get my wife to trust me enough to give it a shot, I’m confident the finished product will be quite the delight and our daughter will be thrilled. Thanks for sharing!
Thank you Christopher! I have several board and batten installation posts, so if you get into a bind, be sure to check the others out for more tips.
looks great. you must have used about 3 tubes for caulk…lol 🙂