Add a bit of glam to your Christmas tree with these gorgeous DIY Gold Leaf Ornaments! This easy Christmas craft will have you gilding everything you see!
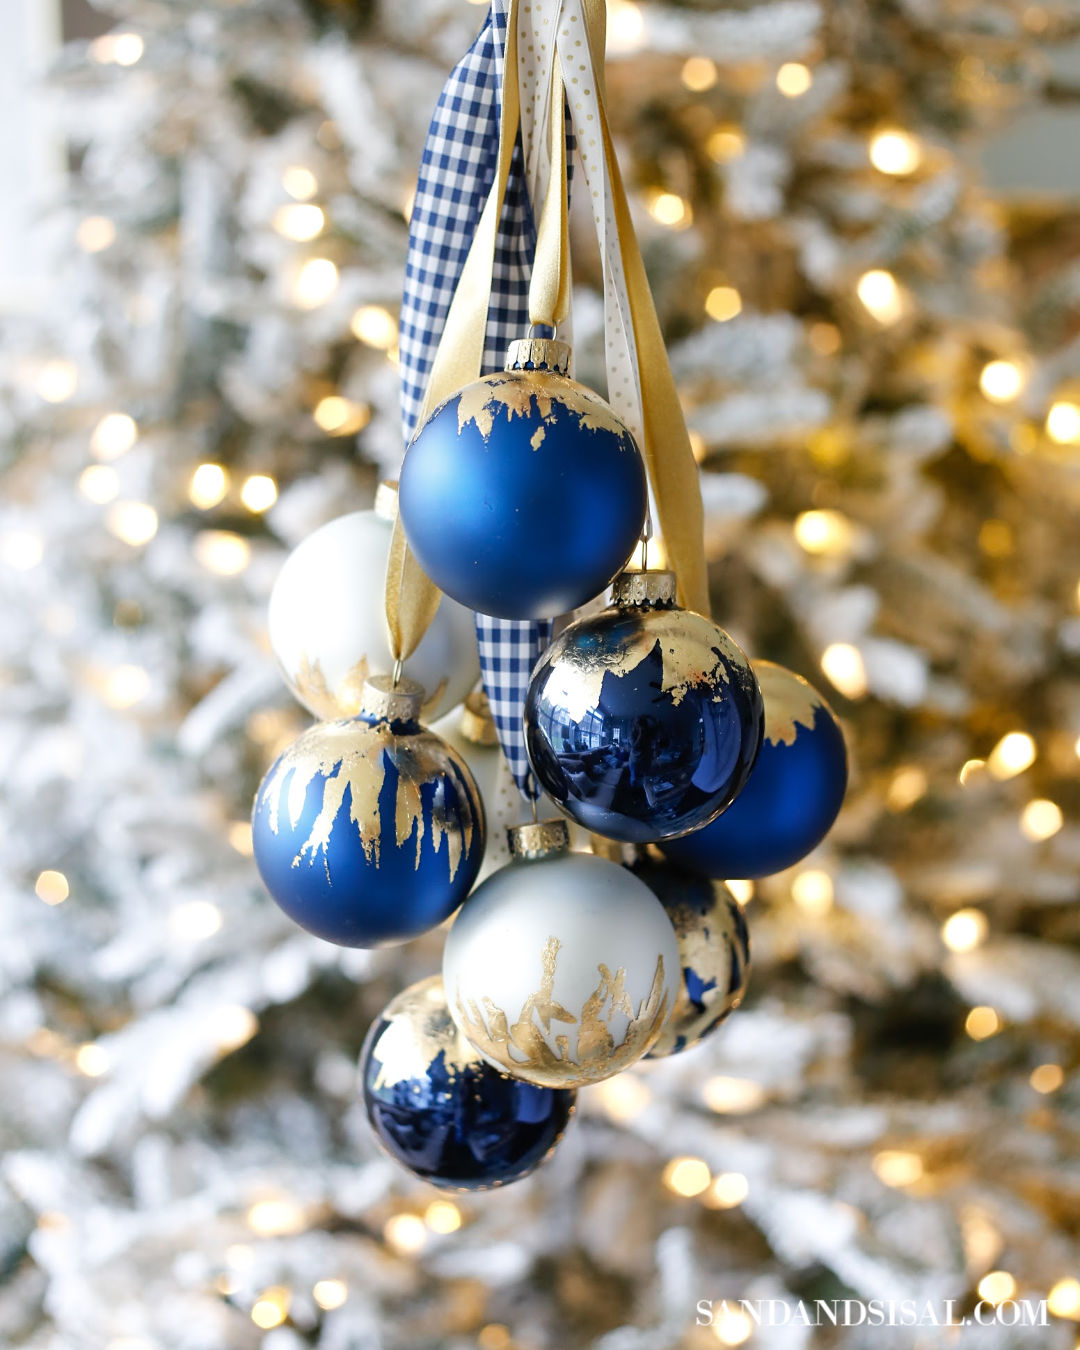
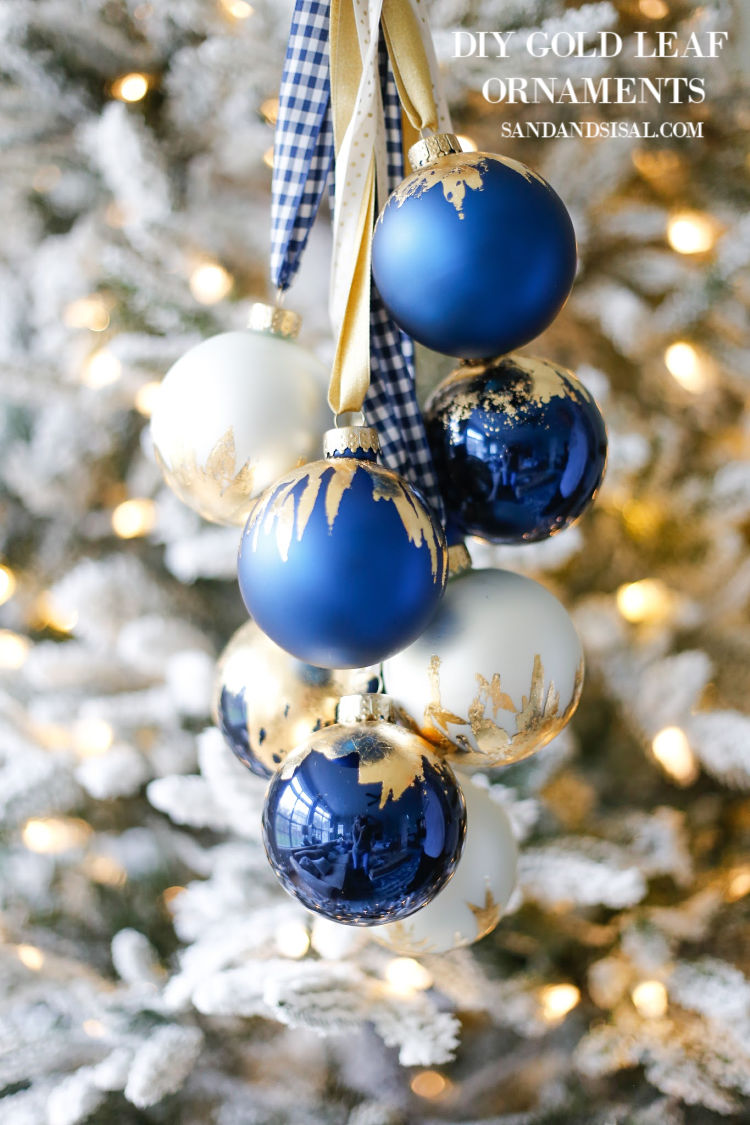
I’ve made up a bunch of these gorgeous DIY gold leaf ornaments for our navy and white coastal Christmas tree this year. I love personalizing ornaments and this is a fun and easy Christmas craft that you can do quickly and easily and will make your holiday decor look glamorous! There is a video tutorial at the end of the post if you want to view that too!
DIY Gold Leaf Ornaments
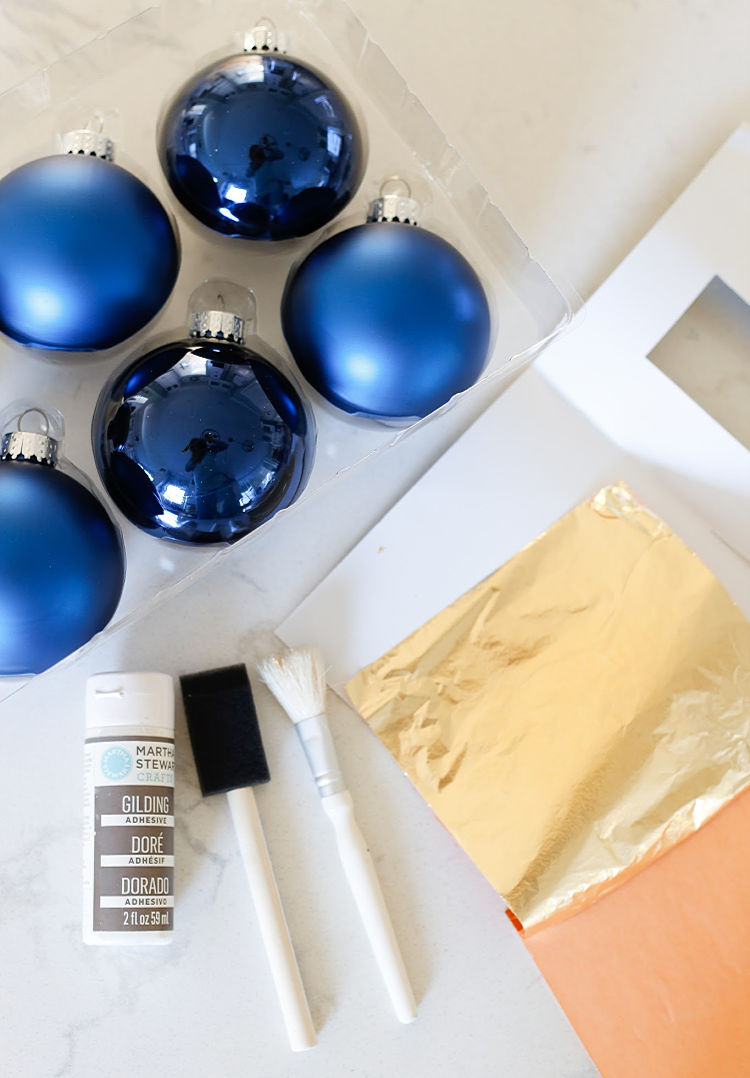
Supply list (some affiliate links provided for your shopping convenience):
- glass ball ornaments
- gold leaf sheets
- gilding adhesive
- stiff bristled paint brush/gilding brush
- foam brush
- waxed paper
Step 1: Remove the tops of the ornaments. Feel free to spray paint the tops gold if desired (which I did in my garage). Spread a sheet of waxed paper onto your workspace to protect it from the adhesive and gilding.
Step 2: This is where you can express your creativity if you want. Pour a bit of the gilding adhesive onto the foam brush. Dab the brush onto the ornament in random blots, leaving open spaces. This will create a textured and mottled appearance. Remember where ever you place the adhesive is where the gold leaf will stick to, so be as intricate and delicate or as bold and expressive as you want. There is no right or wrong way with gilding, in my opinion.
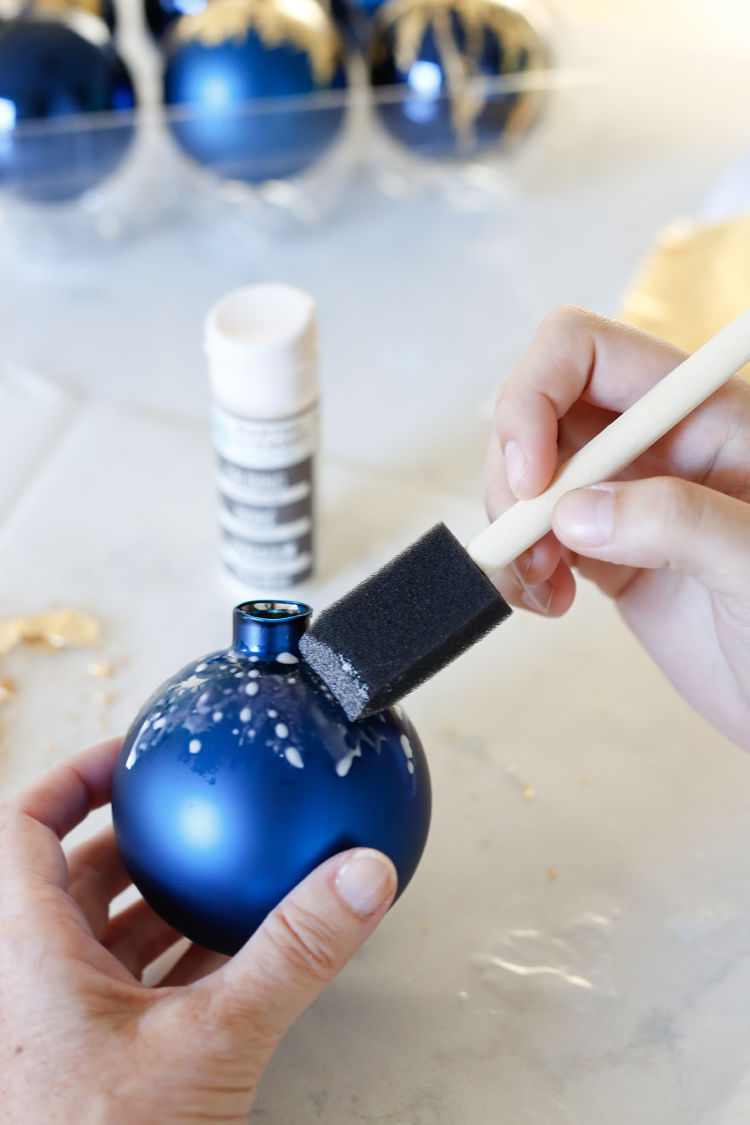
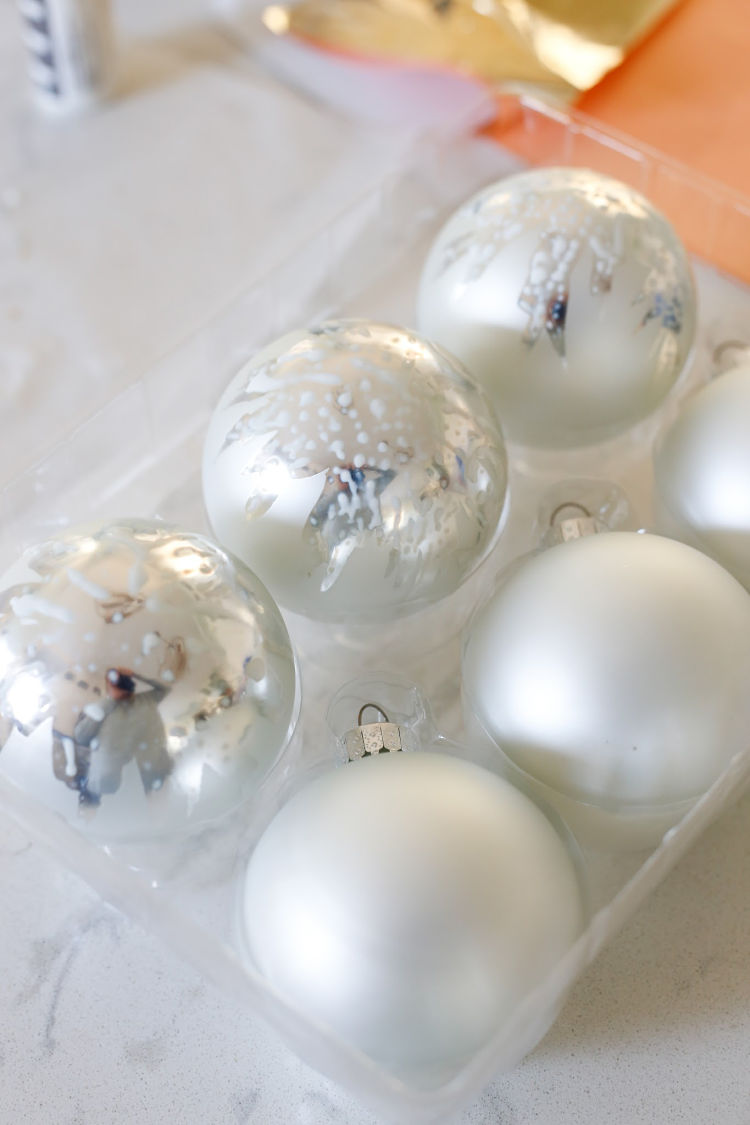
Step 3: Set ornaments aside to dry until adhesive is clear and tacky. For my navy ornaments, I had shiny and matte. I chose to put gilding adhesive on the top of the ornaments and for the white ornaments I chose to put the adhesive on the bottom. The photo below shows how the adhesive looks when applied to a matte ornament. This photo also shows what it looks like when still wet. All those white bubbles should disappear when the adhesive is dry enough for gilding.
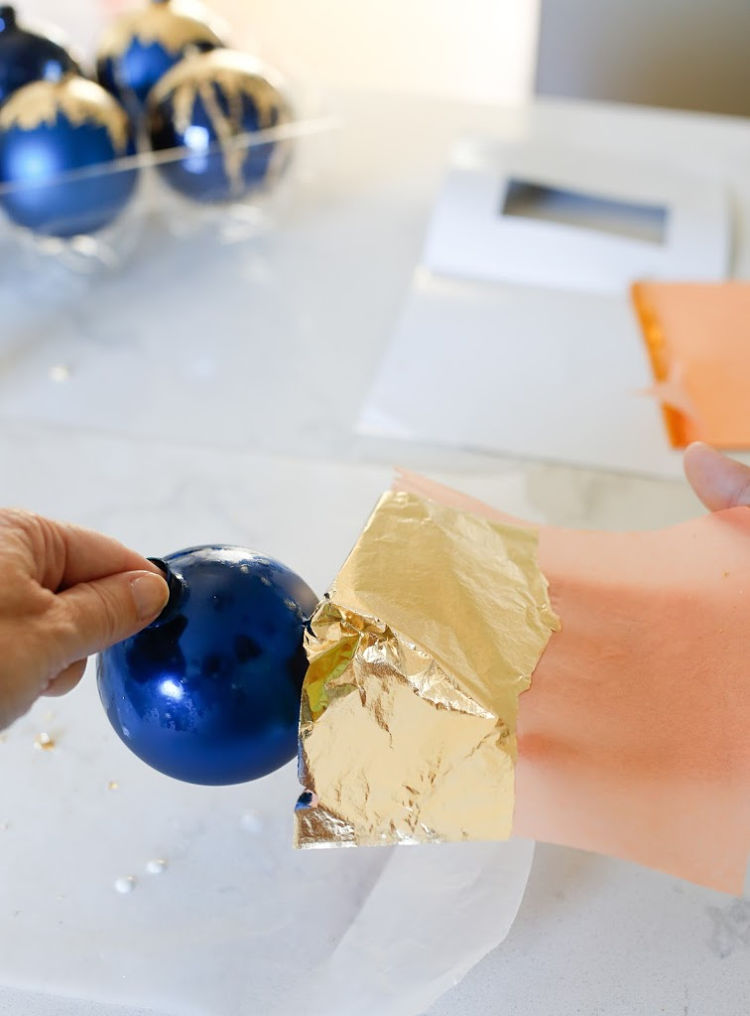
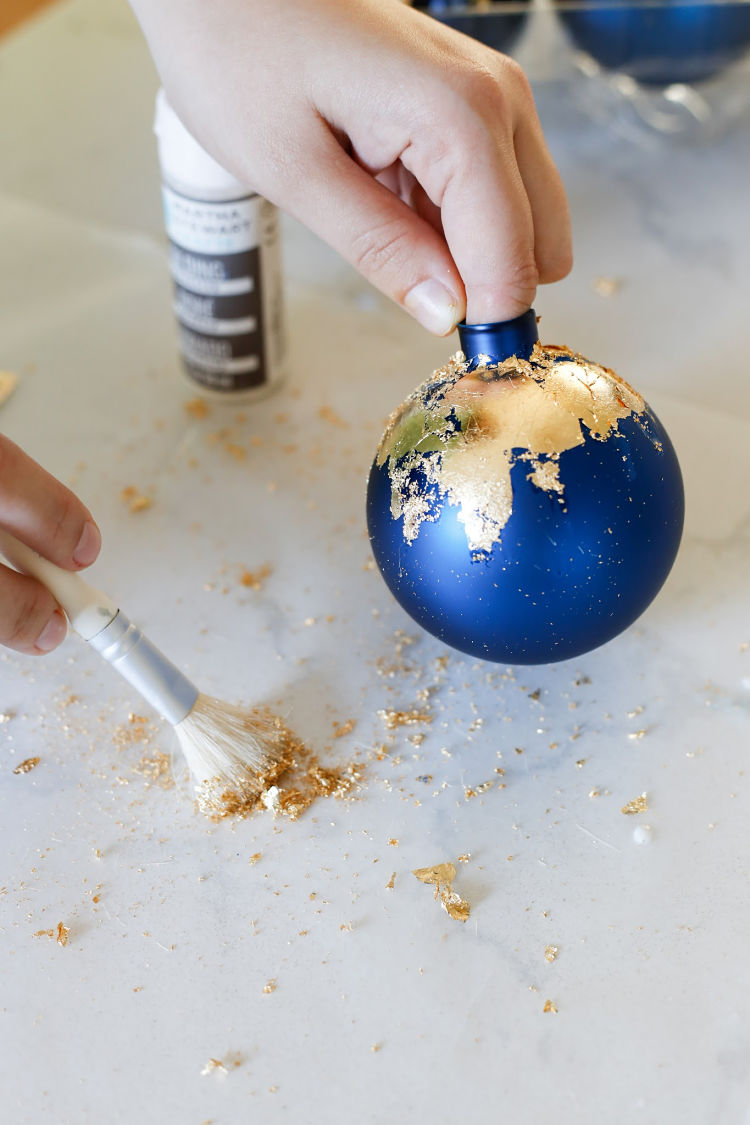
Step 4: Apply the gold leaf. Again, in my opinion, there is no right or wrong way to apply the gold leaf. I tried it a few different ways and found both just as successful. For the blue ornaments I carefully tore off a page of gold leaf which is laying upon a piece of paper. Don’t breathe too heavy and God forbid you sneeze while doing this craft… don’t ask how I know! Gold leaf is so thin that any air movement will disturb it! So you can lift the sheet and press it onto ornament.
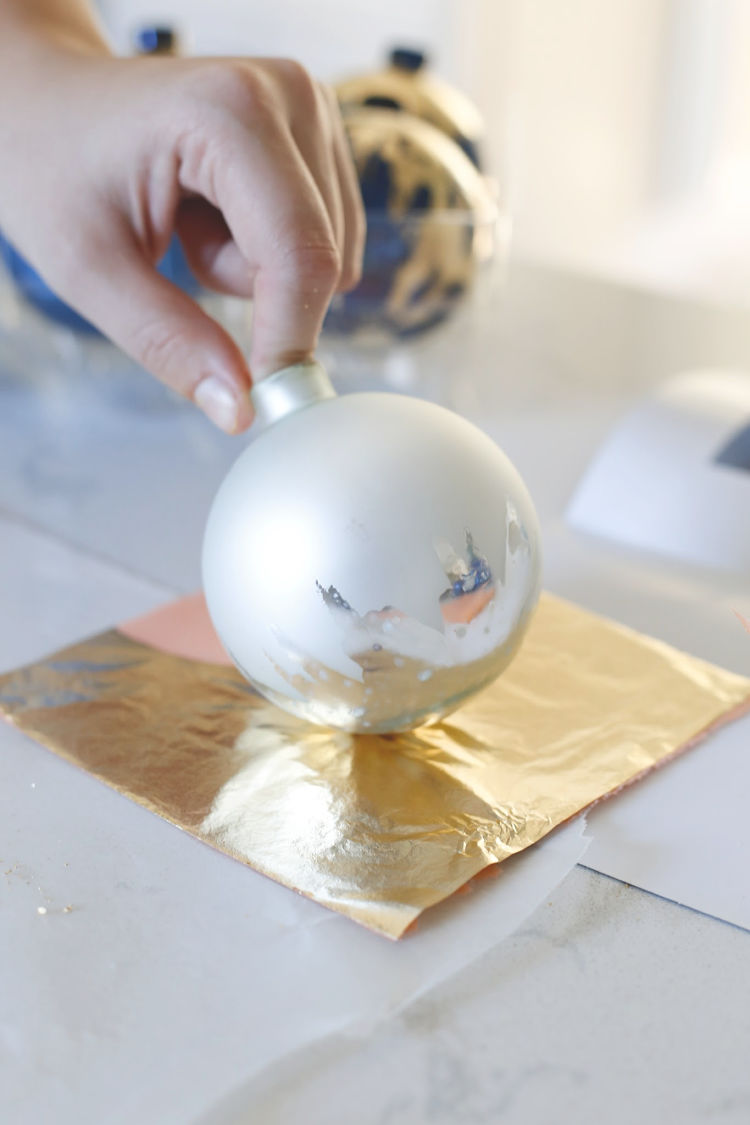
Or you can place the ornament onto the sheet and allow the adhesive to grab up the gold leaf.
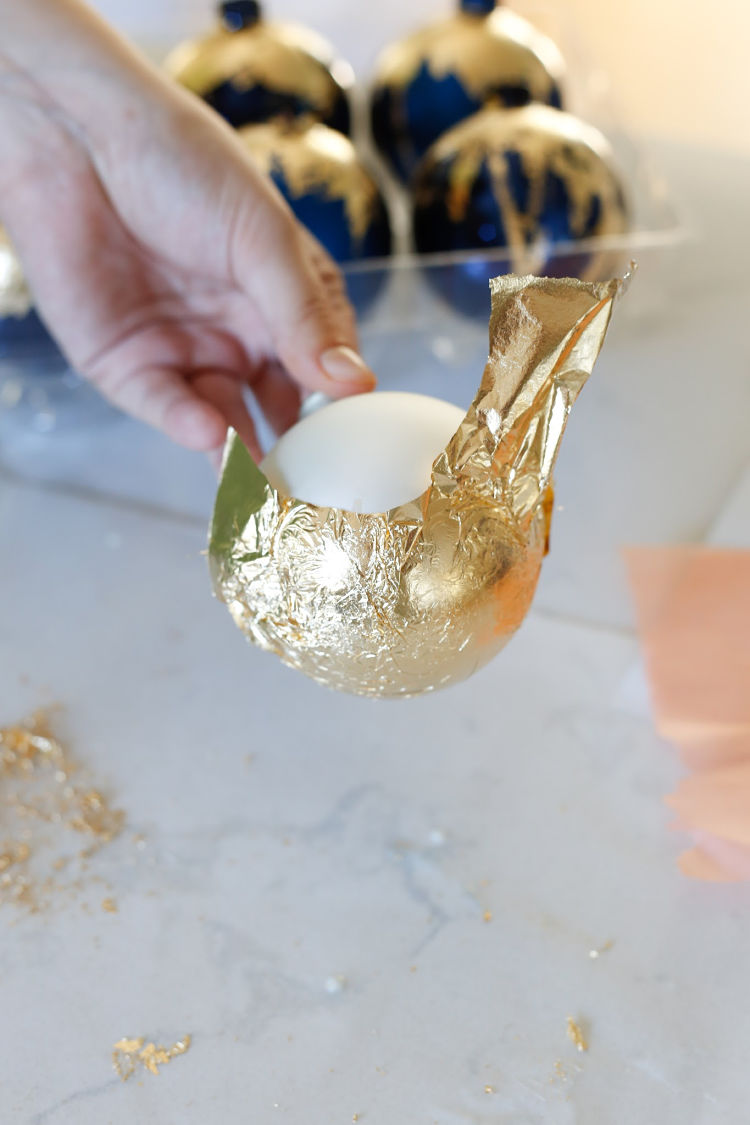
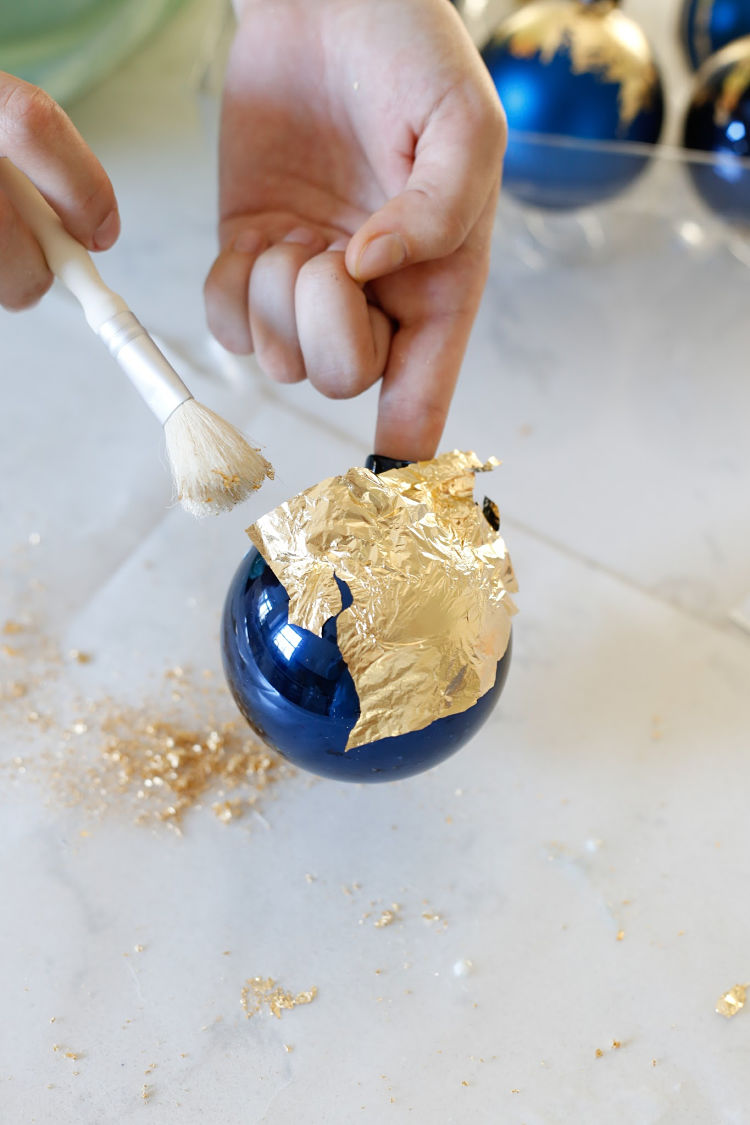
Step 5: Brush and smooth the gold leaf around the ornament with a brush, making sure all the leaf is touching the adhesive. Next vigorously rub the gold leaf with the brush to remove any excess gold leaf.
Use the small shavings that have fallen onto the wax paper to fill in areas where gold hasn’t made contact with the adhesive. These small shavings and gold dust are probably my most favorite part of the process. They add such a gorgeous gilded gold texture!
Step 6: Brush off any gold dust and smooth the gold gilded ornament with your fingers. Use a gilding sealer if desired. I personally don’t use one unless I’m using real silver or copper leaf. Replace the ornament top and string with ribbon.
That’s it! Making gorgeous DIY Gold Leaf Ornaments couldn’t get any easier! Once you start gilding, you will find yourself gilding everything! I’ll be sharing how these beautiful gold leaf ornaments look on my Christmas tree soon! Here is a video if you want more details.
LOVE IT? PIN IT!
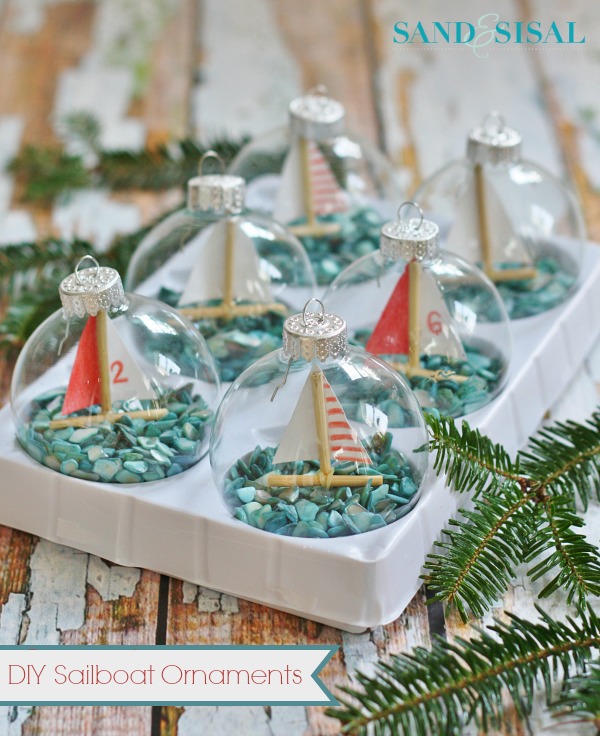
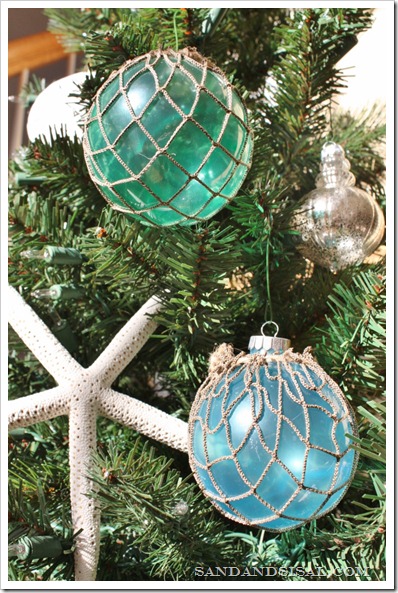
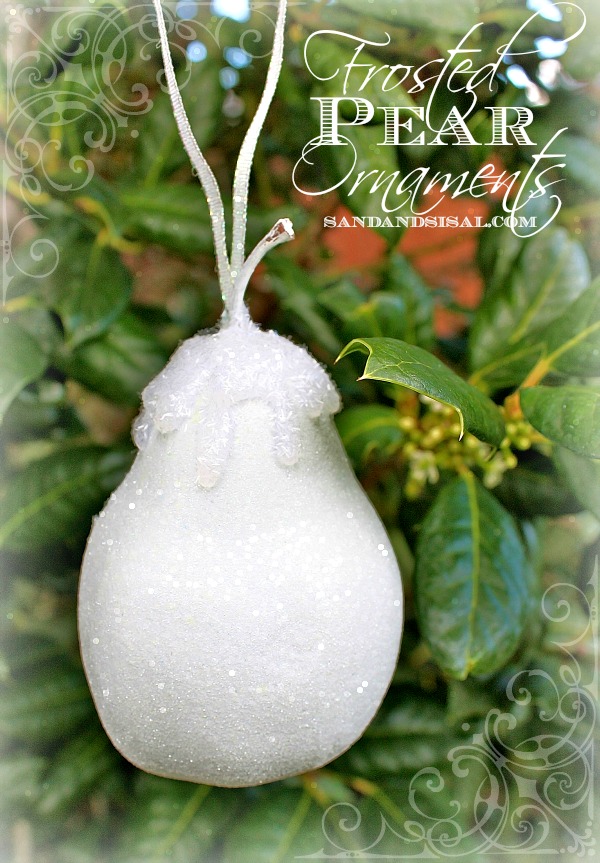
You might like these ornament crafts too!
Very cool and you can do anything…. I’m going to try and write my grandkids names
Thanks Mary! I add a video tutorial to the the post. Have a great weekend!
Kim, you are so talented! No way could I make these gorgeous gold leaf ornaments! Can’t wait to see your beautiful flocked coastal Christmas tree!
Thank you so much! They are really easy to make!
How do I keep the gold from flaking back off? I know I have to seal it, but at what point?
Hi Emily!
I’ve had those ornaments for a few years now and they have never flaked, even in the slightest. Sealing is optional but I never sealed mine. Maybe a silver leaf would need a sealer, but gold isn’t necessary. Hope you give them a try. They are fun ornaments to make!
Have a great day,
KIM
These are gorgeous, Kim! LOVE the navy and gold for Christmas! XO
Thanks Christy! They were fun to make!
Very lovely! Great ideas for ornaments.
Thanks so much Nancy!
Kim,
Not only are you very talented and have excellent taste, but many times you make me laugh. (sneezing comment) Thank you for your humor, talent, and for sharing. God bless you….real good!
Thanks so much Barb!
The sailboats in an ornament idea is a new one to me…too cute!
Oh my gosh!!!! I love these!! They’re too cute! It looks like Ice freezing over. Your awesome!
Thank you so much Lily! They are fun and easy to make! Have a great week! ~ KIM
These are amazing, Kim! Really like the navy and gold for Christmas!