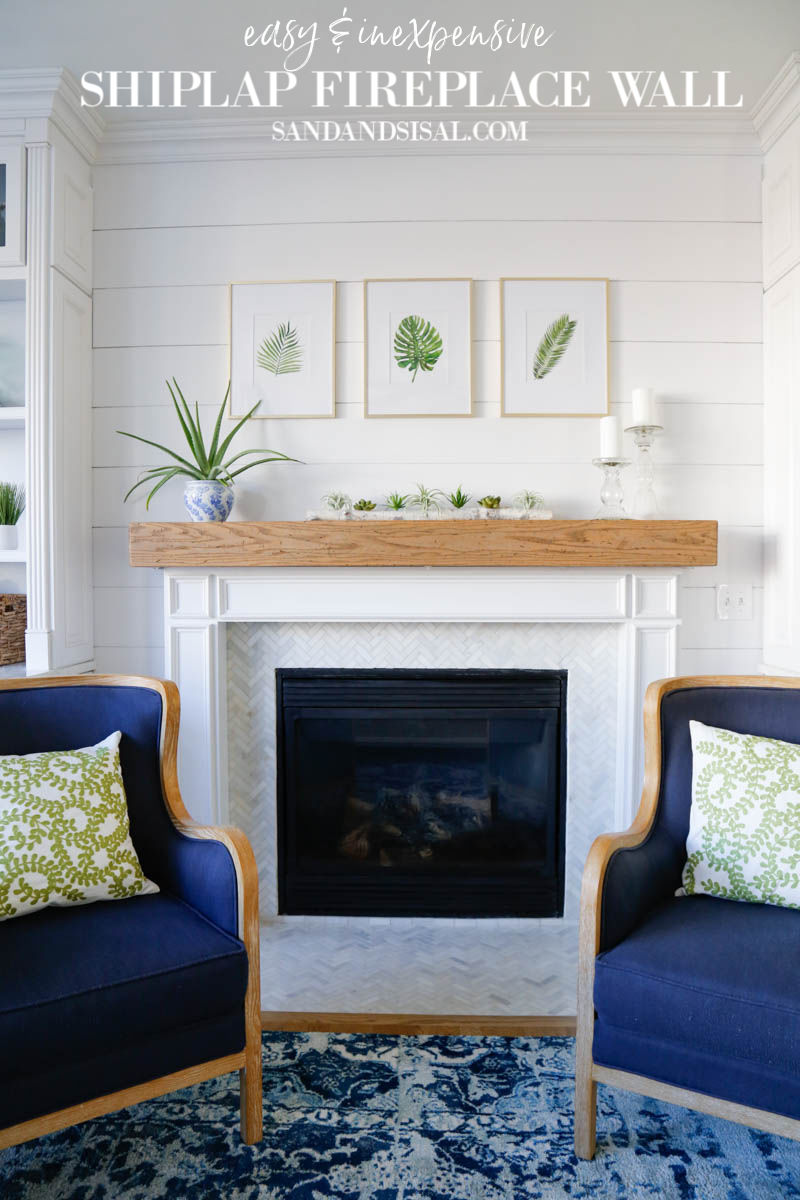
Easy and Inexpensive Shiplap Fireplace Wall
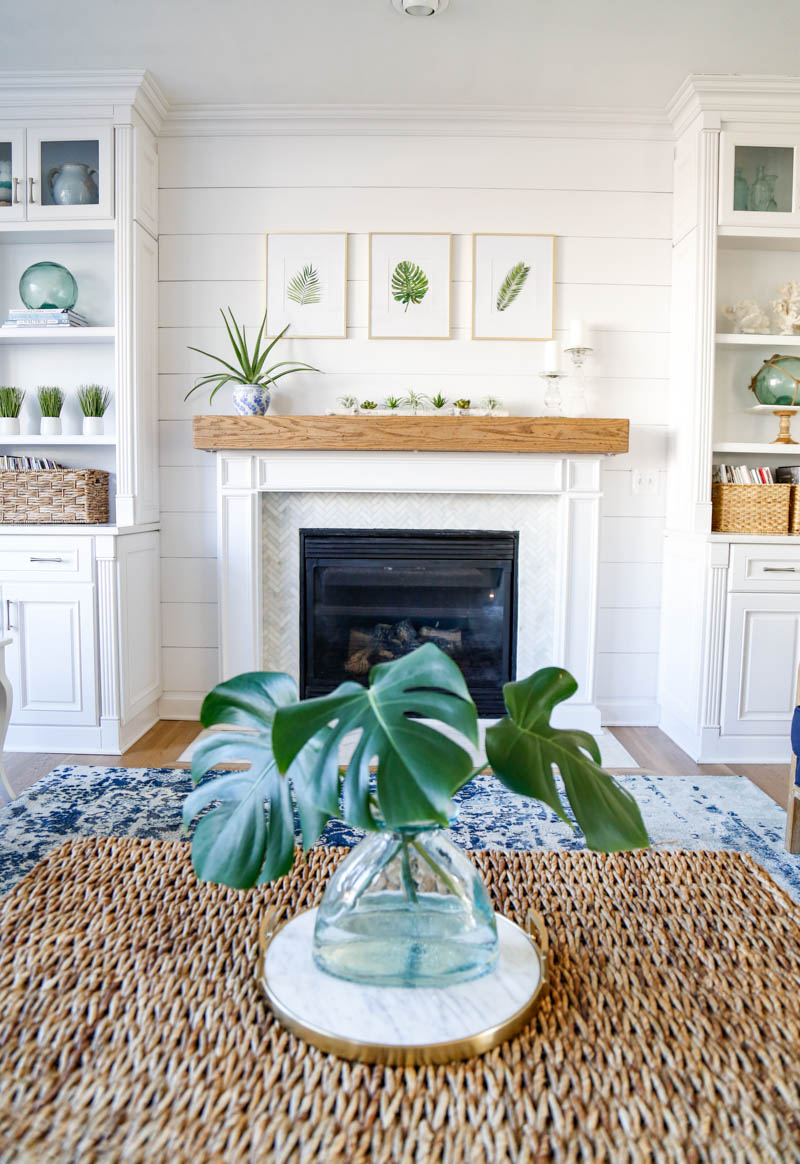
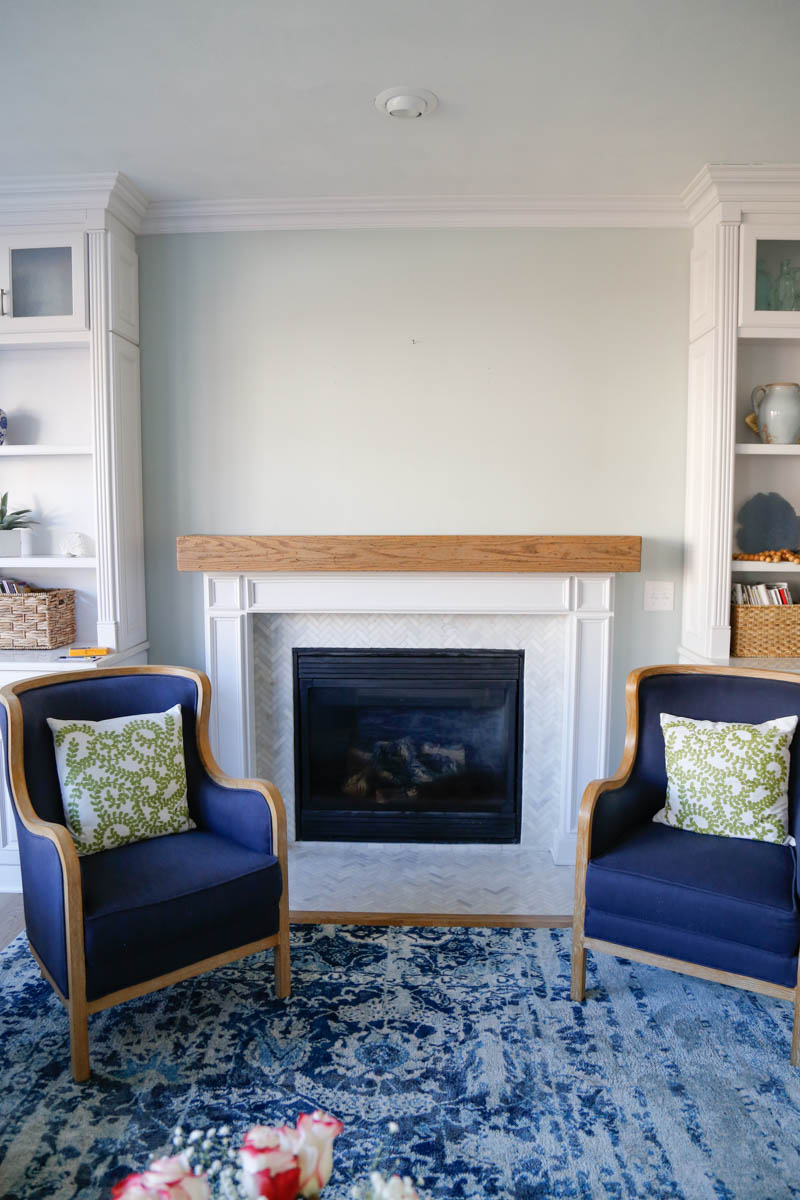
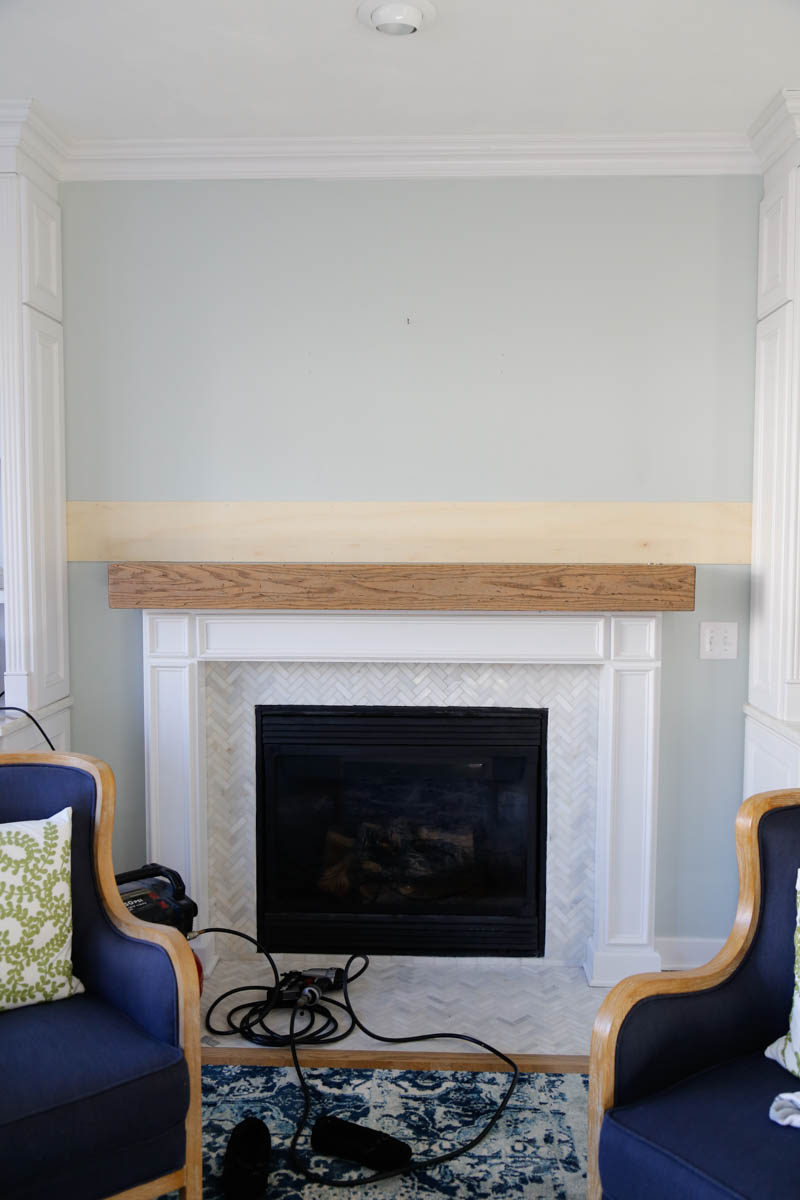
In coastal design and beach homes, shiplap or planked walls are a common and classic feature. They are traditionally built with 1 x 8″ boards. For this project I needed (and wanted) the look of real shiplap with out the bulk and weight, because I had to work around existing panels on each side of our custom builtins. The easiest way to achieve this look is with 1/4 inch thick plywood planks. They are light, easy enough for one person to handle and are flexible. Our builtin bookshelves and DIY fireplace are probably one of my favorite accomplishments. The empty wall between the bookcases never really felt complete. The wall didn’t feel like an entire unit. A shiplapped or planked wall was the answer! I’m excited to share how easy and inexpensive it is to add a shiplap accent wall to your home!
Shiplap Wall Supply List: (affiliate links provided for you shopping convenience)
- 4′ x 8′ x 1/4″ plywood sheets (I bought 2)
- compound miter saw or circular saw
- air compressor and brad nail gun
- jigsaw (or band saw or scroll saw) for outlets or curves
- tape measure
- stud finder
- long level
- nickels or tile spacers
- sand paper
- wood filler
- primer
- paint
Pictured below are my 2 favorite power tools that I can not live without! If you have ever considered doing any type of DIY projects, know that these 2 tools make everything easier!


How to Install a Shiplap Accent Wall
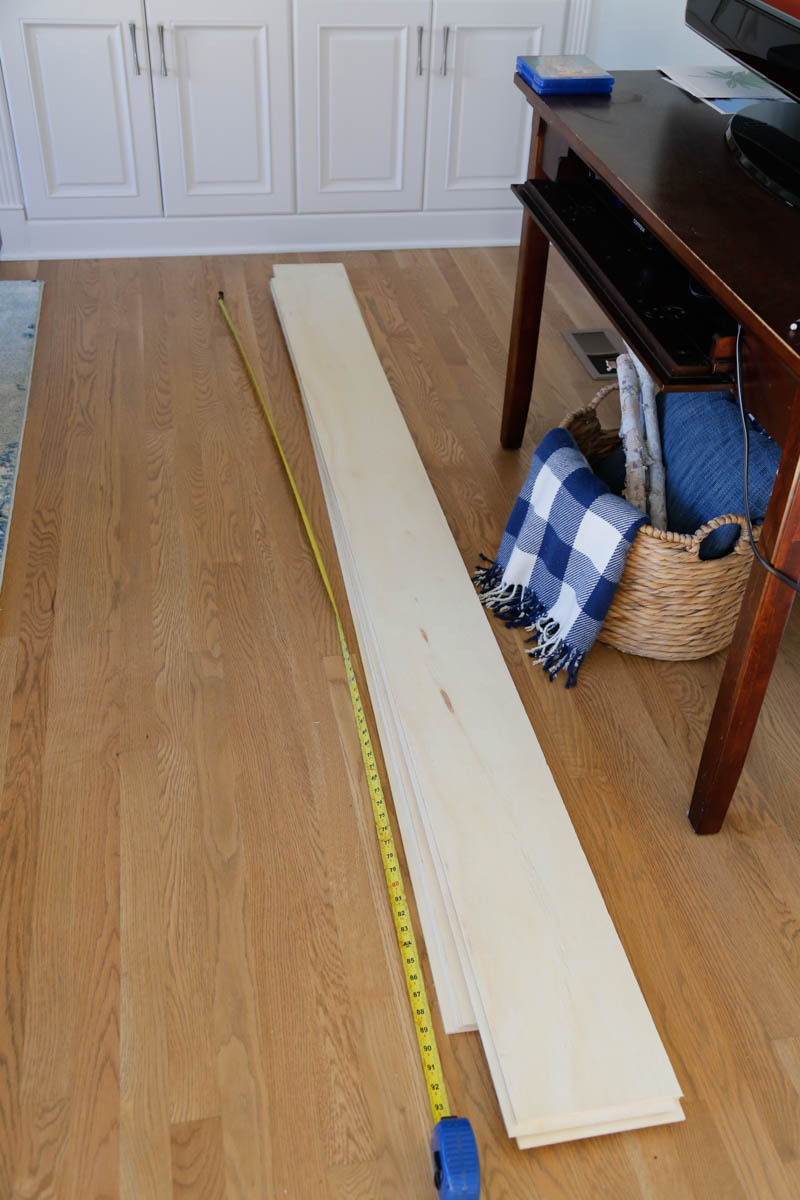
Step 1: Cut the 4′ x 8′ sheets of plywood into 8 inch wide planks. Most big box home improvement stores will cut the plywood into planks for you. My husband prefers to cut them himself (he’s a perfectionist control freak) so he used his table saw to rip the plywood for me. I love my power tools but table saws really scare me.
IMPORTANT NOTE: Each 4′ x 8 ‘ sheet of plywood will give you 4 planks …BUT the 4th plank will be narrower than the rest by 1/4 inch because of the amount of wood the saw blade eats during each cut. I set those narrower planks aside and didn’t use them for this project.
Step 2: Using a stud finder, find and mark the studs in your wall with a pencil.
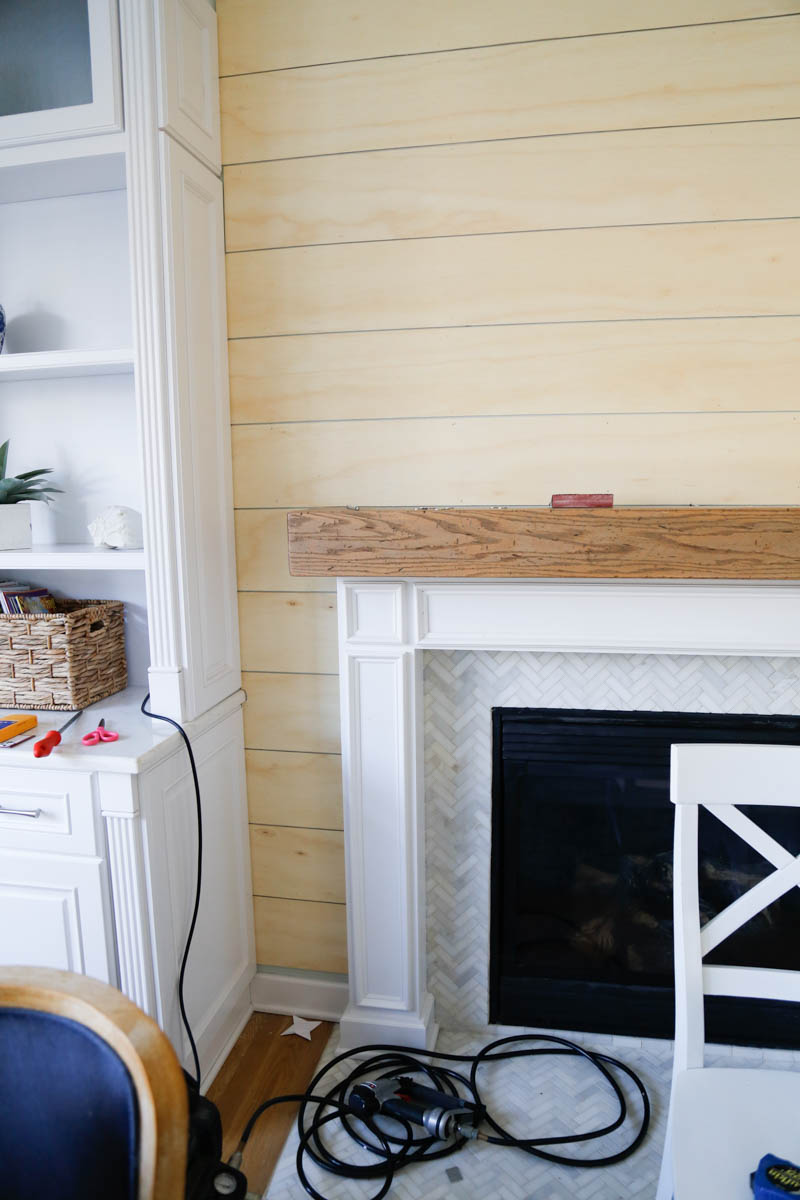
Step 3: Figure out where you want to start. Normally if this was just a solid plain wall then I’d start at the bottom and work my way upwards. But because I already had my mantel installed, I wanted a solid plank above it. So I started there. It also reduced the amount of cuts I’d have to make.
Step 4: Cut planks to desired length and lightly sand the edges. My wall width between the builtins is 7.5′. I cut the plank to length with the compound miter saw. Straight cuts are so nice and easy!
Step 5: Place the board on the wall and MAKE SURE IT IS LEVEL using your long level!!! Once level then nail the board to the wall with the nail gun, placing the nails in the studs if possible. It will still stay secured to the wall if you can’t hit every stud so don’t worry.
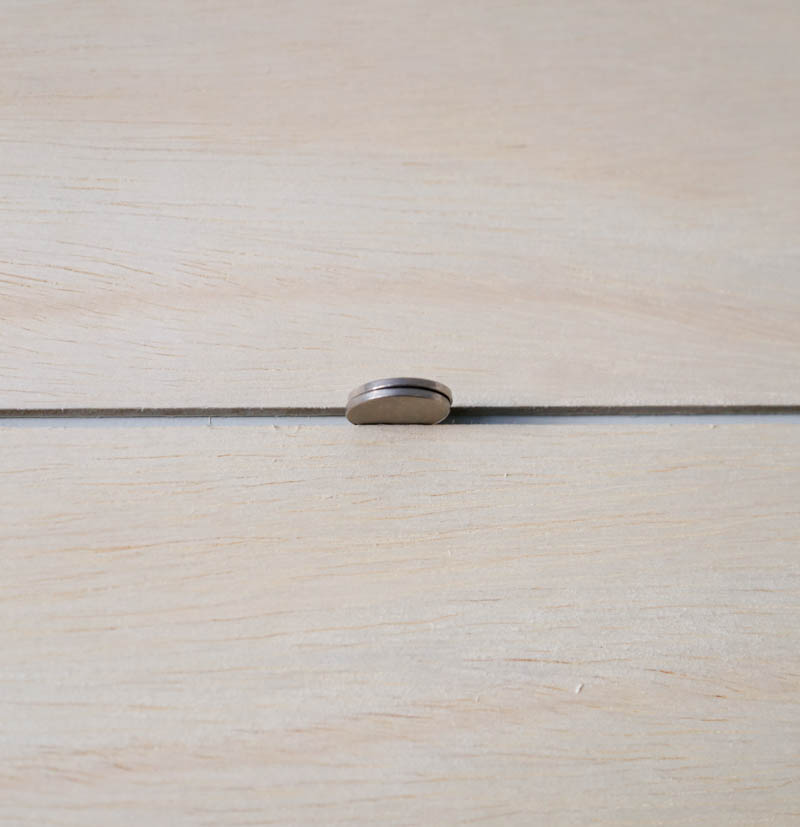
Step 6: Pull out your kid’s piggy bank and gather all the nickels! You can use tile spacers if you want, but nickels were easier. Two nickels stacked on top of each other equal 1/8 inch. I placed the second board on top of the first and then lifted it just a bit to slide in the nickel spacers.
Check for level again (with each board). Once level, nail the boards in place with the spacers. After nailing remove the coins.
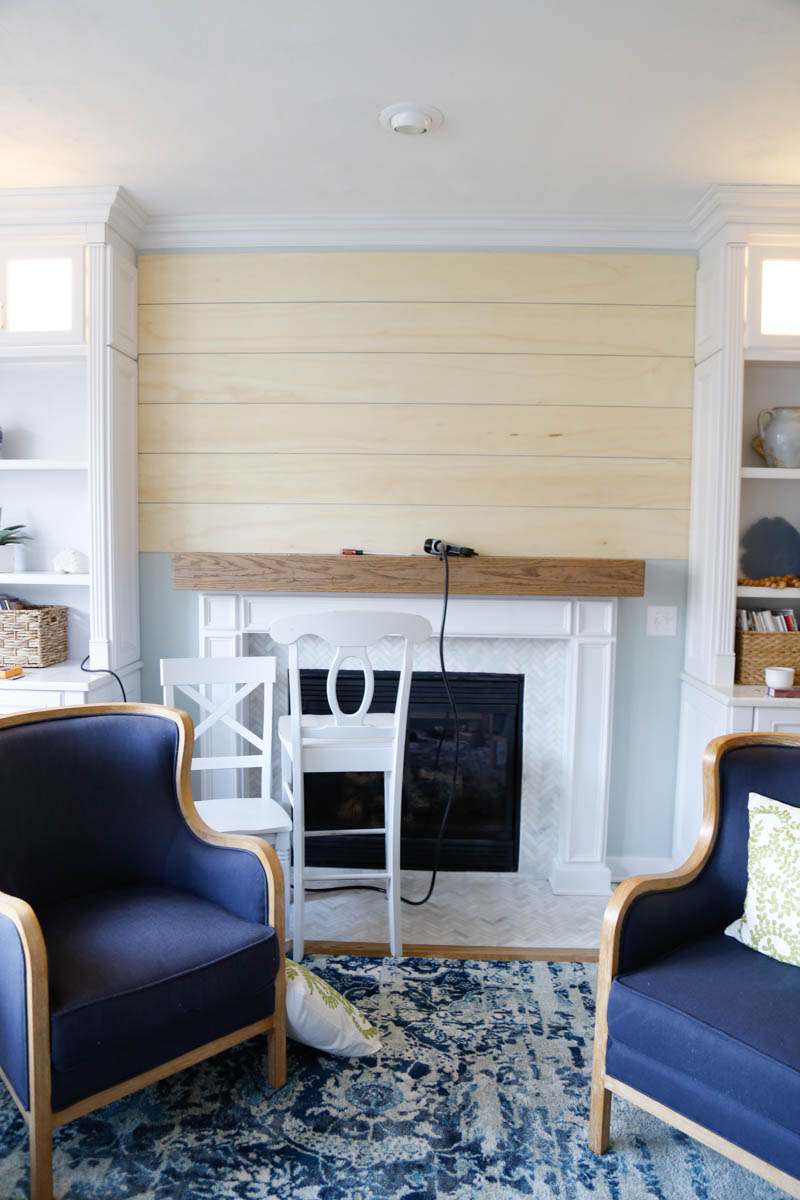
Repeat the process until all the boards are in place.
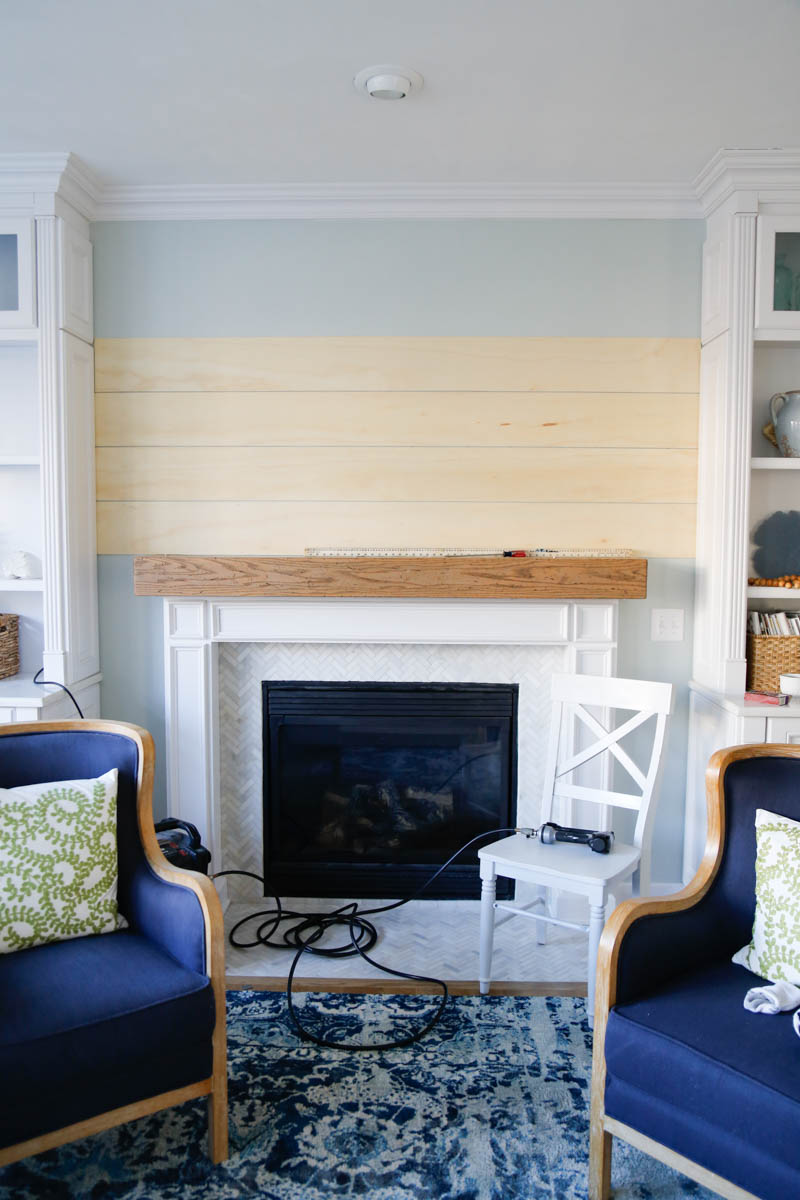
See how my boards didn’t go all the way up to the crown molding? Once the wall is painted then that space will disappear visually. A small piece of trim molding can always be added to beef up the crown if desired.
Step 7: Use a jigsaw, scroll saw or band saw to carve out any curves around counters or electrical plate switches.
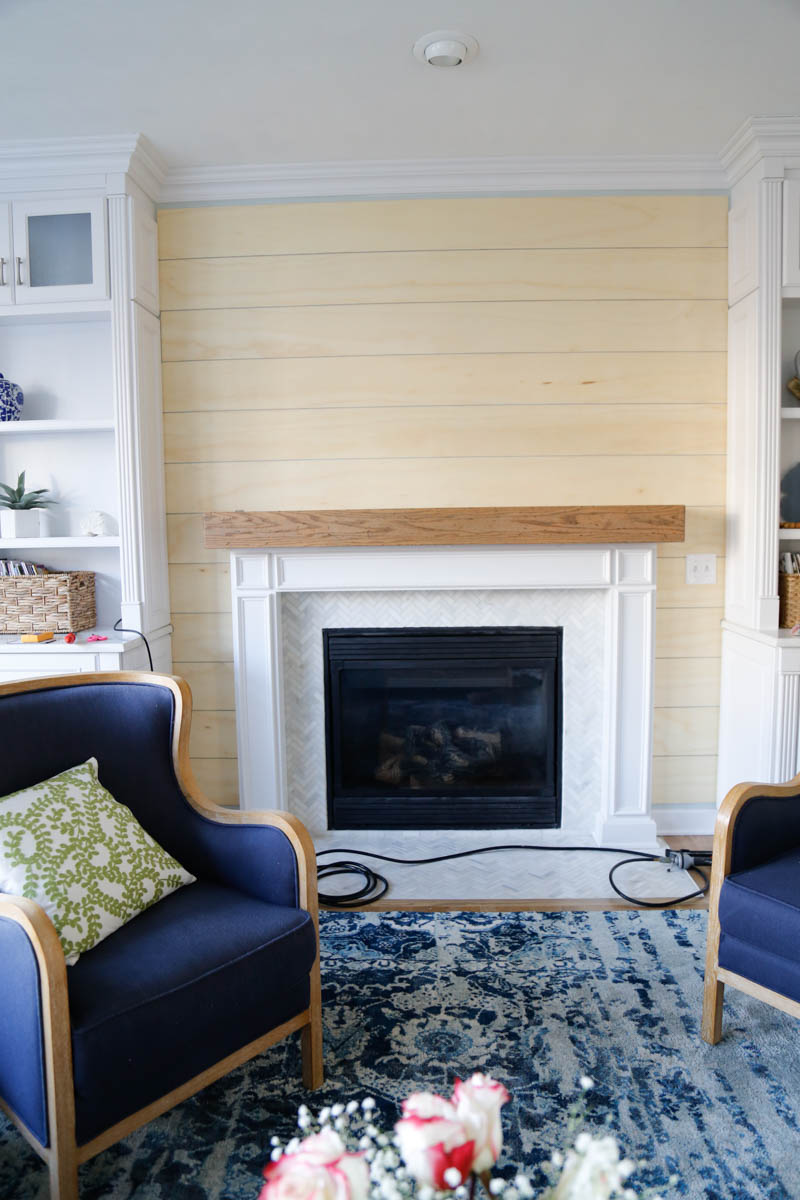
Step 8: Fill the nail holes with wood filler. Then prime and paint the wall! Voila! You have a gorgeous shiplap fireplace wall! I used 2 coats of semi-gloss paint.
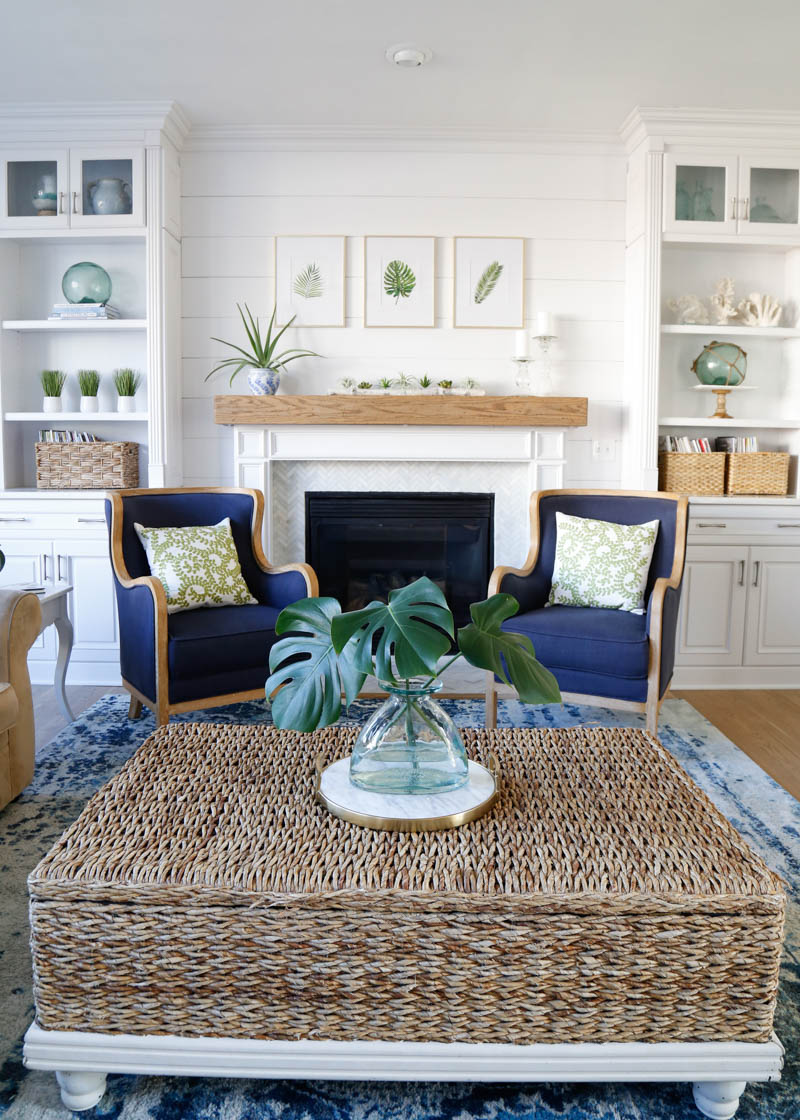
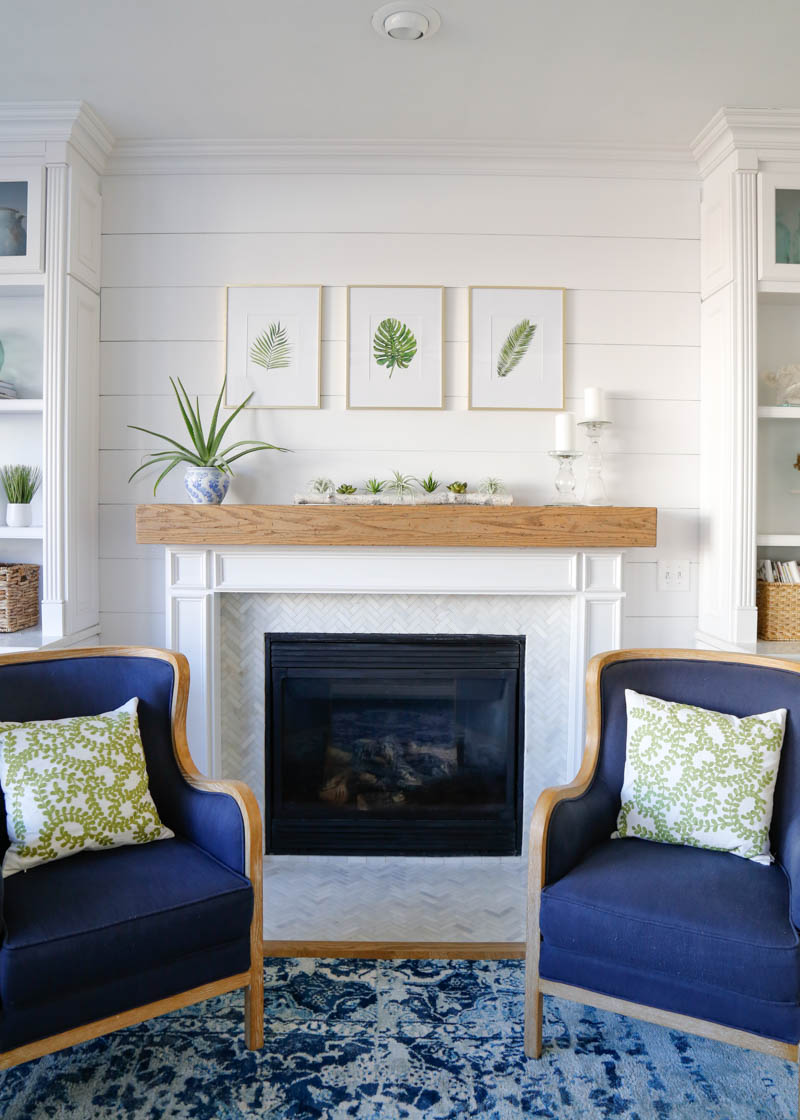
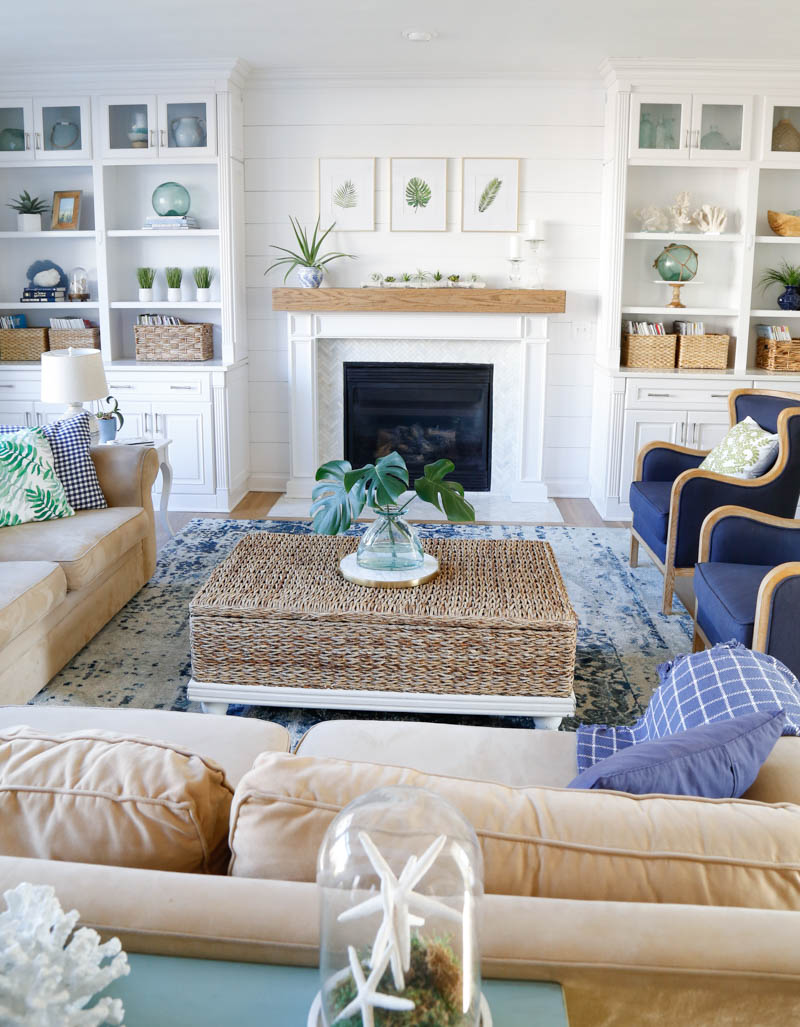
I’m so giddy with how it turned out! My husband was so impressed that I did it all without him (minus the table saw part). My sister told me it looks like it was always supposed to be part of the builtins and I agree! The whole wall unit is more cohesive and complete. The shiplap fireplace wall adds a nice, subtle architectural interest without going overboard.
If you’ve added shiplap to your home I’d love to hear about your experience! I hope you like the results and this tutorial. Feel free to check out more DIY tutorials I’ve done which add so much beauty to your home!
LOVE IT? PIN IT!
KIM
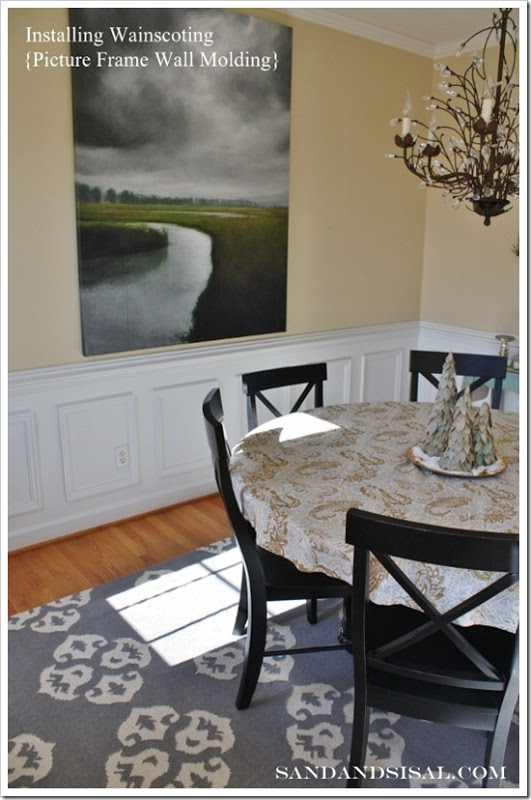
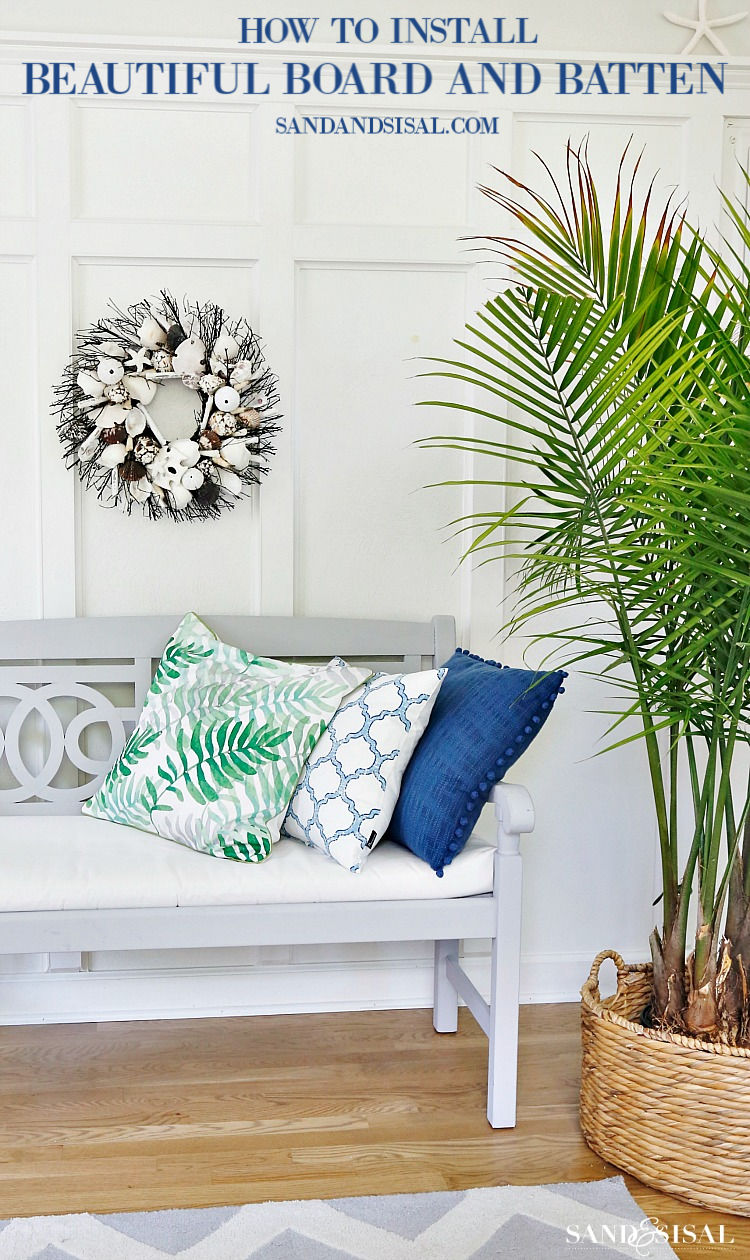
How to Install Board and Batten
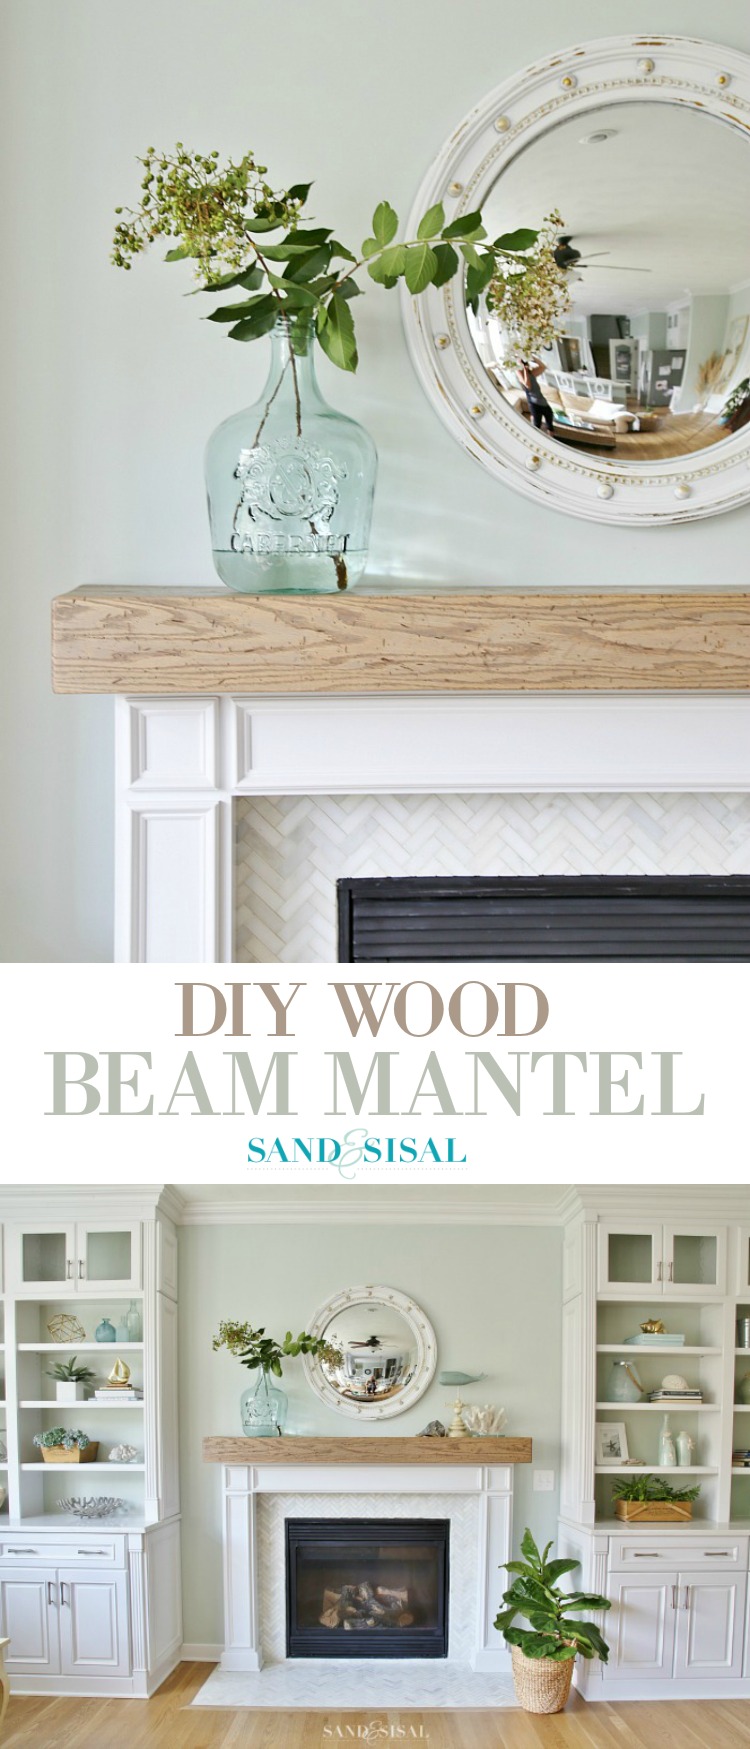
DIY Wood Beam Mantel & Surround
It looks so great! LOVE how it came out. xx
Thank you so much Danielle! I’m loving it too! xoxo
Wow I love it! Your whole room is gorgeous!!
Thank you Gina!!!
I remodeled my kitchen last year and it had recessed florescent lighting that was impossible to fill in with drywall and still not show the seams. I decided to use shiplap on the entire ceiling and use faux beams to cover the ends. It turned out wonderful and now I love shiplap on walls and ceilings.
Hi Barb!
That is such a smart idea to solve your problem! I bet it looks gorgeous now! I would love beams in our home. Thanks for stopping by the blog!
~ KIM
WOW, Kim! That look is amazing! I’m not sure if I could ever be brave enough to attempt something like that, but your instructions are fabulous and inspiring…so who knows? Thanks so much for sharing this shiplap planking idea.
You are so kind Juanita! Thank you!!!
Absolutely love the whole thing but the shiplap really finishes it off. I live in an apartment and am trying to figure out how I could have a shiplap look without nails. Any ideas?
Hi Leslie! If you are allowed to paint then I’ve seen several tutorials on painting faux shiplap. You could also look into peel and stick removable wall paper. There are so many plank look options available these days that completely fool the eye. Hope that helps!
KIM
Your post couldn’t have been more timely. My husband and I are planning to use shiplap in our front entry. We were just pricing the shiplap boards this weekend, and we were surprised at the price. I love the idea of using cut plywood as an alternative. The nickel idea is brilliant. Thanks so much for sharing this. One question, do you need to try to get paint into the space between the boards?
Hi Pat!
This is such an excellent question! It really depends upon what color your existing wall is painted. Mine was sea salt, so it is very light and since I kept the sea salt color in the rest of the room, it works if I didn’t get paint full in the grooves. Now, if your room color is something that will be too obvious and distracting between the boards then maybe make extra sure to get the paint into those grooves. I have seen some bloggers paint the spaces as they go. Put it this way… the larger the gap between the boards, the more shadow is cast. That is why I chose to stack 2 nickels vs. one nickel. I like the gap and how it looks. Are mine perfectly white inbetween???? Nope… and no one would notice otherwise. Hope that helps! Send me a pic of your foyer when your done! I’d love to see it! ~ KIM
hi kim! thank you so much for stopping by my blog! 🙂 i am just drooling over your gorgeous style here! so beautiful, fresh, colorful and elegant, which is really REALLY not easy to achieve! wish you a creative and fabulous new year ahead! 🙂
Just WOW! It looks amazing. I’ve been collecting pins of fireplaces with shiplap as inspiration for my own, and yours just went to the top of the pile.
I love this! Having lived with it over a year would you do it again today? I was seriously considering it but everyone keeps saying dont because I’ll regret it in a year.
Hi Jocelyne!
I love it! In fact I seriously wish we had installed it earlier. The shiplap makes the entire wall and bookcases more cohesive. I’d say go for it!
Have a beautiful weekend,
KIM